Category: Alpine Rock Climbing

Training For Mountaineering

Training For Mountaineering

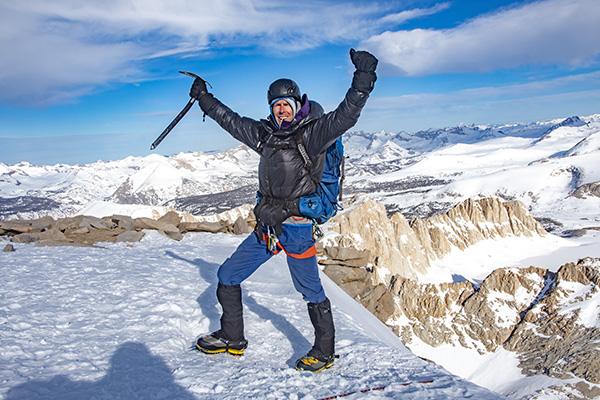
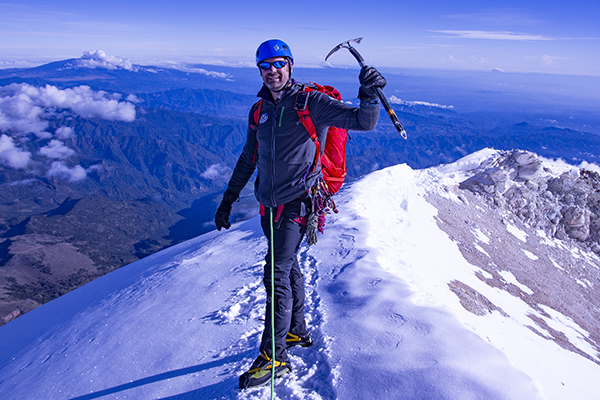
Training for mountaineering is critical for safety and success

What Is Mountaineering?

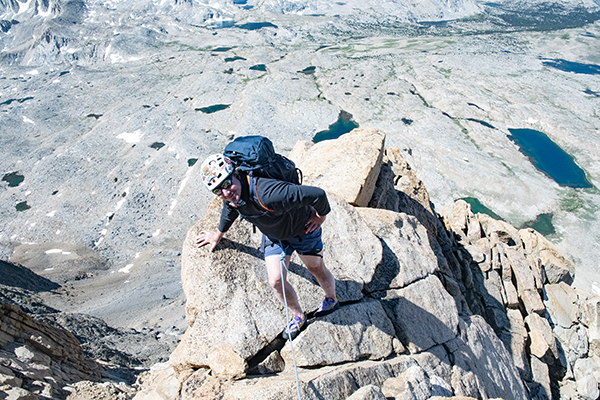
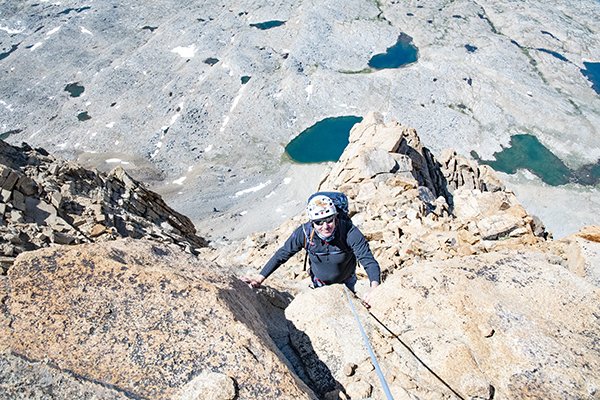
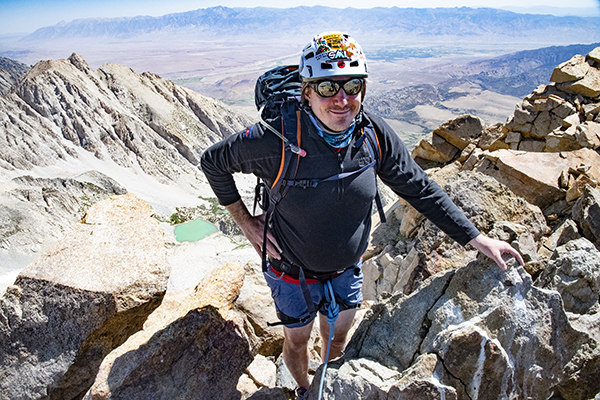
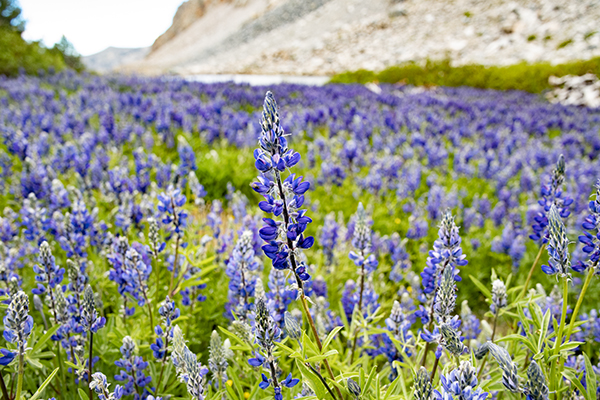
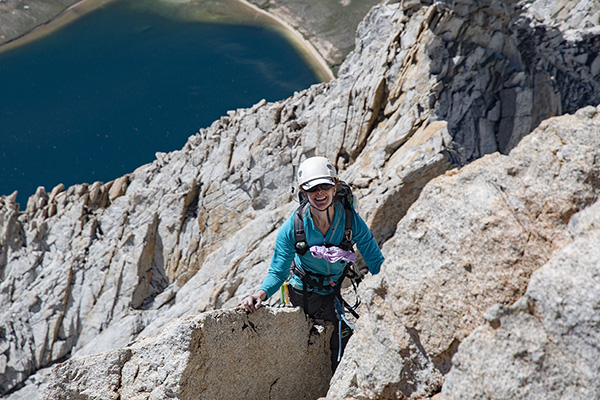
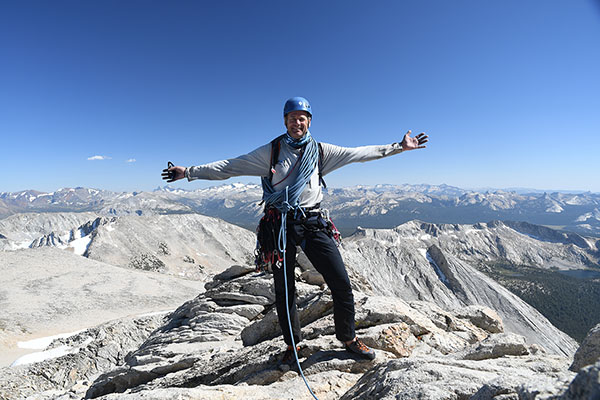
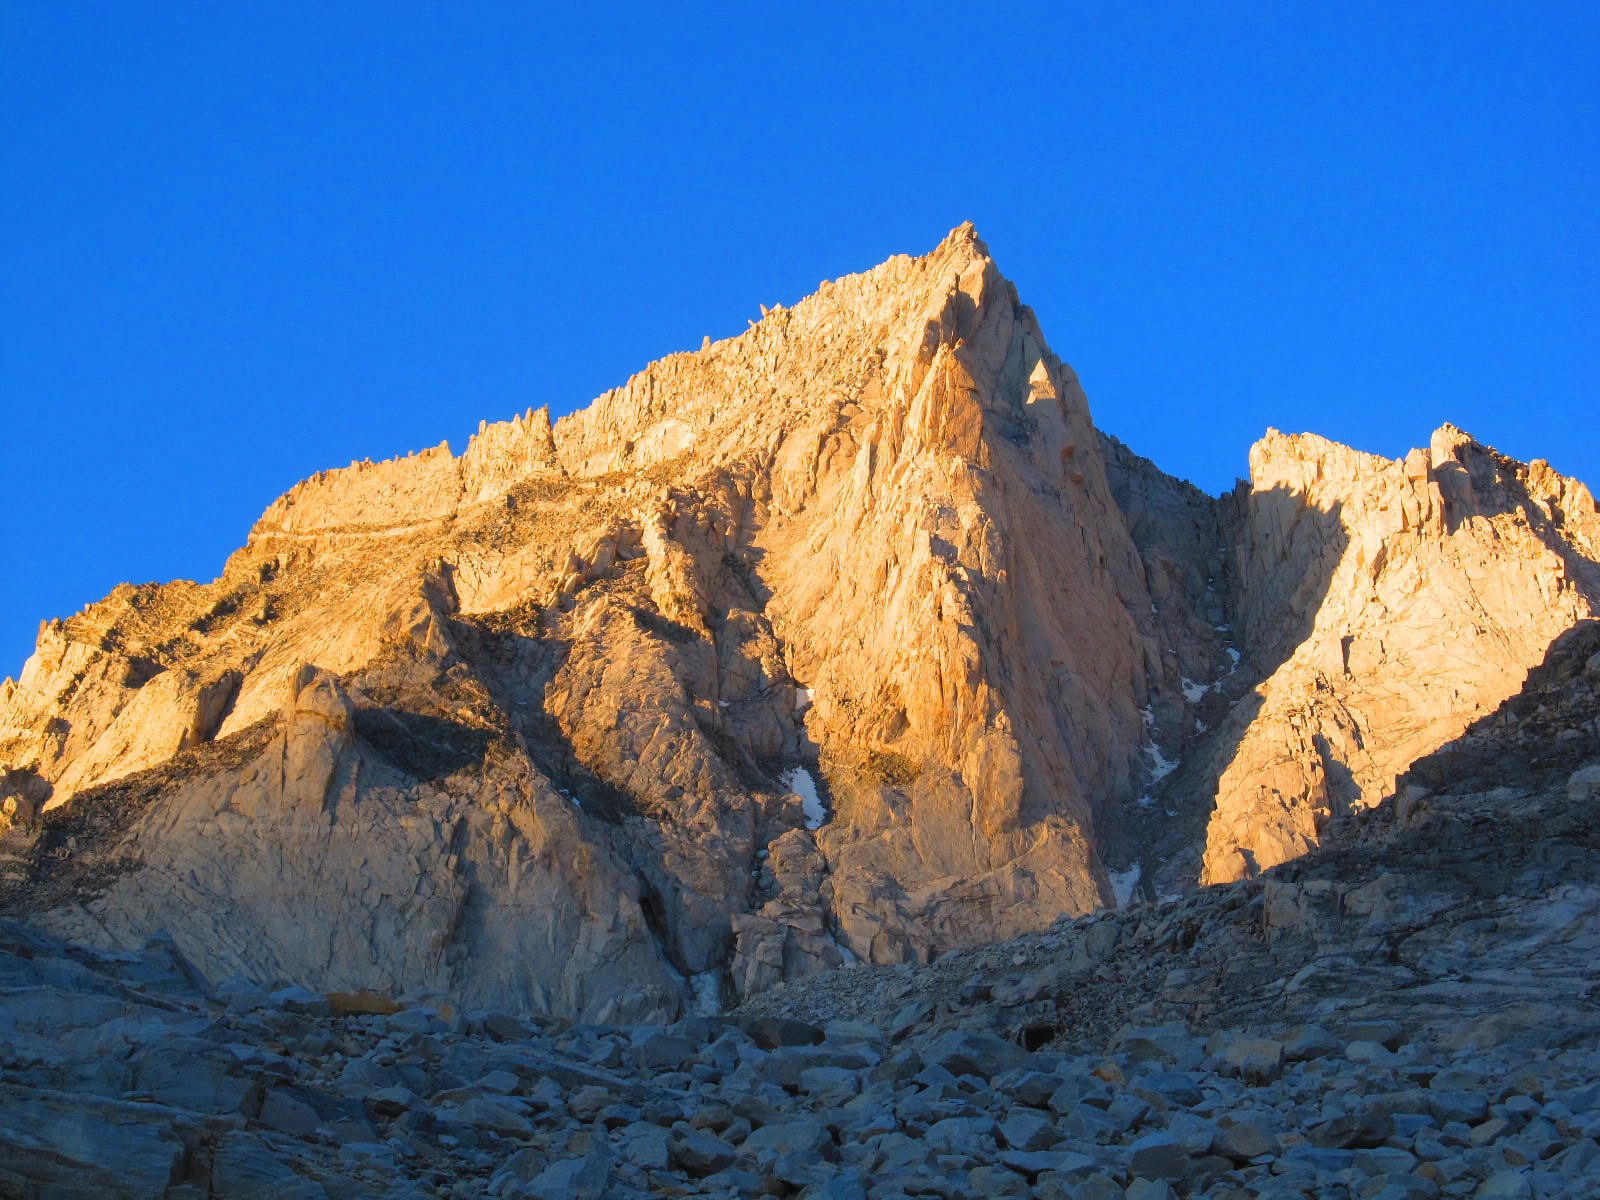
Mountaineering is the pursuit of recreation in the mountains.  This can take many forms:  peak ascents, hiking, rock climbing, ice climbing, trail running, backpacking, and skiing, to name a few.  Mountaineering is an all-encompassing word for all of these activities, with each of them being a subset of the whole.

Mountaineering often requires performing at a variety of intensity levels at high elevation in changeable weather. Proper training is the foundation for executing a safe and rewarding climb. While each of these activities may require a specific skill set, they all require a combination of movement efficiency, strength, and endurance.

Summit day on Mt. Whitney's Mountaineers Route
A stunning morning during a winter ascent of Mt. Whitney’s Mountaineers Route (14505’/4421m). Climbing this route requires learning a specific set of snow climbing skills but also requires endurance to successfully complete this 4-day climb.

PERFORMANCE =

Movement Efficiency + Strength + Endurance

Training For Mountaineering – Movement Efficiency

High On Mt. Whitney's Mountaineers Route
Train on talus, boulder fields, and loose off-trail ground if your mountaineering objective contains a lot of this type of terrain.

Performance in the mountains is highly dictated by movement efficiency. An efficient climber with low current fitness will always outperform a fit climber with poor movement skills.

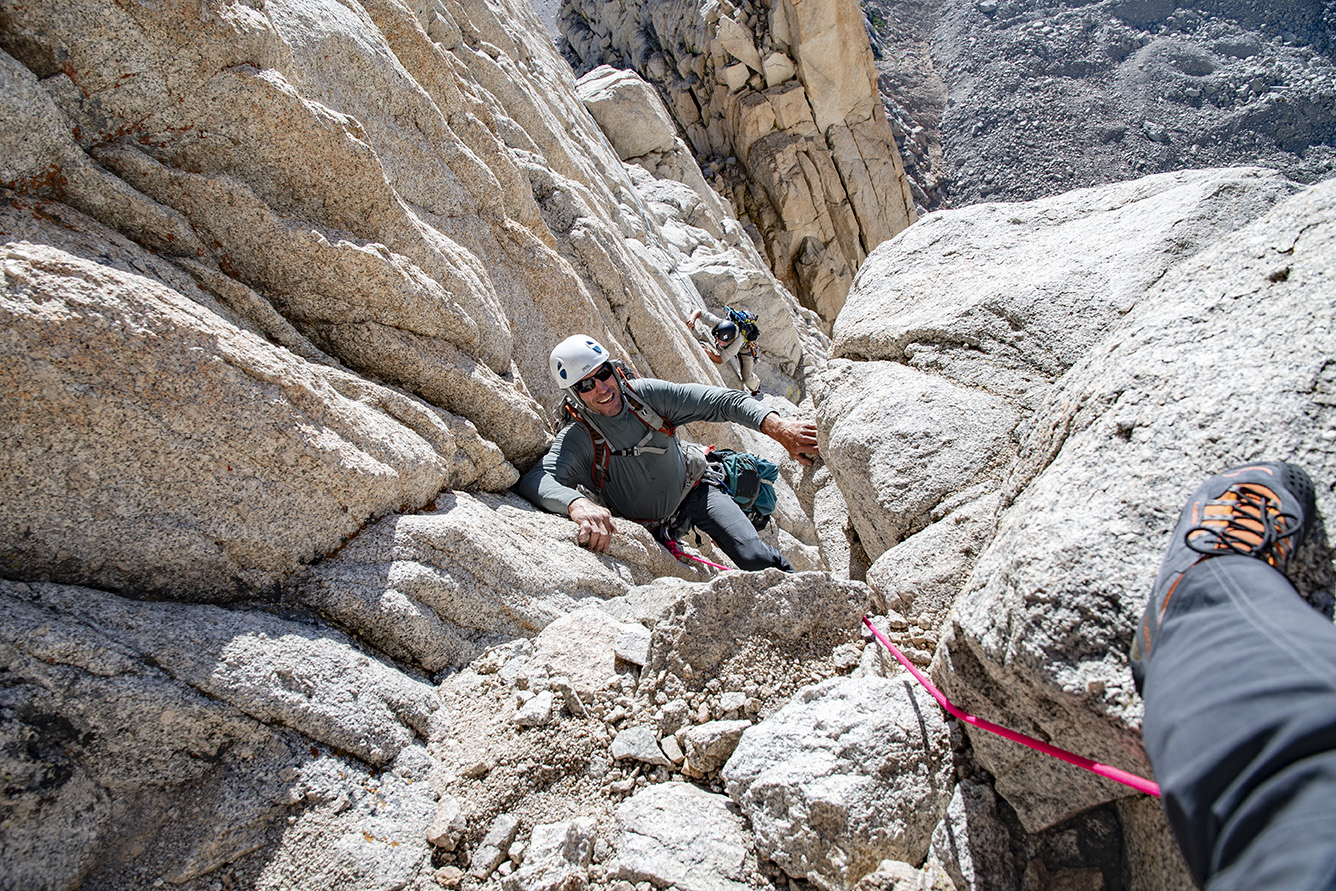
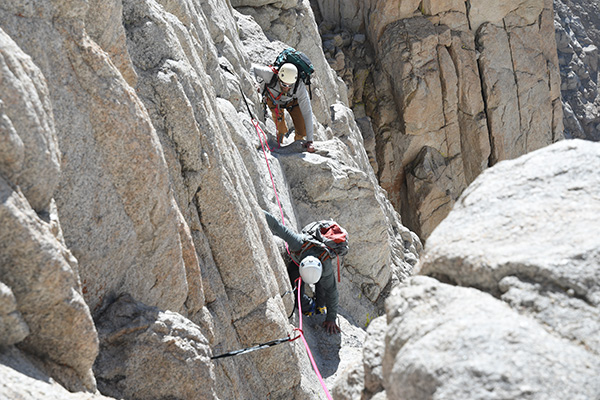
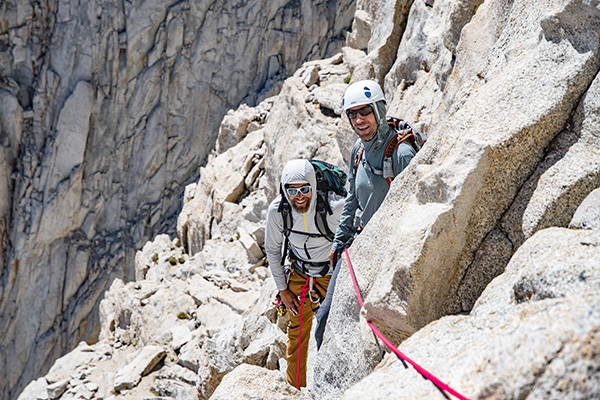
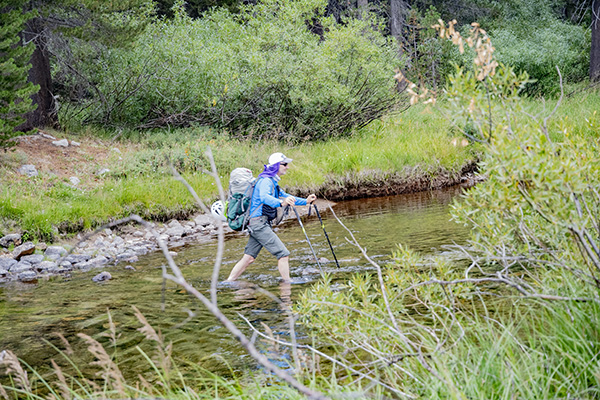
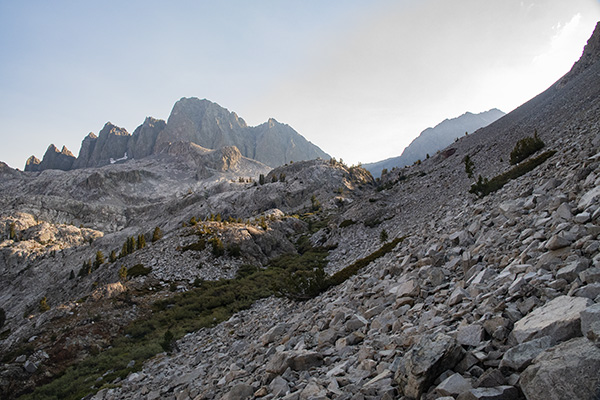
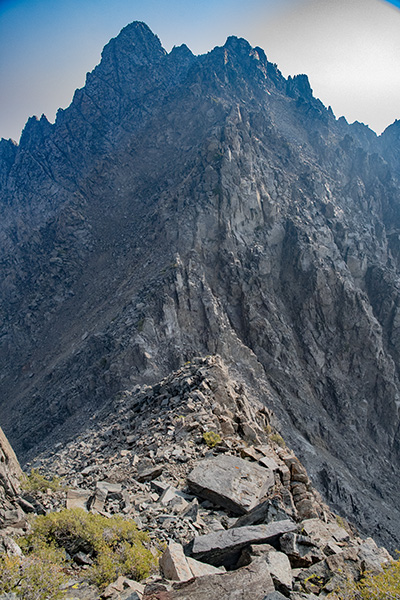
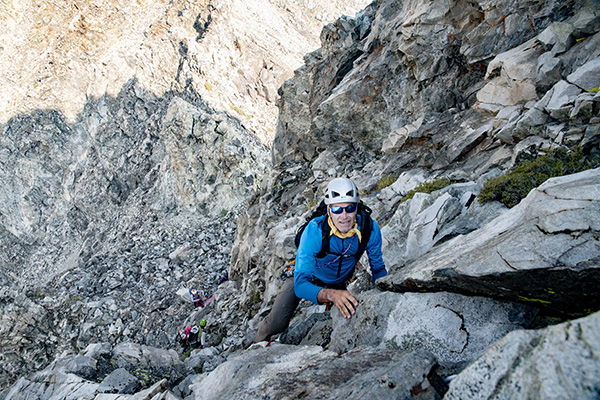
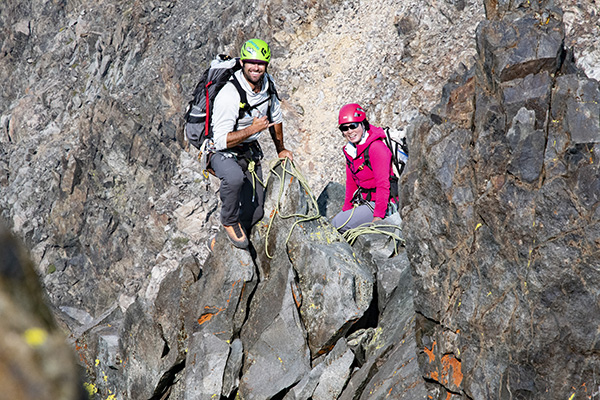
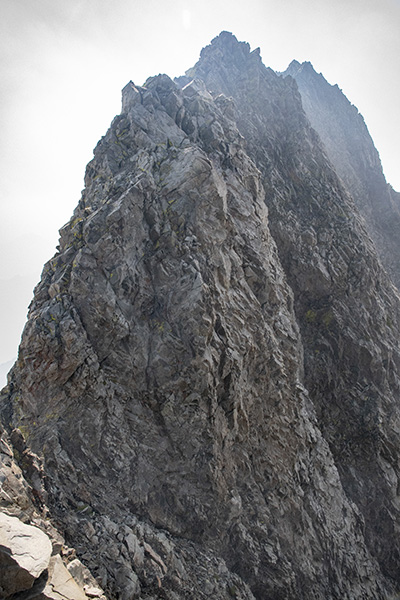
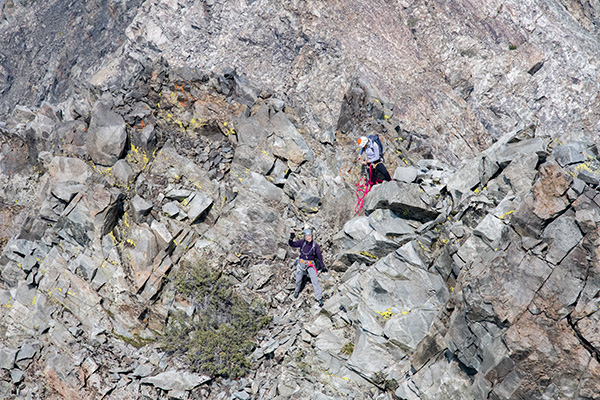
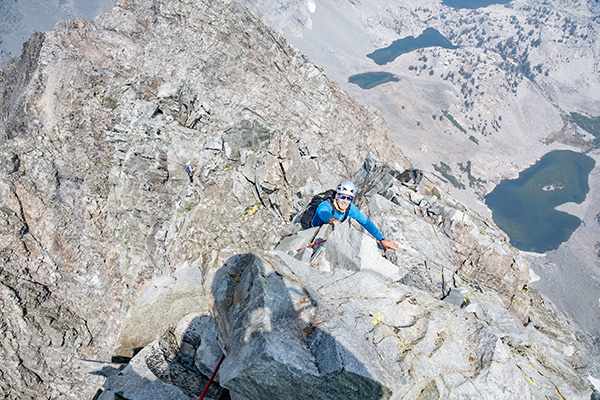
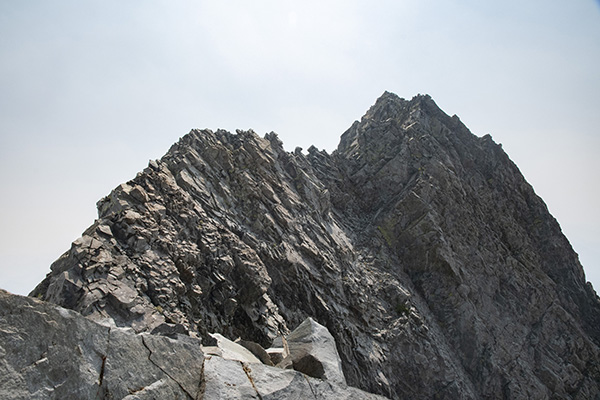
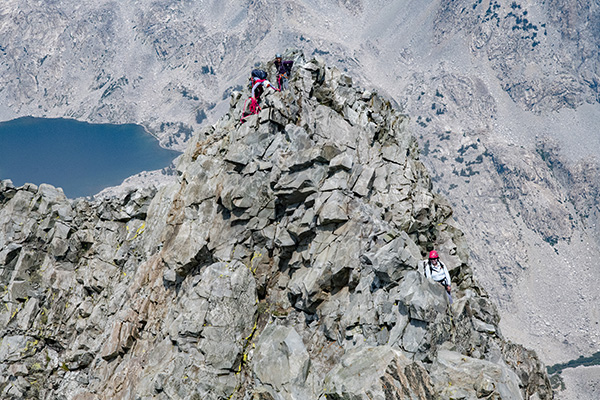
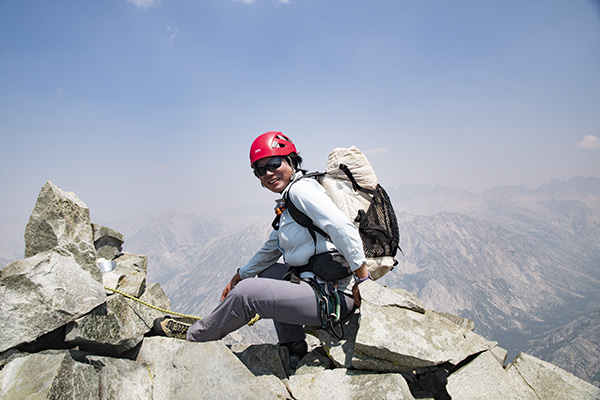
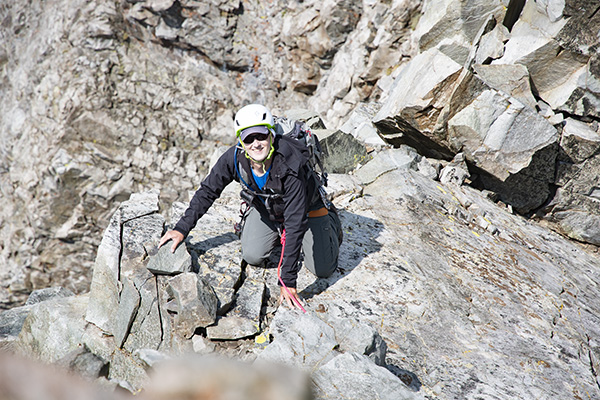
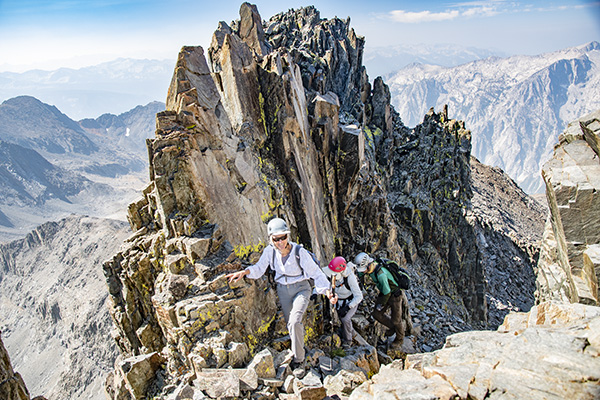
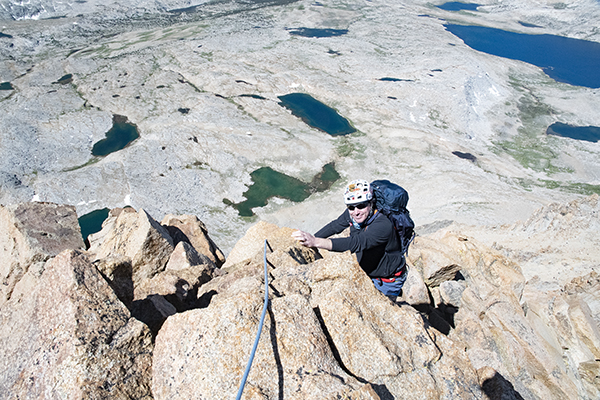
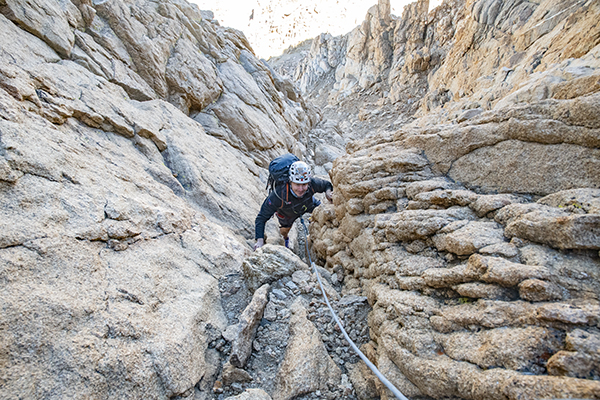
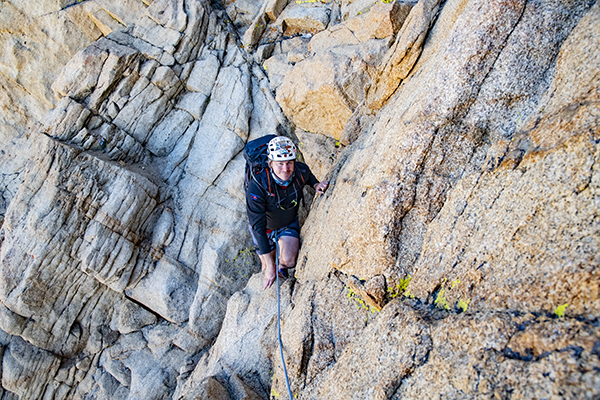
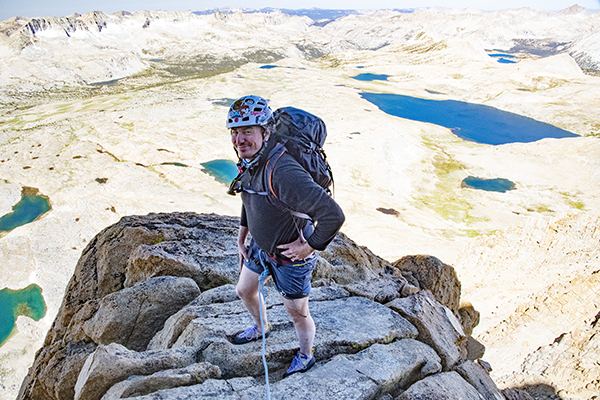
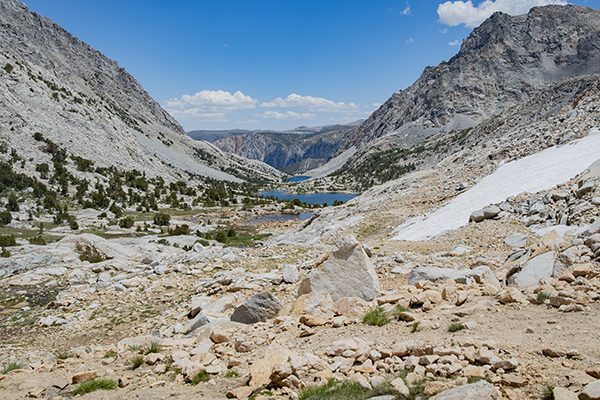
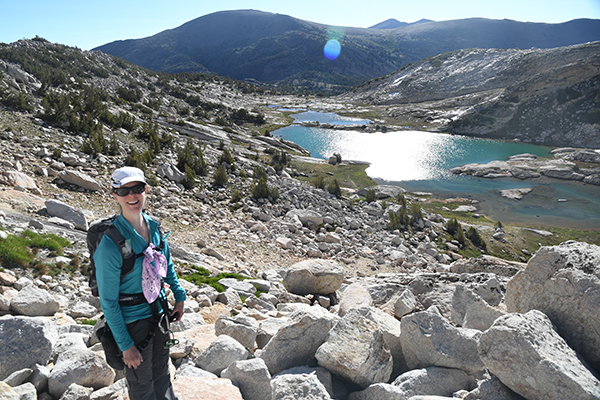
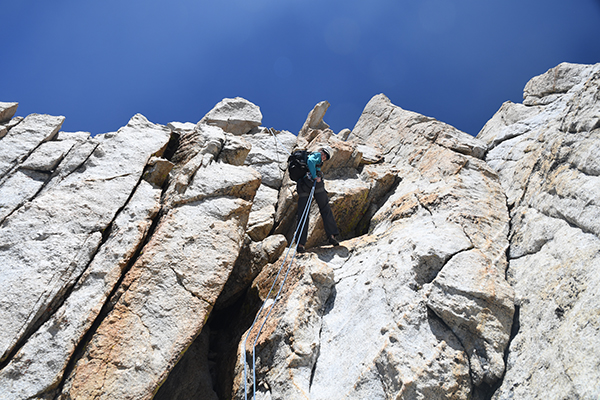
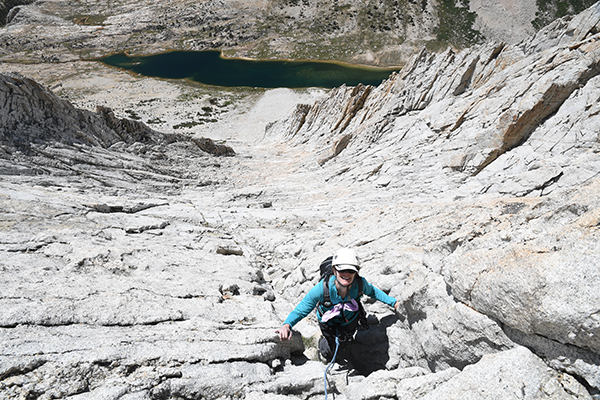
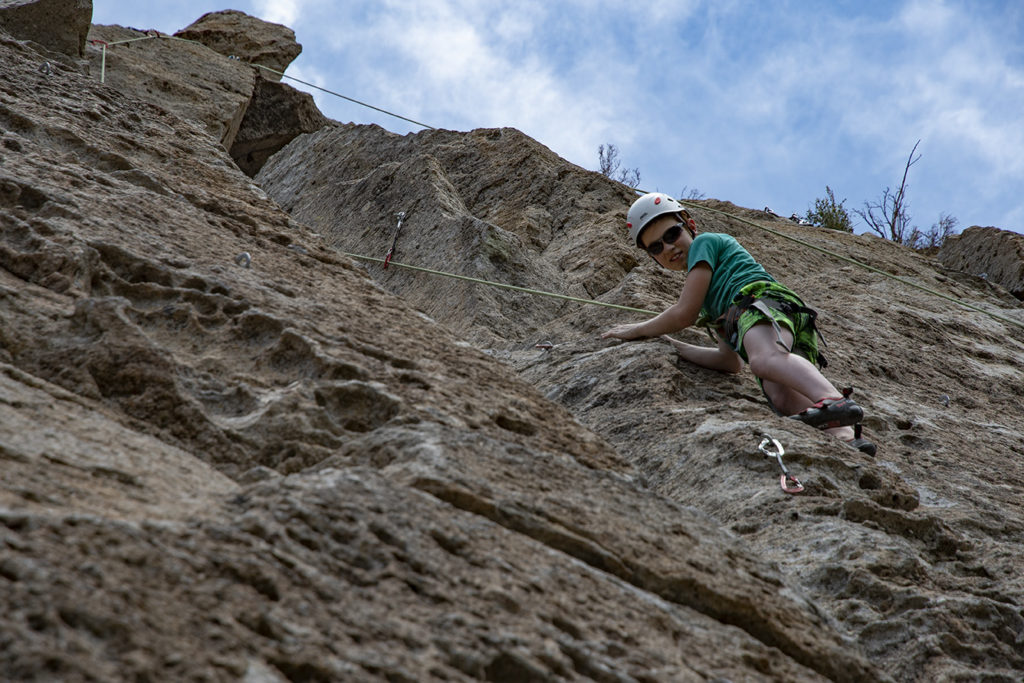
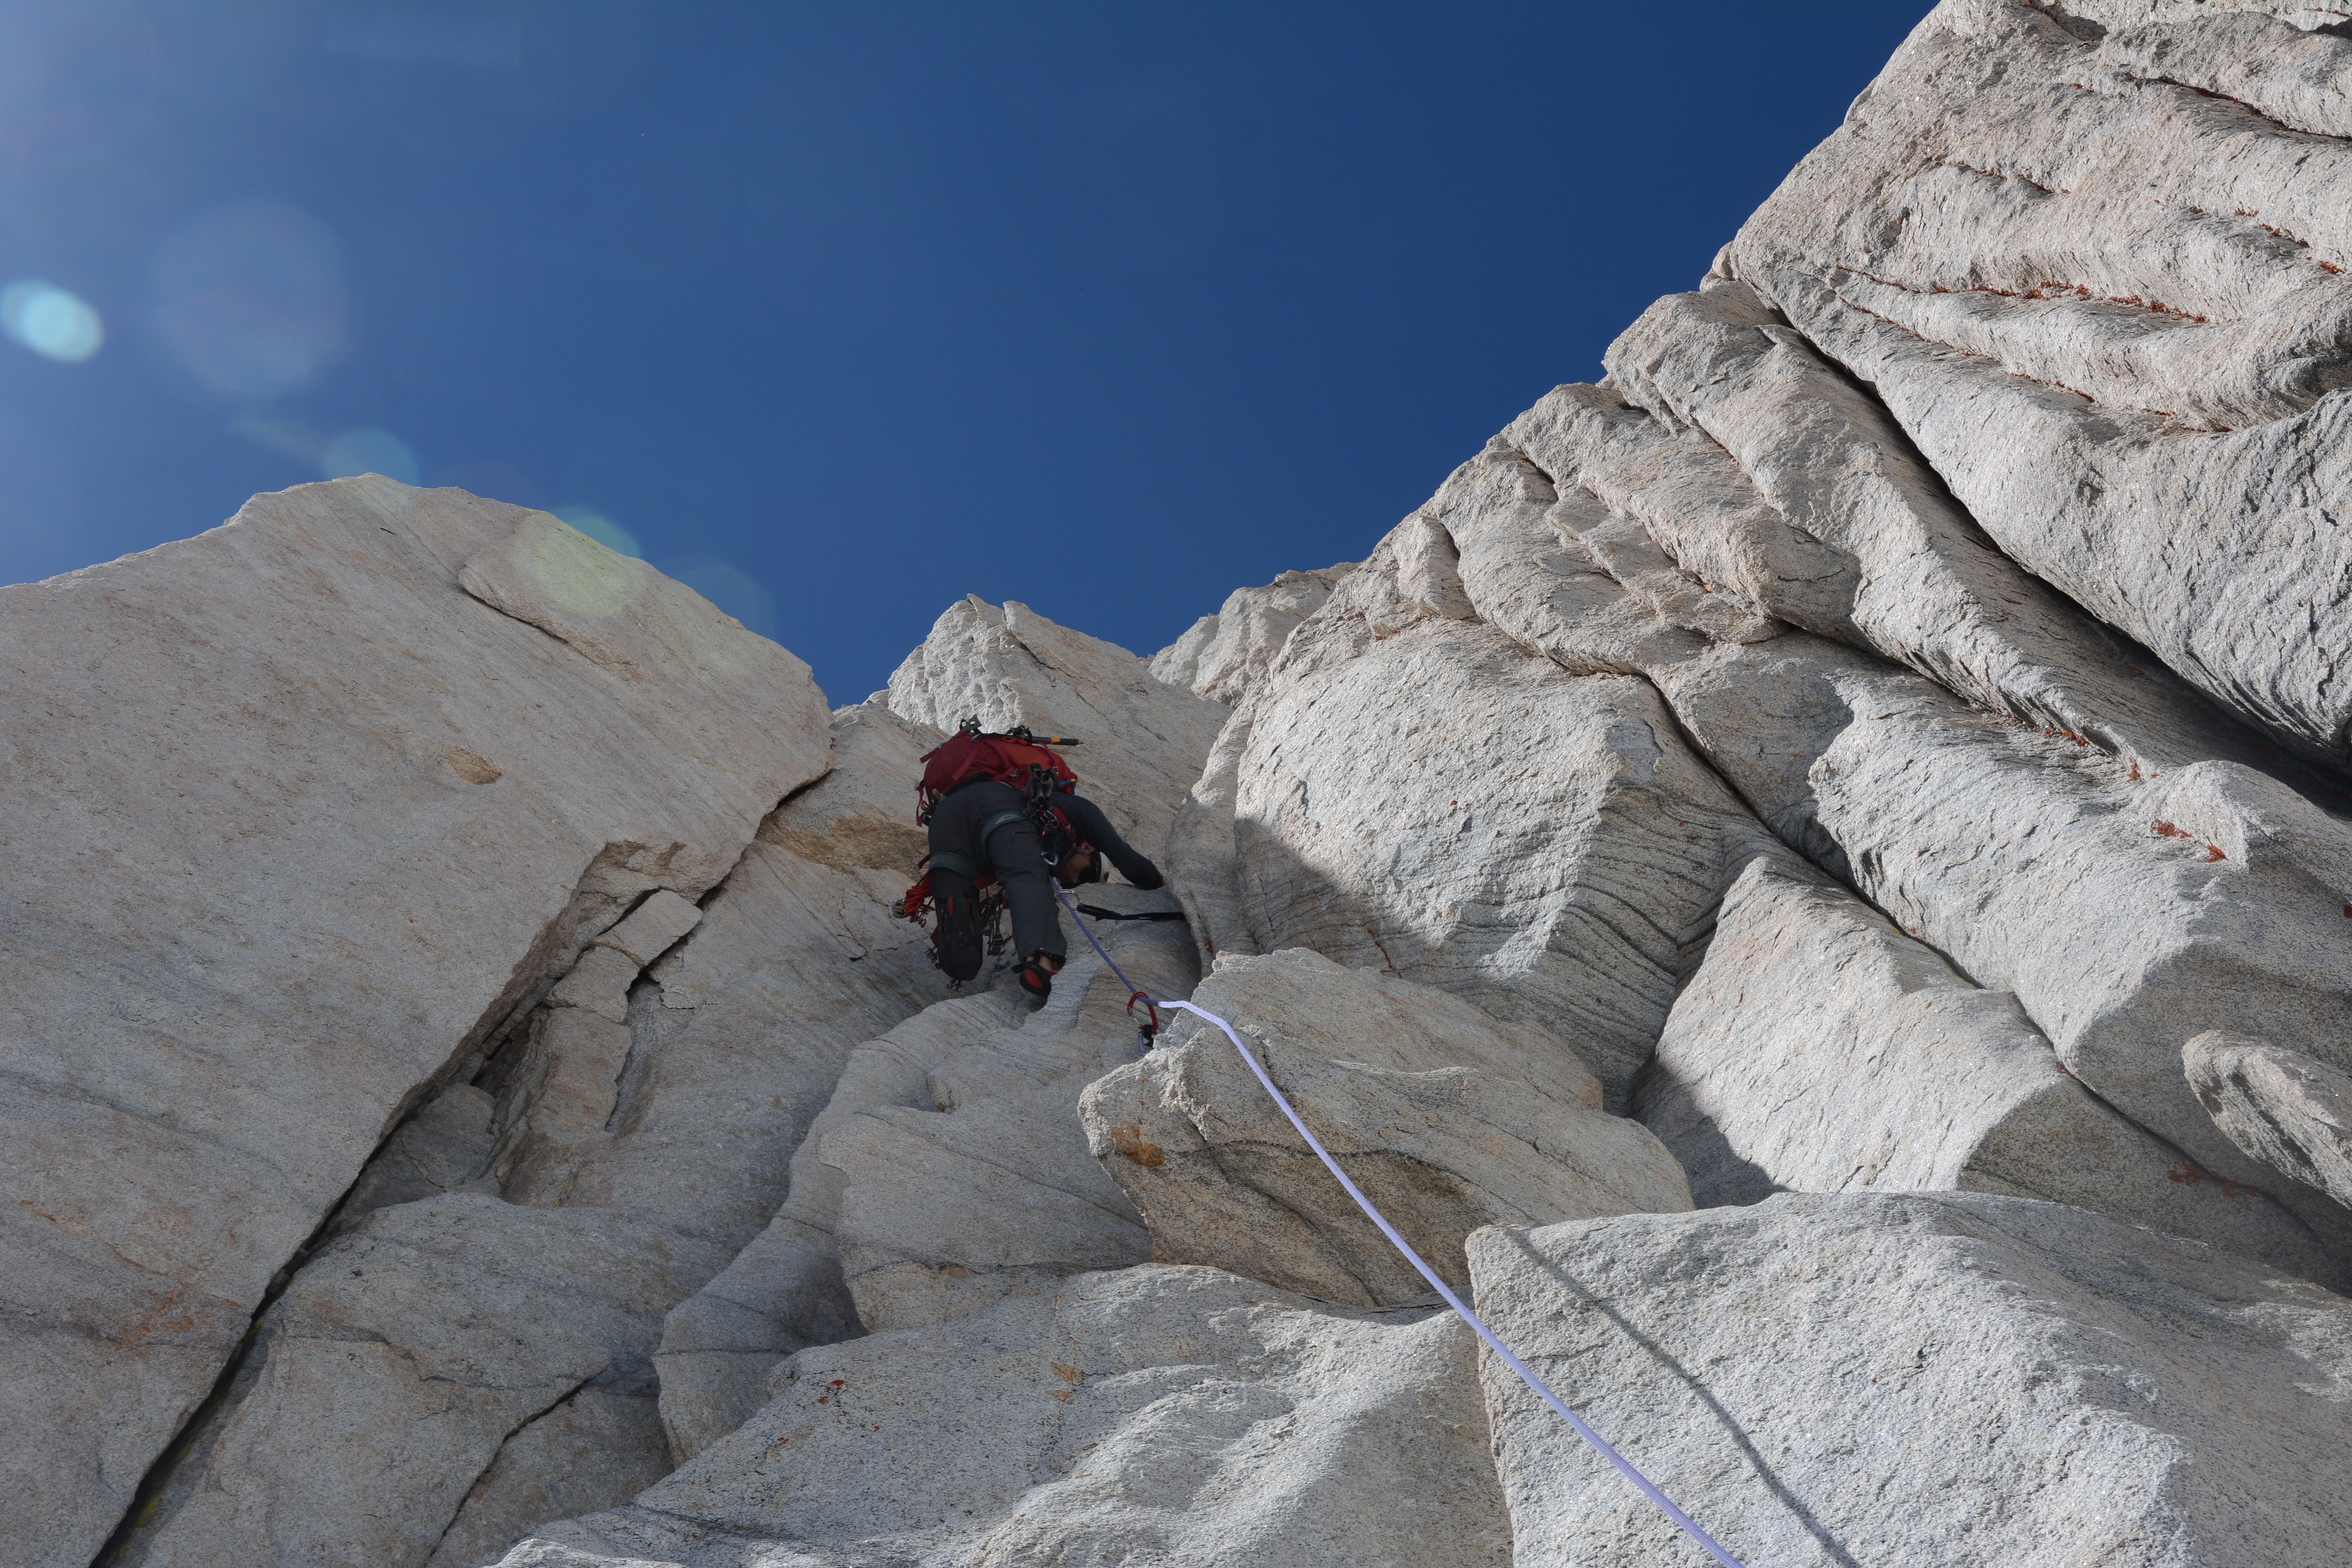
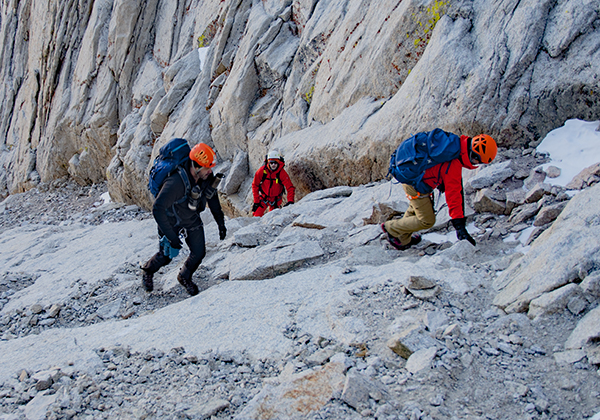
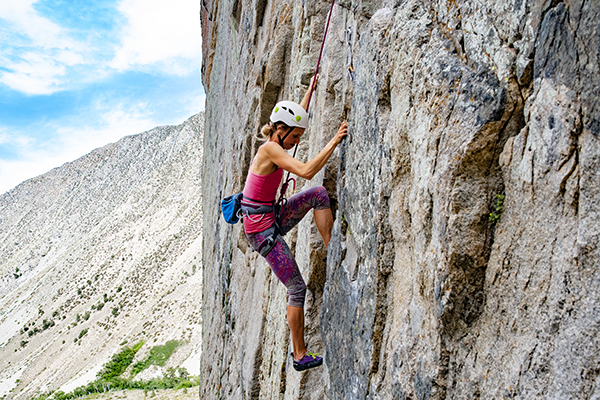
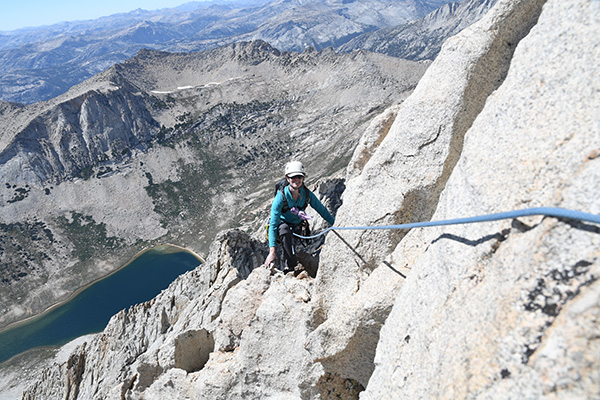
When training for mountaineering, the most effective way to become efficient with your movement is to log time on the type of terrain you’d like to perform on. This is critical for success. Take every opportunity to train on terrain that resembles your objective as closely as possible. This includes walking on trails, soft snow, firm snow, talus (boulder fields), and loose off-trail terrain. It also includes technical terrain if your objectives include rock or ice climbing.

There are no shortcuts for developing movement efficiency. It takes time. The more time you spend on complex terrain the greater your gains will be. This is a much overlooked but critical component to consider when developing your training plan.

Rock Climbing Training
Top-roping laps at a local crag is an excellent way to train for long alpine rock climbs such as the North Ridge of Mt. Conness pictured below.
Stunning views high on the North Ridge of Mt. Conness!
Stunning views high on the North Ridge of Mt. Conness, grade III 5.6 alpine rock climb! Enjoying epic climbs like this is the reward for the time invested in proper training.

Training For Mountaineering – Strength

Strength supports all other athletic activity because it allows you to do MORE objective specific training by developing tissue capacity. Strength training:

  • Makes bones, muscles, tendons and cartilage stronger, thicker and stiffer.
  • Develops effective and efficient transfer of force.
  • Creates a ceiling of capacity thus reducing the likelihood of injury.
  • Increases endurance by developing a higher ceiling of potential

Strength and endurance are strongly linked

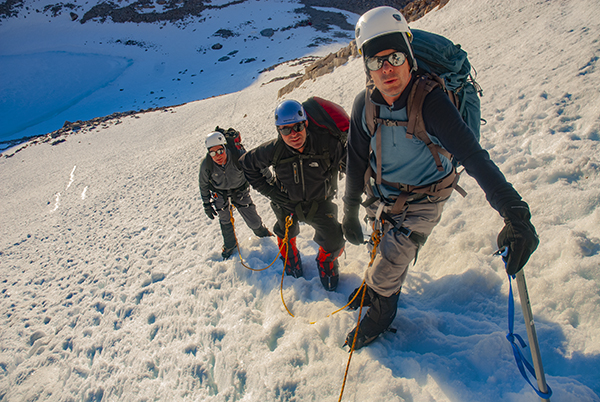
Reaching the summit of a mountain requires taking thousands of steps uphill. Each uphill stride while wearing a 30lb pack places significant stress on the legs, knees, hips, and spine. This movement is essentially a single leg squat done at varying depths, which is dictated by the steepness of the terrain. Therefore, successfully summiting a peak entails linking together thousands of these weighted squats. Effective training in a gym will help make each step in the mountains use less energy because you’re developing a surplus of strength.

For example: “Marvelous Martha” and “Mountaineer Mike” are on a 12-hour summit day together. They will take thousands of steps, each of which pushes them towards their strength ceiling.

Marvelous Martha can back squat 160-pounds for 5 reps. Every step she takes uphill wearing a 30-pound pack uses approximately 25% of her strength reserve. She’s working at 1/4 of her strength ceiling for this climb.

Mountaineer Mike can back squat 60-pounds for 5 reps. Every uphill step he takes wearing a 30-pound pack uses 66.67% of his strength reserve. He’s spending the entire day working at 2/3 of his strength ceiling!

Which climber is more likely to perform better, all other things being equal?

Squat
Strength supports all other athletic activity. Supportive strength training is simple and helps build athletic stiffness and strength that helps boost performance and decreases the risk of injury.

Training For Mountaineering – Endurance

Kilimanjaro Summit Photo
Kilimanjaro is 19340’/5895m. Climbing Kilimanjaro requires fitness and endurance but no technical skills. During this magnificent 7-day climb the route passes through 5 climate zones starting off in a jungle and reaching an alpine environment. A proper training program focusing on endurance and loose terrain is one of the best ways to set yourself up for success to reach the summit of this spectacular peak.

The goal with endurance training for mountaineering is to develop a program that progresses towards the physical requirements of our specific objectives. Endurance training accomplishes two things:

  1. Develops the cardiovascular and circulatory systems to effectively supply oxygen to the working muscles.
  2. Builds structural resilience in the joints (especially the hips and knees) and spine to handle the stress of the objective. 

As with strength training we build endurance through the stress/recovery/adaptation model. Each training session places stress on the body. With appropriate recovery, the body adapts and can support slightly more work. With a well thought out schedule, the body will continue to adapt to the new training load and your endurance will improve.

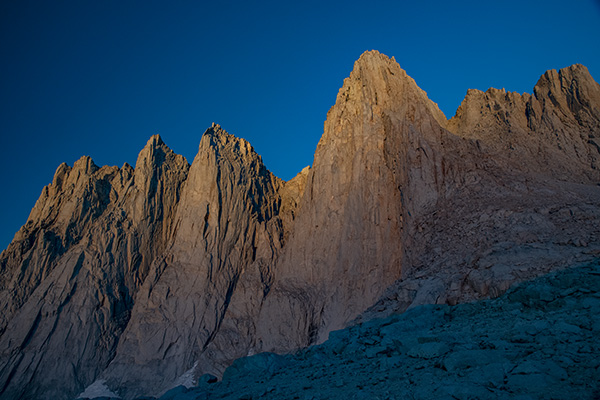
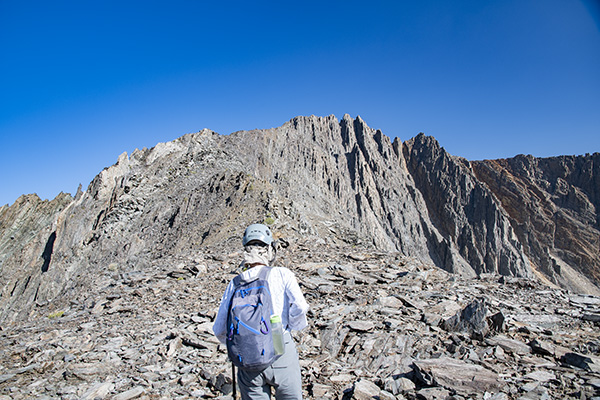
For example, your goal is to climb Mt. Whitney in 2-days via the Mountaineers Route. This climb requires ascending and descending from 8350′ to 14505′ over 14-miles. This is 6155′ of elevation gain over 7-miles to the summit, then the equivalent distance and elevation loss to return. Attempting this climb “off the couch” with no training will put the body into a state of deep fatigue with a high chance of sustaining an injury. However, starting with a manageable hike then gently increasing the distance and elevation, then allowing for adequate recovery between sessions, the body develops the capacity and resilience to climb Mt. Whitney safely, and have much more fun doing it!

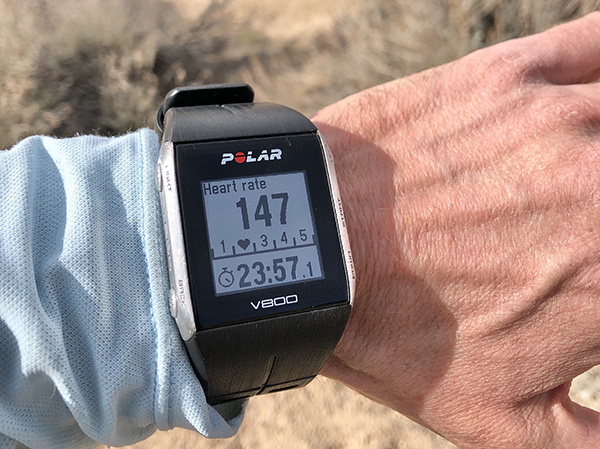
Know your aerobic threshold

The most efficient way to develop endurance is to use a slow, steady approach maintaining a heart rate under your aerobic threshold. There are many methods for determining your aerobic threshold, but a great place to start uses the ‘Maff Method’ by subtracting your age from 180. In this method a 40-year old’s aerobic threshold is a heartrate of 140 (180 – 40).  A 40-year-old athlete would stay at a heart rate of 140 or below when training.

Training at or just under the aerobic threshold:

  • Develops the strength, size and pumping capabilities of the heart.
  • Enhances the structure of the capillary network throughout the body.
  • Develops metabolic adaptions to the mitochondria; the powerhouse of the muscle cells.
  • Increases the body’s effective use of fuel/food for energy at the objective pace at which you intend to climb.

To cross-reference this intensity you should be able to have a full conversation when training. If you cannot speak with complete sentences, then it’s likely you’ve moved above your aerobic threshold sweet-spot. Keep in mind, this is a great place to start and a good trainer can refine this and personalize a training plan based on your history and trajectory.

Aerobic Zone Training
Training in the aerobic zone.

Progression Is Paramount!

Progression is one of the KEY elements in any training plan. An appropriate progression allows the body to absorb the training, recover, then adapt to a new level of performance. For the body to gain strength and endurance we need to continually add stress to our training.

For endurance training, unlike strength training, we generally add volume rather than intensity to build our progression. Each week we add distance and/or elevation to our hikes/runs. On the first week of our training cycle we might complete 3 endurance sessions at or near our aerobic threshold heart rate:

  • 1st Session: A comfortable 5-mile hike carrying a packed loaded with 20-pounds and 1000′ of elevation gain on terrain as close as possible to our season objective. This hike took 2.5 hours.
  • 2nd Session: 4-mile trail run with 1000′ of elevation gain. This run took 1.5 hours
  • 3rd Session: 6-mile jog around the city. This run took 1.5 hours.

Week 1 totals: 5 hours in the aerobic zone with 2000′ feet of elevation gain.

2nd Week: Add 5-10% to this total.

3rd Week: Continue this progression moving towards your objective time/distance/elevation. You can use distance or time to build your progression. Both are effective.

Week 3 or 4: Rest week with a reduction in volume of 40%.

Final weeks: Leading up to your objective taper and cut the volume down by 20-30% per week.

What about high-intensity training?

High Intensity Interval Training (HIIT) is more specialized and complicated and therefore needs to be delicately programmed into your plan. Although useful in small amounts for specific circumstances, following the above recommendations will develop a high level of performance for mountaineering. HIIT does not replace slow steady training in an endurance program. Because of this HIIT is viewed at the icing on the cake but not something to be emphasized.

What about core training?

Isolated core exercises have very limited cross-over to sport specific performance in spite of what many in the fitness industry assert. The strength program suggested above with the squat/pull/press will strengthen muscles in the body to work effectively because they will work together. Beyond this, effective development of the core is achieved by practicing the sport you’re training for. A rock climber develops effective core tension by rock climbing. There are certain circumstances when a specific core strength exercise might be useful and a trainer can help work through a specific problem. If there’s not a good reason for doing it, then it’s not worth spending the resources on it.

In Conclusion

We encourage you to enjoy the process of developing an understanding of how your body responds to training. The results will become apparent within weeks of starting out and motivation is rarely a problem moving forwards.

About the Authors

Simon Moore
Simon Moore is a mountain guide and founder of Vertical Ascents offering coaching and training for rock climbers, alpinists, skiers, and endurance athletes.
Training For Mountaineering, Kurt Wedberg
Kurt Wedberg is a 34-year veteran mountain guide and the founder of Sierra Mountaineering International, Inc. Based in Bishop, CA along the slopes of the beautiful Eastern Sierra, they offer guiding and instruction from beginning through advanced levels in:

Rock Climbing Mt. Whitney

Rock climbing Mt. Whitney via the classic East Face and East Buttress routes!

Rock climbing Mt. Whitney is an opportunity to ascend the highest peak in the contiguous United States via a route seen by relatively few people who visit this region. Mt. Whitney is the most popular of all the mountains SMI conducts trips to, and for good reason. Magnificent scenery and it’s setting along the crest of the Sierra along with its lofty elevation make this climb an unforgettable experience. The East Face and East Buttress routes are tremendous alpine rock climbs and the fact that they lead to the summit of Mt. Whitney make them all the more attractive.

The Approach: Hiking to Iceberg Lake

The journey begins at Whitney Portal (8350’/2545m). After final gear checks and loading rucksacks the team sets off for the North Fork of Lone Pine Creek. This “climbers trail” passes pine trees, willows, abundant wildflowers, and the Ebersbacher Ledges as it ascends a canyon that tops out at Lower Boy Scout Lake (10350’/3155m). The route continues past Upper Boy Scout Lake (11000’/3353m) to a mid afternoon arrival at Iceberg Lake (12610’/3844m) after approximately 6 hours of hiking. After making camp and an early dinner it’s time to bed down in the waning light so the team is ready for an early start to climb the East Face of Mt. Whitney.

The East Face of Mt. Whitney

Rising ahead of sunrise affords getting a jump on the day to maximize daylight. It also offers a stunning view of the Mt. Whitney massif bathed in glowing morning light reminding onlookers why the Sierra is nicknamed the Range of Light. A 45 minute hike over easy 3rd class terrain leads to the start of the route. Clothing layers are adjusted, sunscreen applied, harnesses are donned and climbers tie into the rope. This route is normally 11 pitches long with the hardest moves rated at 5.7, but it is not sustained climbing at this grade.

The Mt. Whitney massif bathed in the glow of morning light!
SMI guests Chris and Doug are tied in and ready to climb!

Rock climbing Mt. Whitney: The Tower Traverse

The first pitch rock climbing Mt. Whitney via the East Face is the Tower Traverse. This exhilarating start to the route entails traversing a ledge that leads to a small corner/chimney system, which is ascended for about 25 feet to the first belay station.

Chris and Doug crossing the ledge system on the Tower Traverse.

Rock climbing Mt. Whitney: The Fresh Air Traverse

Above the Tower Traverse the route ascends a prominent ramp known as the Washboards, which is mostly 3rd and 4th class. A short blocky pitch then leads to a tower that is down climbed to a large ledge at the base of the Fresh Air Traverse.

The Fresh Air Traverse is considered by many to be the highlight of the East Face route. A “step across” over a fantastic stretch of exposure on good holds marks the crux moves, which is followed by climbing a series of ledges. Solid hold on high quality granite combined with over 1000′ view below make negotiating the Fresh Air Traverse a truly exhilarating and rewarding experience!

SMI climbers at the tower atop the Washboards before the Fresh Air Traverse.
Crossing the magnificent Fresh Air Traverse!
Doug & Chris psyched on the exhilaration of climbing the Fresh Air Traverse!

Rock climbing Mt. Whitney: The Final Pitches To The Summit

Above the Fresh Air Traverse another 5th class pitch ends at the Grand Staircase. This is followed by a couple more short 5th class pitches before the terrain backs off to some 3rd class scrambling that leads to the summit.

Chris & Doug fire up as they finish the final 5th class pitch on the East Face of Mt. Whitney!
Stunning High Sierra views are the backdrop for the final scrambling to the summit!
A well earned summit photo after a extraordinary climb of the East Face of Mt. Whitney!

The East Buttress of Mt. Whitney

For those looking for more alpine climbing bliss we will stick around for another day and tackle the East Buttress of Mt. Whitney. This route strings together ten 5th class pitches on a direct column with sections of sustained 5.7 moves. It meets up with the East Face at the final 3rd class scrambling leading to the summit.

Ascending the East Buttress of mt. Whitney high above Iceberg Lake.

Rock climbing Mt. Whitney: The “Pee Wee” Pitch

One highlight on the East Buttress is climbing past the “Pee Wee”; a large protruding overhung block of granite.

The Pee Wee on the East Buttress of Mt. Whitney.
Climbing above the Pee Wee on the East Buttress of Mt. Whitney.
Second summit photo in as many days after a fantastic climb of the East Buttress!
No summit of Mt. Whitney is complete without adding our signatures to the register!

More photos from the East Face & East Buttress

View a photo gallery from this trip here.

Climb Mt. Whitney with SMI!

SMI leads climbs to Mt. Whitney throughout the year. Each route has its own unique experience from an ascent of the Mountaineers Route in winter/spring or summer/fall to a rock climb. Read more about our Mt. Whitney programs here.

Climbing Devils Crag

Devils Crag #1

A trip deep into the Sierra to climb Devils Crag #1 and Wheel Mountain

Climbing Devils Crag #1 involves ascending a knife edged 4th class ridge. The rock is loose and the route is wildly exposed in places. Devils Crags are a grouping of 12 summits along a fractured ridgeline tucked deep in Sequoia/Kings Canyon National Park. Devils Crag #1 is the most sought after because it is not only the highest at 12405’/3782m but it is also included on the Sierra Club’s Sierra Peaks Section Peak List. This list consists of 247 peaks in the Sierra divided into 24 geographical zones. Devils Crag is considered by many to be the most difficult peak on this list. In spite of this however, “sought after” is still a relative term. Devils Crag #1 sees very few ascents. Between September 2016 and this climb the mountain had only seen 6 ascents and nobody climbed it in 2017 or 2019.

Day 1: The Approach Day

Getting to Devils Crag is a long but beautiful hike. Starting at the South Lake Trailhead the approach beings with a 6 mile stretch over Bishop Pass (11973’/3649m), then 6.5 miles down to LeConte Canyon where it intersects with the John Muir Trail (8860’/2700m). Hiking south for another 2.6 miles leads to Grouse Meadow. It is here that the approach leaves the well traveled trail and immediately crosses the Middle Fork of the Kings River (8250’/2515m). After crossing the river and Grouse Meadow the unmarked route ascends a steep and unpleasant slope that is loose in places to 10000’/3048m. It then traverses across a long talus field that eventually intersects with Rambaud Creek. At 10400’/3170m a couple unnamed lakes are reached that offer decent camping options. All told it measured out to be 16.71 miles covered in just over 13 hours.

The Devils Crag team
The team from left to right: Hjordis Rickert, Trevor Anthes, Kurt Wedberg, Paul Garry, Kathy Rich, Bill Carpenter, Linda Sun, and Tristan Sieleman
Crossing the Middle Fork of the Kings River
Paul crossing the Middle Fork of the Kings River. The water was low this year. On some years it can be waist deep or deeper, especially earlier in the season.
Talus on the approach to camp
The talus traverse at approximately 10100′ on the approach to camp. Devils Crags are on the left skyline with seven of its summits in view.

Day 2: Getting to Devils Crag #1

Climbing Devils Crag #1 is usually done via the Northwest Arête. This 4th class ridge consists of complex terrain that requires careful thought and efficient rope work to maintain safety while making decent time. A headlamp start was indicated to maximize daylight because we anticipated a full day. A long talus slope led to Raumbaud Pass (11575’/3528m) in between Devils Crag and Wheel Mountain. After close to 3 hours of walking the team arrived at the start of the Northwest Arête.

Everybody geared up so we were prepared for the exposed terrain ahead. In addition to exposure another challenge on Devils Crag is loose rock. This poses difficulties assuring that hand and foot placements are solid, in making solid anchors for protection, and dislodging rocks that can be a hazard to parties below.

The Northwest Arête

Traversing a ridge and dropping elevation the route leads to a class 4 chute for 20m. Above here the exposure increases traversing past two large black rocks called the “Rabbit Ears”. Another short traverse drops slightly down to a 20m pitch of improbable 4th class. Moving above here the ridge widens slightly then reaches a wildly exposed 4th class 10m downclimb. Many consider this to be the crux because of the exposure and difficulty to protect it. Past this downclimb the ridge stays narrow over exposed 4th class terrain leading to the summit.

The start of the Northwest Arête
Looking at the start of the Northwest Arête on Devils Crag.
The 4th class chute
Bill climbing the 4th class chute on the Northwest Arête.
Approaching the Rabbit Ears
Linda and Tristan on the traverse to the Rabbit Ears.
Climbing through the Rabbit Ears
Bill climbing in between the “Rabbit Ears” on the Northwest Arête.
The upper half of the Northwest Bill climbing in between the "Rabbit Ears" on the Northwest Arête
Looking at the upper half of the Northwest Arête.
Sketchy anchor on Devils Crag
The Northwest Arête of Devils Crag has a few sketchy anchors along its route.
Kathy and Hjordis on the Northwest Arête
Kathy and Hjordis high on the Northwest Arête.
Bill on the Northwest Arête
Bill approaching the upper section of the Northwest Arête.
The final ridgeline to the summit.
Looking at the final ridgeline to the summit of Devils Crag #1.
Climbing on the upper reaches of the Northwest Arête.

The summit!

The summit of Devils Crag #1 offers spectacular views of the Sierra. There was time to soak in the magnificent scenery because the team climbed efficiently. It’s a special vantage point because so few people have ever been here. Smoke from a forest fire partially obscured the views but they were spectacular nonetheless.

The abundance of loose exposed 4th class topography on Devils Crag is some of the most complex terrain to guide. The alpine guide needs to have many skills in their quiver to employ on any given move. The techniques used will vary depending on several factors including (but not limited to) the weight ratio of the guide and guest, comfort, ability level, and weather elements such as wind. One rope team may use a certain technique on a particular feature then another team will come and do something different. What was agreed upon afterwards is everybody dug deep into their bag of tricks, and this route required constant vigilance with no breaks. It also proved to be a fun, challenging, and rewarding experience for all!

Kathy Rich summit photo
Kathy Rich summit photo on Devils Crag #1
Linda Sun summit photo
Linda Sun summit photo on Devils Crag.
Paul Garry summiting Devils Crag
Paul Garry climbing the final moves to the summit of Devils Crag.
Bill Carpenter summit of Devils Crag
Bill Carpenter adding his name to the summit register on Devils Crag.
Hjordis Rickert summiting Devils Crag
Hjordis Rickert coming onto the summit of Devils Crag.
Trevor Anthes arrives at the summit of Devils Crag
Trevor Anthes arrives at the summit of Devils Crag.
Tristan & Kurt summit Devils Crag
Tristan Sieleman & Kurt Wedberg on the summit of Devils Crag.
Devils Crag summit register can
The summit register can on Devils Crag showing evidence of lightning damage.

Descending off Devils Crag the team decided to return to camp instead of climbing Wheel Mountain on the same day. Arriving at camp that evening everybody cherished a safe and enjoyable climb on Devils Crag.

Day 3: Wheel Mountain

Wheel Mountain (12774’/3894m) is reached by going in the opposite direction at Rambaud Pass from Devils Crag. While rated class 3 the terrain is benign. There’s an occasional move that requires using hands but nothing that requires a rope.

The plan was to climb Wheel Mountain and after returning to camp to pack up and descend to the JMT. This would make for an easier hike out on Day 4.

Leaving after it got light Wheel Mountain proved to be an enjoyable climb. From its upper reaches the views of Devils Crag are fantastic. The route was easy enough to find and the views from the summit were even better than Devils Crag. From Rambaud Pass it was less than 2 hours to the summit. A little time spent in reflection and taking in the scenery was welcomed before returning to camp and navigating down to the JMT.

Morning start for Wheel Mountain
Morning start for Wheel Mountain.
Rambaud Pass
Kathy at Rambaud Pass en route to Wheel Mountain.
Wheel Mountain from Rambaud Pass
Wheel Mountain from Rambaud Pass.
Summit pinnacles on Wheel Mountain
Summit pinnacles on Wheel Mountain.
Summit Wheel Mountain
A little time of reflection on the summit of Wheel Mountain.
Ending shot at South Lake
The team arrives safely back to South Lake!
Old tat on Devils Crag
The team hauled out two old ropes and a large mound of UV worn webbing from Devils Crag.

Galleries with more photos are here and here.

SMI arranges ascents of Devils Crag and all 247 peaks on the SPS Peak List. Contact our office for details.

Mt. Humphreys Northwest Ridge

High on Mt. Humphreys NW Ridge

Mt. Humphreys Northwest Ridge is a fun and exhilarating way to climb this classic Sierra peak. Once considered a CA 14er, its current accepted elevation is 13986’/4263m. Nevertheless it is a lofty summit with outstanding views. The route features high quality granite with enough challenging and exposed moves to offer a thrilling sense of accomplishment.

Mt. Humphreys Northwest Ridge – The Approach

Mt. Humphreys Northwest Ridge is accessed from the North Lake trailhead at 9400’/2865m. The journey begins with a scenic 4.2 mile hike to Paiute Pass. This lovely hike ascends glacier carved granite benches past Loch Leven, Paiute, and several smaller alpine lakes to 11423’/3482m. Offering magnificent views it also gives access to Humphreys Basin. Leaving the trail the route ascends north over cross-country terrain to the base of Mt. Humphreys.

Mt. Humphreys Northwest Ridge

Longtime friend of SMI Ben Novak was Kurt Wedberg’s guest for this 1-day car to car ascent. Ben is a long distance ultra runner who has been climbing Sierra peaks with SMI for 10+ years. He’s also a veteran of our international destinations to Mexico’s Volcanoes and Aconcagua.

Doing the entire approach by headlamp the two opted to climb the massive south face of Mt. Humphreys to a notch that meets up with the North Couloir. From here the upper section of Mt. Humphreys Northwest Ridge is reached. On this day it offered spectacular climbing as the sun rose over the Sierra.

Upper NW Ridge of Mt. Humphreys
Looking at the upper Northwest Ridge of Mt. Humphreys from the top of the North Couloir.
3rd class gully on Mt. Humphreys NW Ridge
Ben climbing the 3rd class gully on Mt. Humphreys NW Ridge.

Roping up at the notch, the team ascended a 3rd class gully requiring the use of hands and feet that ended at a vertical wall. Careful route finding up the right side of the wall is the first of a handful of short class 4 pitches. The route climbs onto a spectacular ridgeline offering solid holds and spots of exciting exposure. This leads to the backbone of Mt. Humphreys Northwest Ridge. With the terrain dropping abruptly on either side the route looks improbable at first, but nevertheless a path opens up as one progresses higher.

Beginning the 4th class on the NW Ridge
Ben starting up the 4th class to gain the backbone of the NW Ridge of Mt. Humphreys.
Gaining the backbone of the NW Ridge of Mt. Humphreys
Ben gaining the backbone of the NW Ridge of Mt. Humphreys.
High on Mt. Humphreys NW Ridge
Ben enjoying the high quality granite climbing high on Mt. Humphreys NW Ridge. This route offers outstanding views of Humphreys Basin and the western landscape of the Sierra Nevada.
Thrilling climbing Mt. Humphreys NW Ridge
Ben enjoying the thrilling climbing on Mt. Humphreys NW Ridge.

The Summit and Descent

The summit of Mt. Humphreys is small enough to offer a dramatic 360 degree view because of its perch on a small point barely large enough for one climbing party. With clear calm weather there was enough time to refuel while soaking in the magnificent Sierra landscape before descending the NW Face to the SW slope. From here the descent through Humphreys Basin to Paiute Pass offered a leisurely and scenic way to wind down from this classic climb.

Topping out Mt. Humphreys NW Ridge
Ben climbing the final moves below the summit of Mt. Humphreys (13986’/4263m).
Ben Novak Mt. Humphreys summit
Ben Novak arriving at the summit of Mt. Humphreys (13986’/4263m) after a successful climb of the Northwest Ridge.
Kurt Wedberg on the summit of Mt. Humphreys
Kurt Wedberg on the summit of Mt. Humphreys (13986’/4263m) after guiding a successful climb of the Northwest Ridge.
Paiute & Loch Leven Lakes
Paiute and Loch Leven Lakes from the Pauite Pass trail just below the pass.
Lupine
Lupine’s in full bloom above Loch Leven Lake on the Paiute Pass trail.
Sierra Lily
Sierra Lily
Meadow Paintbrush
Meadow Paintbrush in bloom near Loch Leven Lake on the Paiute Pass trail.

View a photo gallery with more pictures from this climb here.

Contact SMI for climb Mt. Humphreys

Contact SMI to learn about guided climbs up Mt. Humphreys and the multitude of classic alpine climbs offered in the beautiful Sierra Nevada.

North Ridge of Mt. Conness

Stunning views high on the North Ridge of Mt. Conness!

Alpine rock climbing at its finest!

We experienced a picture perfect day on the North Ridge of Mt. Conness to kick off the alpine rock climbing season in the High Sierra! With summertime now upon us the high alpine climbs of the Sierra Nevada are at their finest. Longtime friend of SMI Michelle Kemmer joined us for a climb of the ultra classic North Ridge of Mt. Conness on July 9. Consisting of 6 pitches of moderate 5th class climbing plus an exciting rappel in the middle of the route this peak is pure alpine bliss. From steller granite to magnificent views of the alpine lakes, meadows, and granite spires in Tuolumne Meadows the North Ridge of Mt. Conness never disappoints!

The breathtaking approach!

The approach begins at Saddlebag Lake, which is a short distance off the Tioga Pass Road. The hike takes us past alpine lakes on a trail decorated with native wildflowers as it ascends to the base of the North Ridge.

Stunning morning scenery ascending above alpine lakes en route to the start of the North Ridge of Mt. Conness!

The beginning pitches and rappel of the North Ridge of Mt. Conness

We then roped up where the terrain narrows and becomes more exposed. A few short pitches in the difficulty range of 3rd to low 5th class led us to the first tower where two rappels lead to the upper end of the route.

Stellar granite and exhilarating views at the start of the North Ridge of Mt. Conness!
Rappelling off the tower on the North Ridge of Mt. Conness.

The top half of the North Ridge of Mt. Conness!

After short rappels the route presents four pitches of fun 5th class climbing on high quality granite with excellent hand and foot holds. Each belay station on the ascent reveals more exhilarating views en route to the 12590’/3829m summit!

Breathtaking backdrop approaching a belay station on the upper section of the North Ridge of Mt. Conness!
Stunning views below are the reward nearing the top of the North Ridge of Mt. Conness!
Hundreds of snowy peaks in the High Sierra provide the dramatic backdrop for a summit photo after a successful climb of Mt. Conness!
Kurt Wedberg, Mt. Conness North Ridge Summit
SMI founder Kurt Wedberg enjoys a picture perfect day from the summit after guiding a Mt. Conness North Ridge climb.

A complete photo gallery from this day can be viewed here. SMI arranges climbs of the North Ridge of Mt. Conness on any day between June 1 and October 15. Visit our website to learn about Mt. Conness and other classic Sierra Nevada alpine rock climbs. Reserve your spot today for a memorable adventure with our expert staff.

SMI Guides are back in action!

Mt. Whitney Summit!

SMI guides are ecstatic to be back guiding trips in the Sierra! We have spent this spring during the pandemic staying in shape, keeping sharp with our skills, and honing our craft. With things starting to open up again we are ecstatic to be once again outside sharing adventures in the Sierra Nevada with our guests.

The Sierra Nevada is our home, our back yard, and our favorite mountain range in the world. The possibilities for adventure and solitude are endless. Try ticking off some of our California 14ers on our Palisades trips, or the exhilaration from one of our classic alpine rock climbs. Learn to transfer your indoor climbing skills to the outdoor realm on one of our rock climbing programs, or discover pristine destinations in the Sierra Nevada through one of our customized backpacking trips! Whatever your desire the Sierra Nevada has it all!

During the month of July join any SMI trip in 2020 and receive a free custom SMI UPF 50+ Buff!

Sierra Gem – Bear Creek Spire

IMG_4312

The beautiful Bear Creek Spire

Lately, it seems, our guides have been spending a lot of time climbing Bear Creek Spire. With multiple classic routes of varying levels, BCS is a beauty of a peak, nestled in the Little Lakes Valley of the High Sierra between Bishop and Mammoth.

DSC_1550

SMI Guide, Ross Hill, leading a pitch on the North Arete

The two most popular routes on BCS are the North Arete, a 1200′ climb rated 5.8 for its most challenging pitch, with most pitches 5.5 or lower, and the Northeast Ridge, rated 5.5. The approach to both involves a very gradual trail over about 3.5 miles, followed by some talus hopping and off-trail navigation for about 2 more. You will likely contend with a snow field at the base, depending on time of year.

We are happy to take you on a climb of Bear Creek Spire this season, if you’re inspired by these photos! If you’re in good mountain shape, the Ridge could be turned around in a 2 day trip. We’d recommend a 3 day trip for the Arete, but 2 days might be appropriate for a strong climber.

Client, Ben Novak, climbing the Northeast Ridge


Kurt Wedberg Climbs Carstensz Pyramid, Completes the Seven Summits!

September 23, 2012: Summit photo on Carstensz Pyramid (4884m/16,024'). From left to right: Esther Kim, Vanessa O'Brien, Andrea Cordona, and SMI founder Kurt Wedberg.

SMI founder Kurt Wedberg just returned from Indonesia where he guided a climb of Carstensz Pyramid (4484m/16,024’).  This is a write up of the trip as told by Kurt…

On September 15 I boarded a China Airlines flight at LAX bound for Jakarta, Indonesia.  I was meeting three ambitious ladies who intended to climb Carstensz Pyramid located deep in the jungle on the island of Papua.  Carstensz gained notoriety in the international mountaineering community in the 1980s when climbers started including it as one of the coveted “Seven Summits”; the highest mountain on each continent.  Carstensz Pyramid is the highest mountain on the Oceana continent.  Previously this continent was limited to Australia making the highest peak on this continent Mt. Kosciuszko (2228m/7310′).

Carstensz Pyramid (4884m/16,024') located on the island of Papua, Indonesia.

Access to Carstensz Pyramid is one of the biggest hurdles to climbing it.  The island of Papua is still inhabited by several native tribes who see very little contact with people from the outside world.  Two of the biggest tribes are the Dani and Moni.  Since we would be traveling on their land permission needed to be granted for us to walk through their territory.  We also needed their help with hiring porters to carry our gear, fuel, and supplies for 12 days in the jungle.

Kurt Wedberg with a Moni tribe elder in the town of Sugapa, Papua Indonesia.

Some of our porters from the Moni tribe in Papua.

Our team met in Jakarta on September 16 where we organized our equipment.  We then flew overnight to Timika on the island of Papua.  The weather was hot and humid in this town located a short distance from the coast.  From Timika we took a charter flight to the village of Sugapa.  Here the weather was slightly cooler but the equatorial sun was piercing and bright.  At Sugapa we arranged for Moni tribe members to porter our loads and prepared to start walking.  We would be trekking past the historical boundaries of the Moni territory and it was important that we had them with us.  The trailhead was accessed by riding on the backs of motorcycles along a dirt road for 20+ minutes.

The village of Sugapa and the runway located deep in the jungle on the island of Papua. Airplanes are their only connection to the outside world.

Moni tribe members discussing our route through the jungle and the porter loads they would carry during our trek to Carstensz Pyramid.

Esther and Vanessa on the backs of motorcycles that will take us to the start of our route. It was about a 15 minutes motorcycle ride over a dirt road.

On September 17 we began our trek.  Over the next 5 ½ days we planned to hike 100km/62 miles to reach Carstensz Pyramid.  On Day 1 we passed by several Moni villages.  It rained hard at times and we quickly learned that two of our most important pieces of equipment we brought were our thick rubber Hunter boots to trample through the mud and an umbrella.  We stayed in the furthest village along this path at 1991m/6532’.  From here the trail became less defined.  On September 18 we traversed a hillside to a large river that we paralleled for most of the 7 hours of walking.  The terrain varied from solid rock to thick mud.  Rain returned after lunch and made our path significantly muddier plus rocks and tree roots became more slippery.  Even with high top boots our pants got caked with mud.  Our camp was pitched at 2276m/7467’ in a small clearing amid thick jungle foliage next to a large roaring river.  Nearby was a creek of clear running water that provided a nice place to wash our pants and boots.  Even after these first two days it became obvious that trekking through the jungle would be hard work.  Every single step requires thought and effort.  Relaxing mentally even for one step is recipe for losing footing on the muddy wet slippery terrain.

Andrea, Esther, and Vanessa traversing a muddy slope on September 18, day 1 of the trek.

A fence made of local wood along our trekking route in a Moni tribe village.

Huts in a Moni tribe village.

Moni tribe members discussing our route for day 2, September 18.

Muddy boots on September 18.

One of many log crossings over a river.

Our camp in the jungle on September 18. At each camp we draped a tarp over a wooden frame to give us a dry place to cook and eat meals, plus give us a place to hang out away from the rain.

On September 19 our goal was to get high enough to reach the top end of the thick jungle environment and start entering a large plateau.  Our porters had a camp in mind that offered a good water source and flat terrain for camping.  The path continued to deteriorate throughout the day.  The footing became more slippery, the mud became thicker, and we found ourselves grabbing mossy tree branches to surmount steeper sections of the route.  In the middle of the route we passed a small “village” consisting of one hut and a family.  They were friendly and let us sit on the grass outside their hut and each lunch.  Weather remained warm and humid.  The clothing of choice was long pants and long sleeves for abrasion protection from plants but clothing that would offer breathability to prevent overheating.  I wore a pair of loose fitting and comfortable Patagonia pants and a wool Icebreaker short sleeve shirt.  I was the only team member who chose a short sleeve shirt.  I managed to keep my arms from getting scratched too much but the other three were happy to have worn long sleeves.  I was truly impressed with how well wool garments performed here.  The insulating properties of wool allow it to have a much wider temperature range than any synthetic material I’ve ever used.  In my pack I kept two heavier Icebreaker wool layers in case I needed arm protection and additional warmth.  The day wore on and by late afternoon it became apparent we were running out of water and no camp was in site.  Soon after our water ran out we also started losing our daylight.  We found our pace slowed in the darkness in spite of us donning headlamps.  We kept walking following our porters path finally reaching our intended camp at 3222m/10,570’ in the dark after 10 ½ hours of walking.  Tired and dehydrated we counted it a big blessing we were relieved of dealing with rainy weather while hiking today.

Our porters crossing a large river. these log crossings were numerous in the jungle. Our bare footed porters moved with ease over these wet slick logs. A fall off this log would have sent anybody into the swift fast current below with a water level several feet high.

Andrea crossing a bridge made from small and medium size branches held together by vines wrapped around small branches laid in cross sections at intervals along the bridge.

Close up photo of vines and cross sections that hold the bridges branches together.

A moni tribe member using a machete to clear jungle foliage to aid in hunting.

A Moni family and their hut in the middle of the jungle. With great amusement they teach Kurt how to use their hand made bow and arrow they use to hunt.


Negotiating the terrain in the jungle.

The team pauses for a photo during a rare sunny morning on the plateau above the jungle. The team hiked for two days over this plateau reaching an elevation as high as 3808m/12,493'.

A typical day of rain on the trail. It rained every day of this trip and with the exception of a couple days it rained during our walk. An umbrella was an invaluable piece of gear for this trip.

We woke on September 20 after a good night of welcomed rest and rehydration.  We’re now half way to our Base Camp for Carstensz Pyramid.  Over the next three days we would gain elevation and the terrain would open up offering us views of the surrounding hillsides.  We hoped this would signal an end to the mud but no such luck!  Instead of mud mixed in with tree roots and slippery rocks we had mud mixed in with wet marshy patches that would deceivingly not support body weight.  A misstep here could mean sinking in past the knee and water entering our boots.  My socks got wet each day regardless because Hunter boots are not breathable.  This is where I found my wool Icebreaker socks to be invaluable.  They would dry out at night and during the day they performed well regardless of how wet they got.  If our socks weren’t getting wet from inside the boots or from a misstep in the marsh they would get wet from the rain that came down heavy at times over the next three days.  Since we were out of the thick foliage of the lower jungle our umbrellas were easier to manage.  Arriving at camp each night with muddy boots and pants and soaked clothing we spent the late afternoons trying our best to clean up and get warm and comfortable in our tents.  We put in camps at 3569m/11,709’ and 3717m/12,194’ before reaching our Base Camp on September 22 at 4330m/14,205’.  Arriving at mid afternoon we had time to organize our climbing gear and prepare for our climb of Carstensz Pyramid in early morning.

Vanessa negotiating mud on September 22 en route to Base Camp.

September 22 en route to Base Camp. Heavy rain lasted most of the day. Now at higher elevation the temperature dropped from the warm tropical climate to much cooler requiring team members to wear a couple layers of clothing underneath their rain gear. We reached an elevation of 4500m/14,763'.

September 22: Kurt at the high point for the day at 4500m/14,763'. The last thing Kurt purchased for this trip was an umbrella from K-Mart in Bishop. This proved to be his favorite piece of gear!

Base Camp at 4330m/14,205'. Carstensz Pyramid, which was shrouded in clouds all day, is located out of the photo to the right on the other side of the ridgeline.

Our mountain was sitting in a cloud above us with rain soaking the route all day.  Finally by evening time the rain quit and revealed stars through partially cloudy skies.  Our strategy was to leave early, climb efficiently, and hopefully reach the summit by early morning.  We hoped to be on the summit and descending before any precipitation began.  Although it can (and did) rain at any time day or night the odds in the mountain environment usually trend towards less precipitation in the mornings and more in the afternoons.  Just the same we carried our umbrellas for the one hour approach and left them at the base of the route.

The rock on Carstensz Pyramid is hard limestone.  The abrasive nature of it meant it would be hard on our clothing but it also provides a lot of friction making for good hand holds and solid purchase for our feet.  The rock is also not very porous and therefore doesn’t absorb water.  Thus even after so much rain the rock was dry as we started up the route at 3:30am.  The climbing consists of scrambling on terrain anywhere from 3rd class up to low 5th class.  Fixed lines have been placed over the years on various sections and these were in varying degrees of wear.  My job on this climb was to keep these ladies safe, negotiate the most effective route, and coach them on the most efficient techniques to climb.  I checked the integrity of the lines and the anchors and as we got into the rhythm of moving we found the climbing to be very enjoyable.  As daylight approached we found ourselves high up on Carstensz Pyramid approaching the long summit ridge we would traverse.  A few 5th class moves led us to the ridge where we turned left and moved to the most exciting part of the route; a Tyrolean Traverse approximately 30m/98’ long over an airy and exposed spot on the ridge.  The challenge of a Tyrolean Traverse revolves around more mental aspects than physical.  They are usually wildly exposed (hence the need for employing this technique) and intimidating to trust at first but once you start on them it is just a matter of moving across the lines and before you know it you’re on the other side.  I rigged everybody with two safety backup systems and we clipped into five different ropes offering plenty of redundancy and piece of mind.  The remoteness of where we were was not lost on any of us!!

Vanessa feeling out her moves on a small chimney on the lower part of the route on Carstensz Pyramid.

An easier area of the climb in between 5th class sections.

Vanessa climbing a 5th class pitch directly below the summit ridge.

Esther getting close to the summit ridge.

Andrea enjoying a 5th class pitch on the route.

View of the surrounding landscape at 5:45am from high up on Carstensz Pyramid.

Esther and Andrea traversing the summit ridge below the Tyrolean Traverse.

Vanessa started the Tyrolean Traverse.

Andrea on the Tyrolean Traverse.

Esther on a small "step across" on the summit ridge.

Traversing the summit ridge of Carstensz Pyramid.

Esther and Andrea high on the summit ridge of Carstensz Pyramid.

One by one we made it across the Tyrolean Traverse then continued traversing the ridge line.  A couple more impasses were encountered that required stretching across smaller expanses but with good backups and carefully placed hands and feet these posed little problems for the ladies.  The terrain then got easier for the last few minutes leading to the summit.  Vanessa and I found ourselves slightly ahead of the rest.  I surmounted a small notch and looked up 40’ above me and realized that was the summit.  I turned to Vanessa and told her to scramble on past me to the summit and she could be the first to stand on top and I’d get some pictures of her.  She obliged and made the final steps towards the 5th of her Seven Summits!  Shortly afterwards the others joined us on the summit.  We were blessed with intermittent clouds and clear skies offering an occasional view, pleasant temperatures, and no precipitation.  We exchanged summit photos and hugs and made a couple calls on our satellite phones before it was time to descend.

Vanessa on the summit. This was the 5th of her Seven Summits. She is scheduled to go to Antarctica to attempt Mt. Vinson in November and Aconcagua in Argentina in January.

Esther elated to be on the summit of Carstensz Pyramid.

Andrea poses on the summit with the Guatemalan flag. This moment completed not only her Seven Summits but also the Adventure Grand Slam which includes the North and South Poles. She is the first female from Central America to accomplish the feat. Congratulations Andrea!!

Kurt standing on the top of Carstensz Pyramid reaching the final of his Seven Summits!

Kurt calling on his satellite phone from the summit of Carstensz Pyramid. Within minutes of reaching loved ones with the news of their successful summit an announcement was posted here on this blog.

Carstensz Pyramid summit photo: Esther Kim, Vanessa O' Brien, Andrea Cordona, and Kurt Wedberg

Retracing our steps we made it across the summit ridge and started down as light snow began to fall.  It was wet and melted upon touching the rock.  As we descended further the rock got increasingly wet until small streams were flowing down crack systems all around us.  Our gloved hands got soaked but each step brought us closer to the bottom.  Many rappels and short step downs brought us to the base of the route where our trusty umbrellas awaited us.  As the rain picked up in intensity we hiked back to our camp.  We had snuck in a successful ascent of Carstensz Pyramid and we were happy for that.  It would be another four days of trekking through mud and rain retracing our route back to Sugapa.  We managed that and in the process completed an amazing adventure on a remote and distant island in an exotic land with an experience I’m sure the team will remember for the rest of our lives!

On a personal note this was a truly rewarding experience for me.  As a professional mountain guide at SMI our goal is to keep our clients safe and help them achieve their intended goals.  Along the way we continue to make many new and dear friends.  All those missions were accomplished here.  It also completed my own Seven Summits journey.  It began 20 years ago in July of 1992 when I was a young assistant guide on my first expedition to Mt. McKinley (20,320’/6193m), the highest mountain on the North American continent.  SMI is now positioned to guide climbs on all seven continents.  I’ll share more on the journey to the Seven Summits soon.

I want to extend a big thank you to Andrea, Esther, and Vanessa for sharing such an incredible adventure on Carstensz Pyramid.  I also want to thank my family and dear friends who have been so supportive of me throughout my guiding career.  Finally, a special thank you to all of our clients who we continue to share so many incredibly memorable experiences with.  We look forward to seeing you back and to all the new people we will meet along the way.  We already have many trips lined up for the next coming year and we hope to see many of you on one soon!

The entire photo gallery from this climb can be found here:  Carstensz Pyramid September 2012


Summit Photo from Carstensz Pyramid

Kurt Wedberg just arrived back to Jakarta, Indonesia after 4 days of jungle trekking to return from the summit of Carstensz Pyramid.  Many more photos and stores will be following soon.  For the moment here’s a summit photo taken on September 23, 2012.

Summit of Carstensz Pyramid September 23, 2012. From left to right: Esther Kim, Vanessa O'Brien, Andrea Cordona, and SMI guide Kurt Wedberg.

Kurt Wedberg and Team summit Carstenz Pyramid!

Minutes ago, a celebratory satellite phone call from the summit delivered the good news that Kurt and Team have successfully climbed Puncack Jaya or Carstensz Pyramid (4884m/16023′), the highest point of the Australasia/Oceania region.

The Climbing Team consists of: Vanessa O’Brien of Boston, MA; Esther Kim of Washington DC; Andrea Cardona of Guatemala; and SMI Guide Kurt Wedberg.

This summit completes the last remaining mountaineering objective on the 7 Summits List for Kurt Wedberg. Although Kurt has climbed the other 6 objectives numerous times during his guiding career, until now Oceana remained a distant goal.

Additionally, this summit signifies the completion of the last remaining objective on the Adventure Grand Slam List for Andrea Cardona. The Adventure Grand Slam List consists of climbing the highest peak on each continent (Denali, Aconcagua, Elbrus, Kilimanjaro, Vinson Massif, Carstensz Pyramid, Everest) and skiing to both the North and South Poles. Ms. Cardona is the first woman from Central America to complete the Adventure Grand Slam.

The Team spent the past 5 days trekking through difficult and technical jungle terrain to reach the base of Puncack Jaya. Now, they will return to camp, rest, and resume their descent through the jungle to the trailhead.

Pictures and updates to follow.

AM