Month: August 2020

Rock Climbing Mt. Whitney

Rock climbing Mt. Whitney via the classic East Face and East Buttress routes!

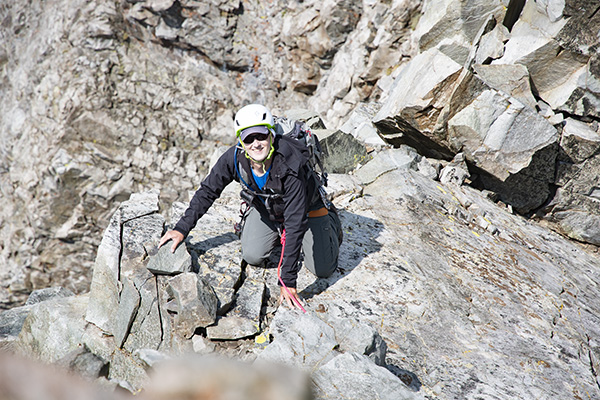
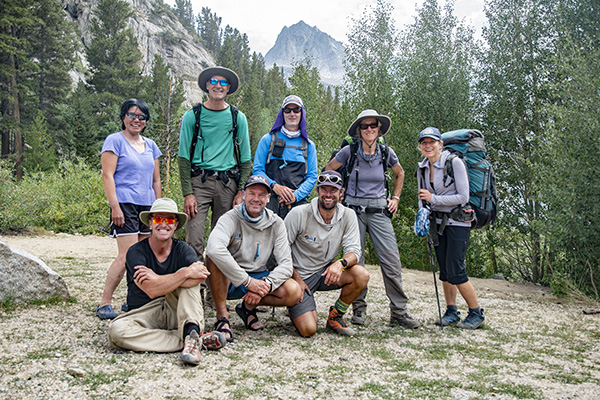
Rock climbing Mt. Whitney is an opportunity to ascend the highest peak in the contiguous United States via a route seen by relatively few people who visit this region. Mt. Whitney is the most popular of all the mountains SMI conducts trips to, and for good reason. Magnificent scenery and it’s setting along the crest of the Sierra along with its lofty elevation make this climb an unforgettable experience. The East Face and East Buttress routes are tremendous alpine rock climbs and the fact that they lead to the summit of Mt. Whitney make them all the more attractive.

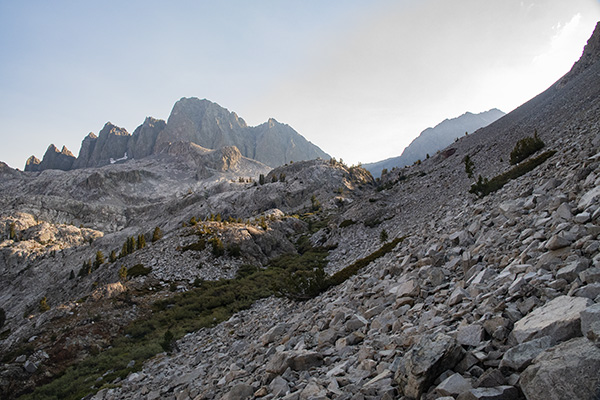
The Approach: Hiking to Iceberg Lake

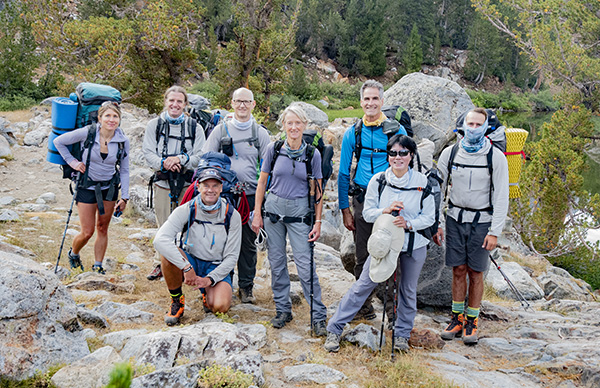
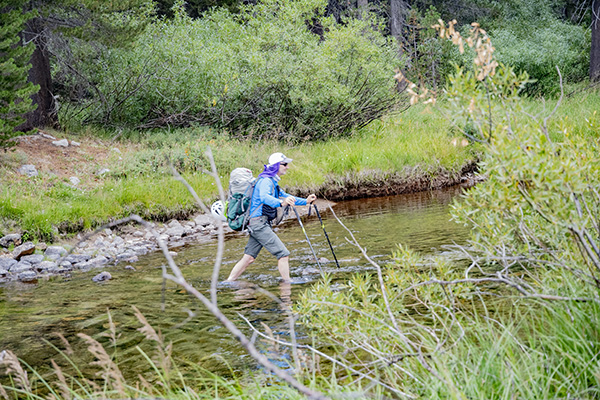
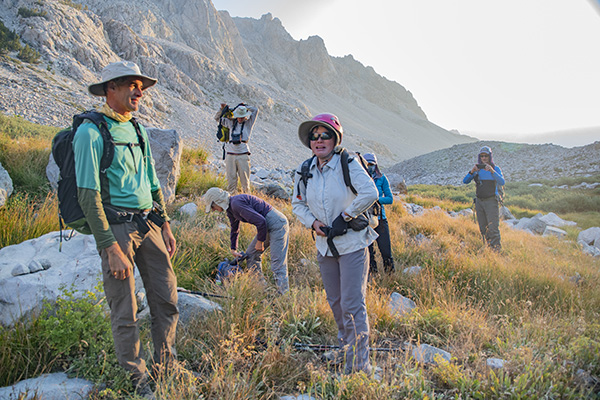
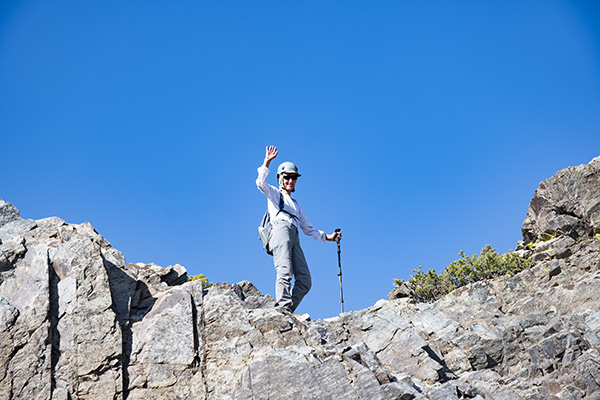
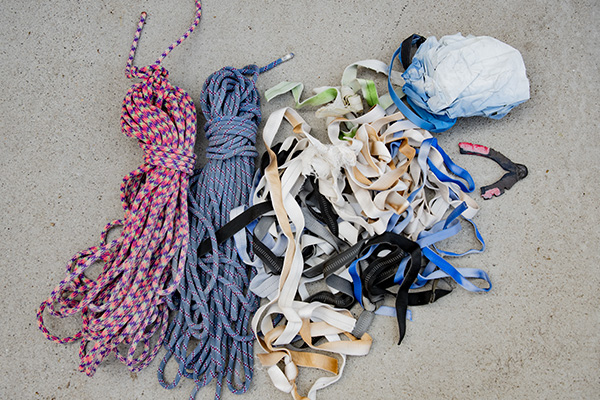
The journey begins at Whitney Portal (8350’/2545m). After final gear checks and loading rucksacks the team sets off for the North Fork of Lone Pine Creek. This “climbers trail” passes pine trees, willows, abundant wildflowers, and the Ebersbacher Ledges as it ascends a canyon that tops out at Lower Boy Scout Lake (10350’/3155m). The route continues past Upper Boy Scout Lake (11000’/3353m) to a mid afternoon arrival at Iceberg Lake (12610’/3844m) after approximately 6 hours of hiking. After making camp and an early dinner it’s time to bed down in the waning light so the team is ready for an early start to climb the East Face of Mt. Whitney.

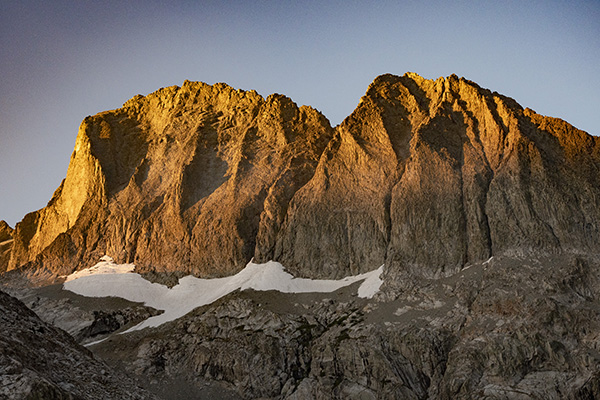
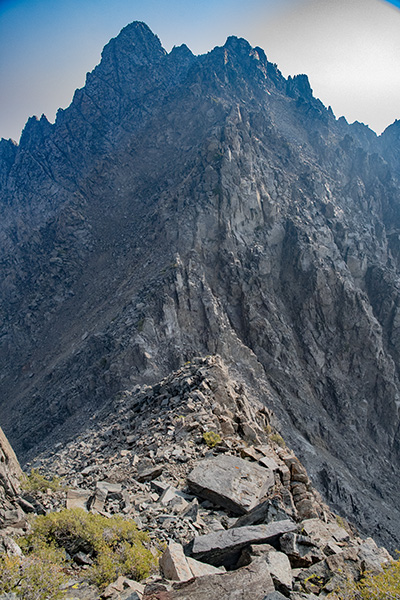
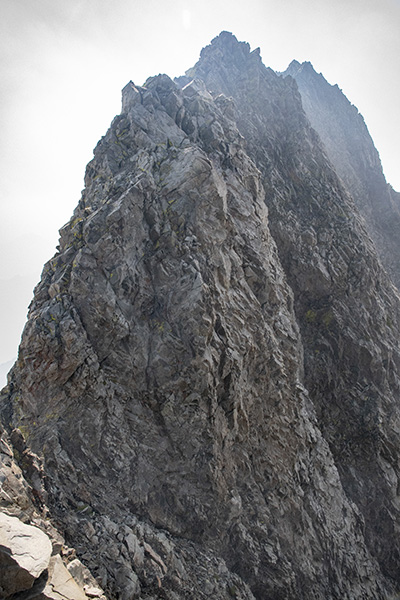
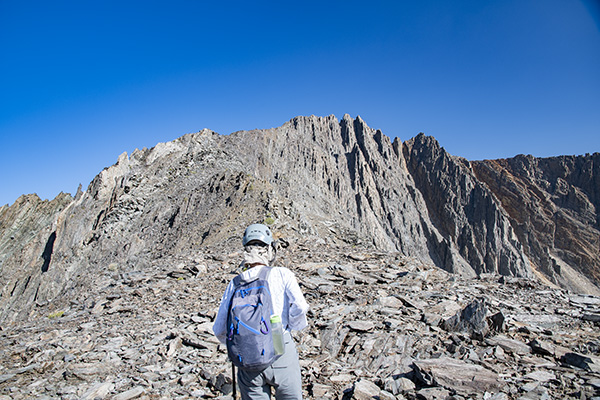
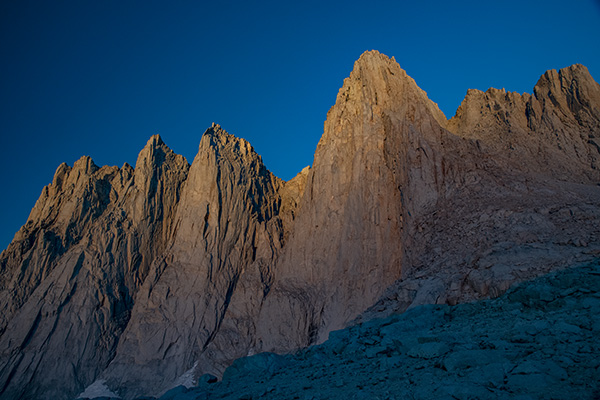
The East Face of Mt. Whitney

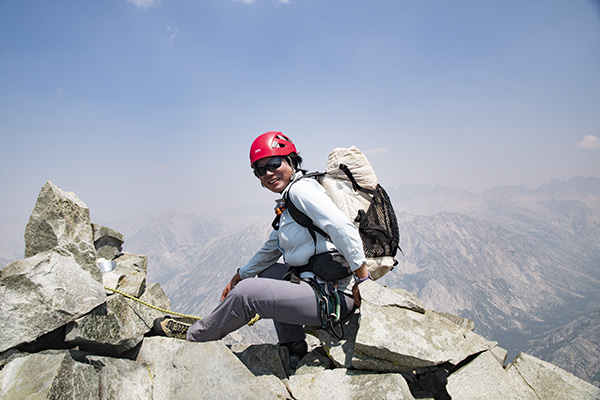
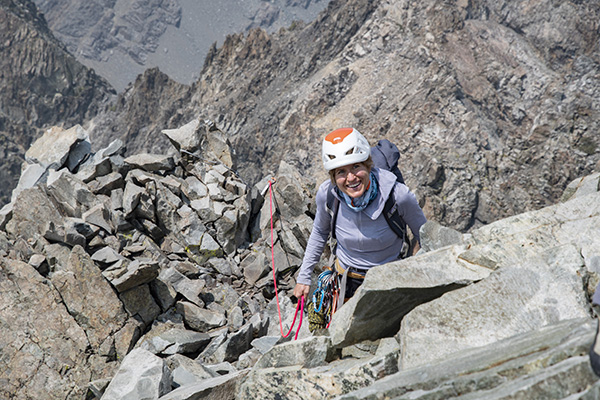
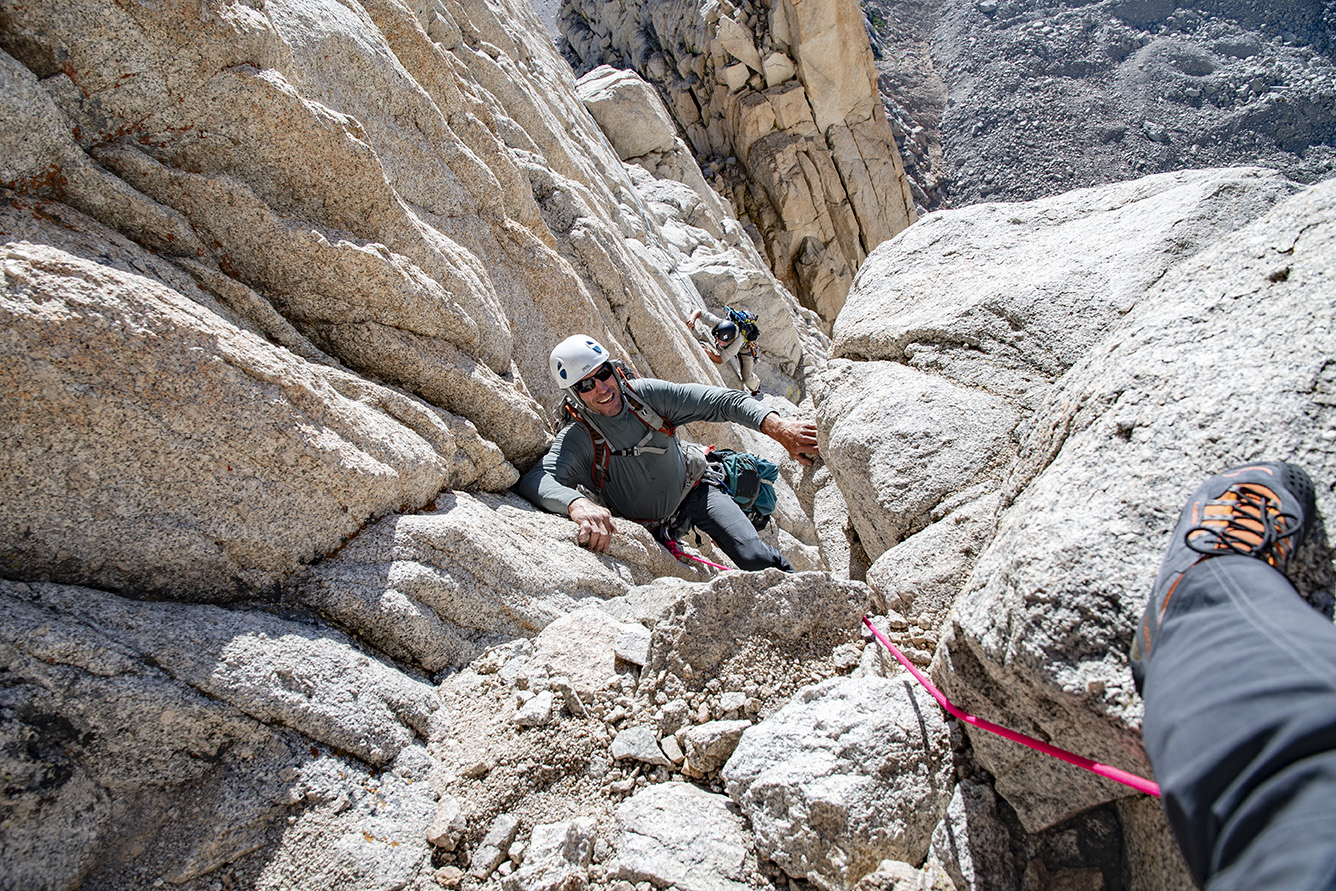
Rising ahead of sunrise affords getting a jump on the day to maximize daylight. It also offers a stunning view of the Mt. Whitney massif bathed in glowing morning light reminding onlookers why the Sierra is nicknamed the Range of Light. A 45 minute hike over easy 3rd class terrain leads to the start of the route. Clothing layers are adjusted, sunscreen applied, harnesses are donned and climbers tie into the rope. This route is normally 11 pitches long with the hardest moves rated at 5.7, but it is not sustained climbing at this grade.

The Mt. Whitney massif bathed in the glow of morning light!
SMI guests Chris and Doug are tied in and ready to climb!

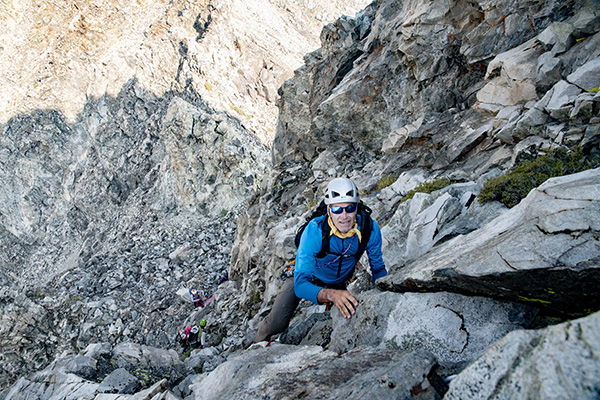
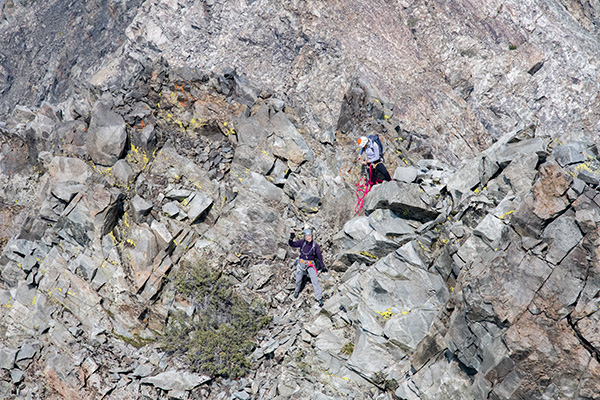
Rock climbing Mt. Whitney: The Tower Traverse

The first pitch rock climbing Mt. Whitney via the East Face is the Tower Traverse. This exhilarating start to the route entails traversing a ledge that leads to a small corner/chimney system, which is ascended for about 25 feet to the first belay station.

Chris and Doug crossing the ledge system on the Tower Traverse.

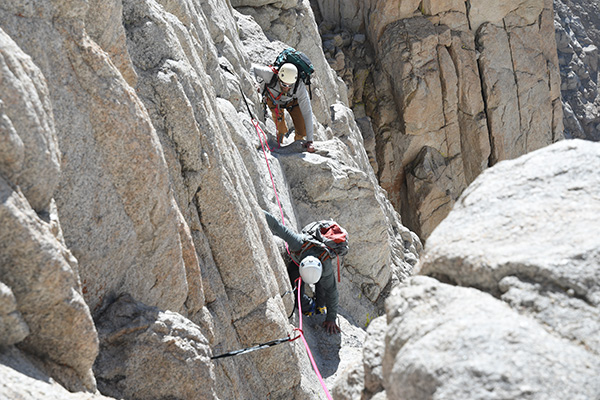
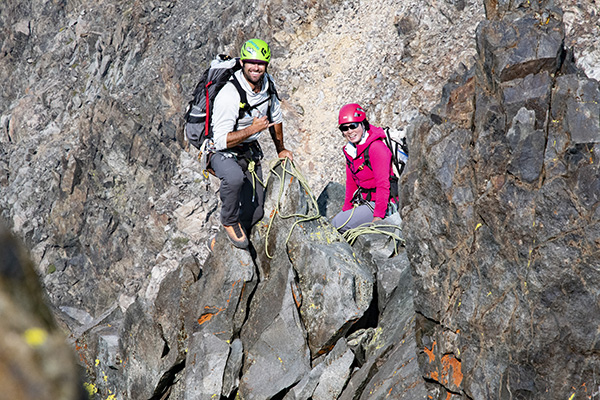
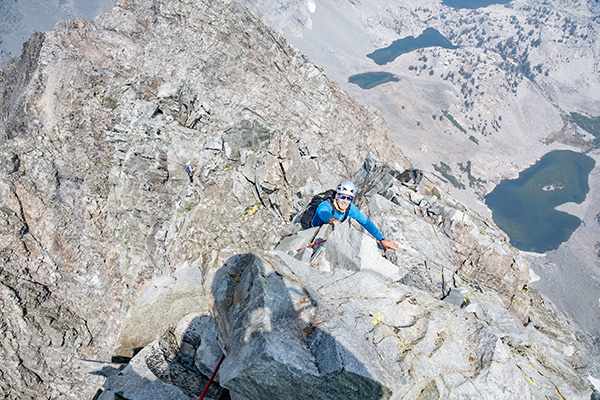
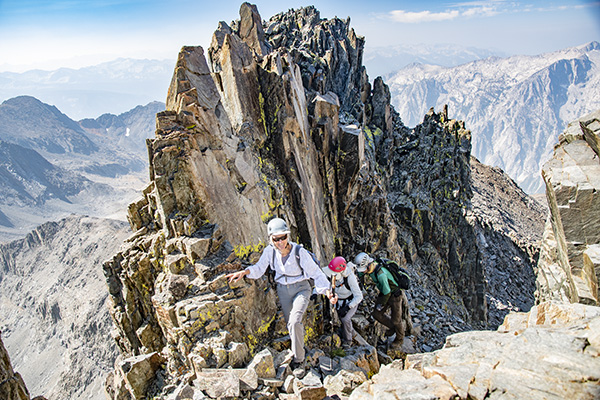
Rock climbing Mt. Whitney: The Fresh Air Traverse

Above the Tower Traverse the route ascends a prominent ramp known as the Washboards, which is mostly 3rd and 4th class. A short blocky pitch then leads to a tower that is down climbed to a large ledge at the base of the Fresh Air Traverse.

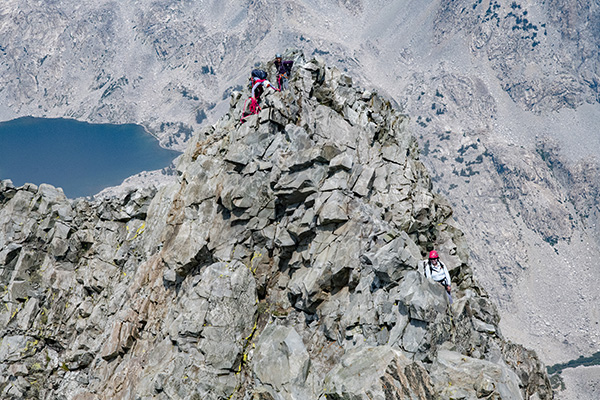
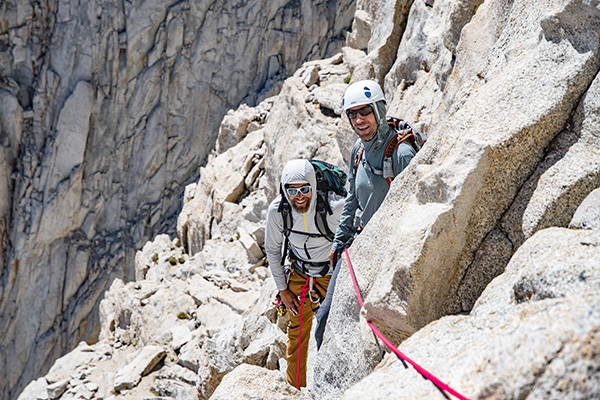
The Fresh Air Traverse is considered by many to be the highlight of the East Face route. A “step across” over a fantastic stretch of exposure on good holds marks the crux moves, which is followed by climbing a series of ledges. Solid hold on high quality granite combined with over 1000′ view below make negotiating the Fresh Air Traverse a truly exhilarating and rewarding experience!

SMI climbers at the tower atop the Washboards before the Fresh Air Traverse.
Crossing the magnificent Fresh Air Traverse!
Doug & Chris psyched on the exhilaration of climbing the Fresh Air Traverse!

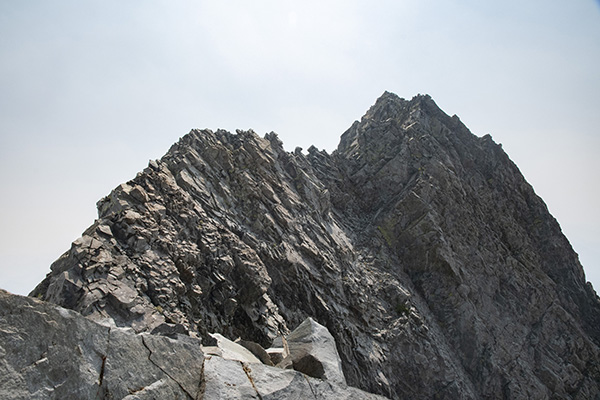
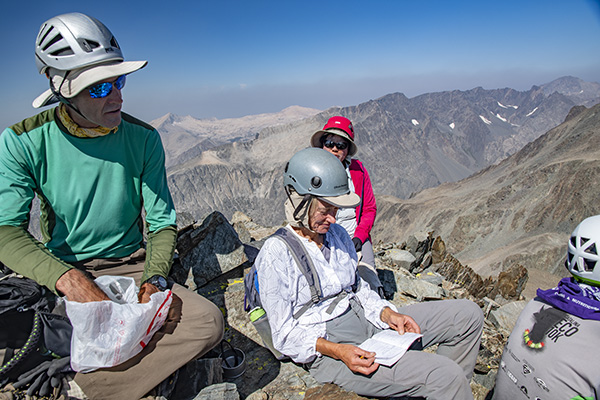
Rock climbing Mt. Whitney: The Final Pitches To The Summit

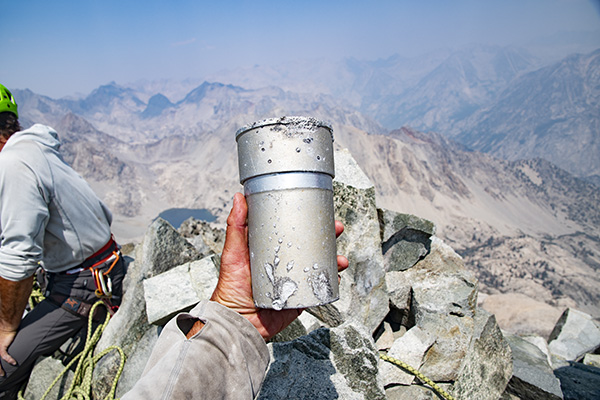
Above the Fresh Air Traverse another 5th class pitch ends at the Grand Staircase. This is followed by a couple more short 5th class pitches before the terrain backs off to some 3rd class scrambling that leads to the summit.

Chris & Doug fire up as they finish the final 5th class pitch on the East Face of Mt. Whitney!
Stunning High Sierra views are the backdrop for the final scrambling to the summit!
A well earned summit photo after a extraordinary climb of the East Face of Mt. Whitney!

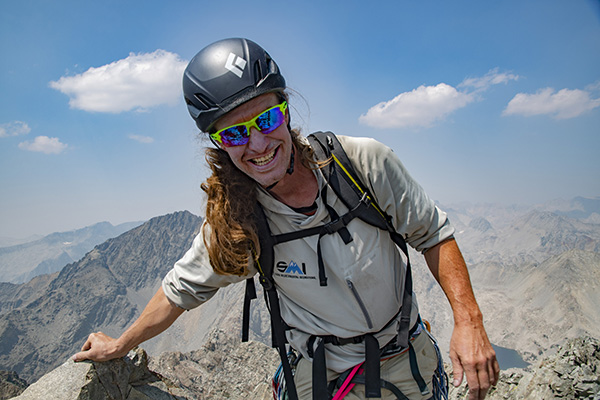
The East Buttress of Mt. Whitney

For those looking for more alpine climbing bliss we will stick around for another day and tackle the East Buttress of Mt. Whitney. This route strings together ten 5th class pitches on a direct column with sections of sustained 5.7 moves. It meets up with the East Face at the final 3rd class scrambling leading to the summit.

Ascending the East Buttress of mt. Whitney high above Iceberg Lake.

Rock climbing Mt. Whitney: The “Pee Wee” Pitch

One highlight on the East Buttress is climbing past the “Pee Wee”; a large protruding overhung block of granite.

The Pee Wee on the East Buttress of Mt. Whitney.
Climbing above the Pee Wee on the East Buttress of Mt. Whitney.
Second summit photo in as many days after a fantastic climb of the East Buttress!
No summit of Mt. Whitney is complete without adding our signatures to the register!

More photos from the East Face & East Buttress

View a photo gallery from this trip here.

Climb Mt. Whitney with SMI!

SMI leads climbs to Mt. Whitney throughout the year. Each route has its own unique experience from an ascent of the Mountaineers Route in winter/spring or summer/fall to a rock climb. Read more about our Mt. Whitney programs here.

Climbing Devils Crag

Devils Crag #1

A trip deep into the Sierra to climb Devils Crag #1 and Wheel Mountain

Climbing Devils Crag #1 involves ascending a knife edged 4th class ridge. The rock is loose and the route is wildly exposed in places. Devils Crags are a grouping of 12 summits along a fractured ridgeline tucked deep in Sequoia/Kings Canyon National Park. Devils Crag #1 is the most sought after because it is not only the highest at 12405’/3782m but it is also included on the Sierra Club’s Sierra Peaks Section Peak List. This list consists of 247 peaks in the Sierra divided into 24 geographical zones. Devils Crag is considered by many to be the most difficult peak on this list. In spite of this however, “sought after” is still a relative term. Devils Crag #1 sees very few ascents. Between September 2016 and this climb the mountain had only seen 6 ascents and nobody climbed it in 2017 or 2019.

Day 1: The Approach Day

Getting to Devils Crag is a long but beautiful hike. Starting at the South Lake Trailhead the approach beings with a 6 mile stretch over Bishop Pass (11973’/3649m), then 6.5 miles down to LeConte Canyon where it intersects with the John Muir Trail (8860’/2700m). Hiking south for another 2.6 miles leads to Grouse Meadow. It is here that the approach leaves the well traveled trail and immediately crosses the Middle Fork of the Kings River (8250’/2515m). After crossing the river and Grouse Meadow the unmarked route ascends a steep and unpleasant slope that is loose in places to 10000’/3048m. It then traverses across a long talus field that eventually intersects with Rambaud Creek. At 10400’/3170m a couple unnamed lakes are reached that offer decent camping options. All told it measured out to be 16.71 miles covered in just over 13 hours.

The Devils Crag team
The team from left to right: Hjordis Rickert, Trevor Anthes, Kurt Wedberg, Paul Garry, Kathy Rich, Bill Carpenter, Linda Sun, and Tristan Sieleman
Crossing the Middle Fork of the Kings River
Paul crossing the Middle Fork of the Kings River. The water was low this year. On some years it can be waist deep or deeper, especially earlier in the season.
Talus on the approach to camp
The talus traverse at approximately 10100′ on the approach to camp. Devils Crags are on the left skyline with seven of its summits in view.

Day 2: Getting to Devils Crag #1

Climbing Devils Crag #1 is usually done via the Northwest Arête. This 4th class ridge consists of complex terrain that requires careful thought and efficient rope work to maintain safety while making decent time. A headlamp start was indicated to maximize daylight because we anticipated a full day. A long talus slope led to Raumbaud Pass (11575’/3528m) in between Devils Crag and Wheel Mountain. After close to 3 hours of walking the team arrived at the start of the Northwest Arête.

Everybody geared up so we were prepared for the exposed terrain ahead. In addition to exposure another challenge on Devils Crag is loose rock. This poses difficulties assuring that hand and foot placements are solid, in making solid anchors for protection, and dislodging rocks that can be a hazard to parties below.

The Northwest Arête

Traversing a ridge and dropping elevation the route leads to a class 4 chute for 20m. Above here the exposure increases traversing past two large black rocks called the “Rabbit Ears”. Another short traverse drops slightly down to a 20m pitch of improbable 4th class. Moving above here the ridge widens slightly then reaches a wildly exposed 4th class 10m downclimb. Many consider this to be the crux because of the exposure and difficulty to protect it. Past this downclimb the ridge stays narrow over exposed 4th class terrain leading to the summit.

The start of the Northwest Arête
Looking at the start of the Northwest Arête on Devils Crag.
The 4th class chute
Bill climbing the 4th class chute on the Northwest Arête.
Approaching the Rabbit Ears
Linda and Tristan on the traverse to the Rabbit Ears.
Climbing through the Rabbit Ears
Bill climbing in between the “Rabbit Ears” on the Northwest Arête.
The upper half of the Northwest Bill climbing in between the "Rabbit Ears" on the Northwest Arête
Looking at the upper half of the Northwest Arête.
Sketchy anchor on Devils Crag
The Northwest Arête of Devils Crag has a few sketchy anchors along its route.
Kathy and Hjordis on the Northwest Arête
Kathy and Hjordis high on the Northwest Arête.
Bill on the Northwest Arête
Bill approaching the upper section of the Northwest Arête.
The final ridgeline to the summit.
Looking at the final ridgeline to the summit of Devils Crag #1.
Climbing on the upper reaches of the Northwest Arête.

The summit!

The summit of Devils Crag #1 offers spectacular views of the Sierra. There was time to soak in the magnificent scenery because the team climbed efficiently. It’s a special vantage point because so few people have ever been here. Smoke from a forest fire partially obscured the views but they were spectacular nonetheless.

The abundance of loose exposed 4th class topography on Devils Crag is some of the most complex terrain to guide. The alpine guide needs to have many skills in their quiver to employ on any given move. The techniques used will vary depending on several factors including (but not limited to) the weight ratio of the guide and guest, comfort, ability level, and weather elements such as wind. One rope team may use a certain technique on a particular feature then another team will come and do something different. What was agreed upon afterwards is everybody dug deep into their bag of tricks, and this route required constant vigilance with no breaks. It also proved to be a fun, challenging, and rewarding experience for all!

Kathy Rich summit photo
Kathy Rich summit photo on Devils Crag #1
Linda Sun summit photo
Linda Sun summit photo on Devils Crag.
Paul Garry summiting Devils Crag
Paul Garry climbing the final moves to the summit of Devils Crag.
Bill Carpenter summit of Devils Crag
Bill Carpenter adding his name to the summit register on Devils Crag.
Hjordis Rickert summiting Devils Crag
Hjordis Rickert coming onto the summit of Devils Crag.
Trevor Anthes arrives at the summit of Devils Crag
Trevor Anthes arrives at the summit of Devils Crag.
Tristan & Kurt summit Devils Crag
Tristan Sieleman & Kurt Wedberg on the summit of Devils Crag.
Devils Crag summit register can
The summit register can on Devils Crag showing evidence of lightning damage.

Descending off Devils Crag the team decided to return to camp instead of climbing Wheel Mountain on the same day. Arriving at camp that evening everybody cherished a safe and enjoyable climb on Devils Crag.

Day 3: Wheel Mountain

Wheel Mountain (12774’/3894m) is reached by going in the opposite direction at Rambaud Pass from Devils Crag. While rated class 3 the terrain is benign. There’s an occasional move that requires using hands but nothing that requires a rope.

The plan was to climb Wheel Mountain and after returning to camp to pack up and descend to the JMT. This would make for an easier hike out on Day 4.

Leaving after it got light Wheel Mountain proved to be an enjoyable climb. From its upper reaches the views of Devils Crag are fantastic. The route was easy enough to find and the views from the summit were even better than Devils Crag. From Rambaud Pass it was less than 2 hours to the summit. A little time spent in reflection and taking in the scenery was welcomed before returning to camp and navigating down to the JMT.

Morning start for Wheel Mountain
Morning start for Wheel Mountain.
Rambaud Pass
Kathy at Rambaud Pass en route to Wheel Mountain.
Wheel Mountain from Rambaud Pass
Wheel Mountain from Rambaud Pass.
Summit pinnacles on Wheel Mountain
Summit pinnacles on Wheel Mountain.
Summit Wheel Mountain
A little time of reflection on the summit of Wheel Mountain.
Ending shot at South Lake
The team arrives safely back to South Lake!
Old tat on Devils Crag
The team hauled out two old ropes and a large mound of UV worn webbing from Devils Crag.

Galleries with more photos are here and here.

SMI arranges ascents of Devils Crag and all 247 peaks on the SPS Peak List. Contact our office for details.