Tag: Point6

Training For Mountaineering

Training For Mountaineering

Training for mountaineering is critical for safety and success

What Is Mountaineering?

Mountaineering is the pursuit of recreation in the mountains.  This can take many forms:  peak ascents, hiking, rock climbing, ice climbing, trail running, backpacking, and skiing, to name a few.  Mountaineering is an all-encompassing word for all of these activities, with each of them being a subset of the whole.

Mountaineering often requires performing at a variety of intensity levels at high elevation in changeable weather. Proper training is the foundation for executing a safe and rewarding climb. While each of these activities may require a specific skill set, they all require a combination of movement efficiency, strength, and endurance.
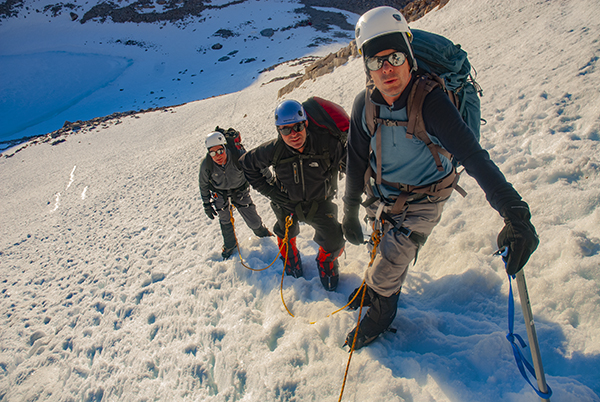
Summit day on Mt. Whitney's Mountaineers Route
A stunning morning during a winter ascent of Mt. Whitney’s Mountaineers Route (14505’/4421m). Climbing this route requires learning a specific set of snow climbing skills but also requires endurance to successfully complete this 4-day climb.

PERFORMANCE =

Movement Efficiency + Strength + Endurance

Training For Mountaineering – Movement Efficiency
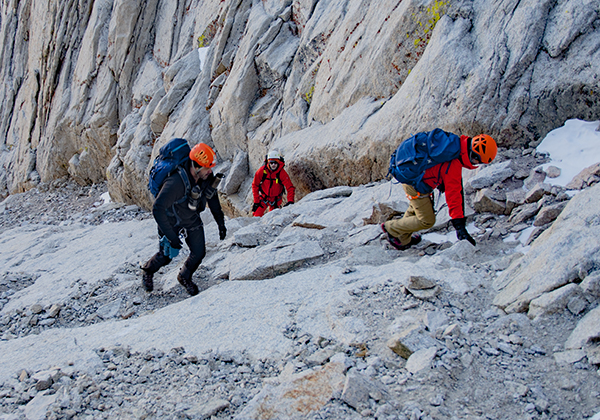
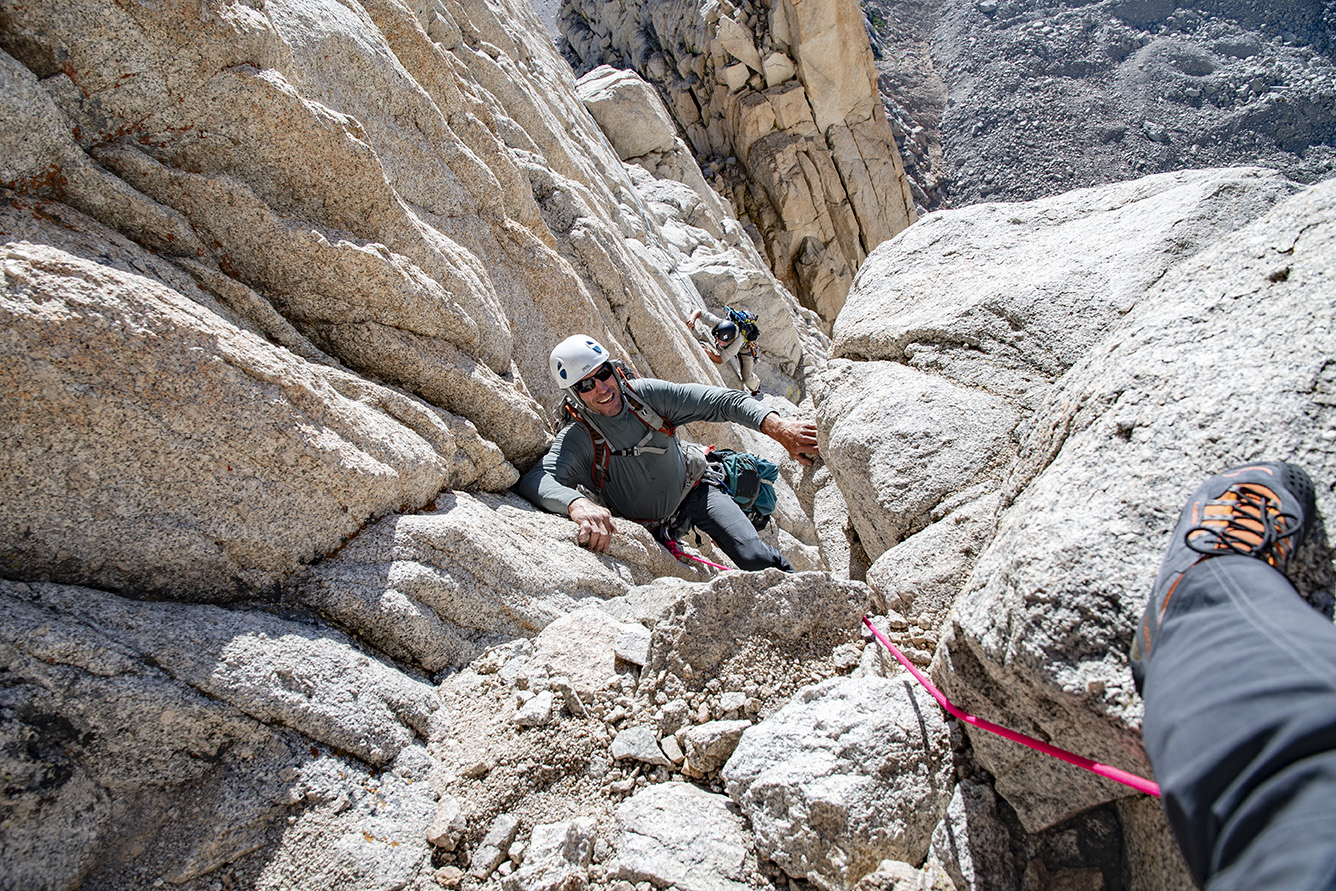
High On Mt. Whitney's Mountaineers Route
Train on talus, boulder fields, and loose off-trail ground if your mountaineering objective contains a lot of this type of terrain.

Performance in the mountains is highly dictated by movement efficiency. An efficient climber with low current fitness will always outperform a fit climber with poor movement skills.

When training for mountaineering, the most effective way to become efficient with your movement is to log time on the type of terrain you’d like to perform on. This is critical for success. Take every opportunity to train on terrain that resembles your objective as closely as possible. This includes walking on trails, soft snow, firm snow, talus (boulder fields), and loose off-trail terrain. It also includes technical terrain if your objectives include rock or ice climbing.

There are no shortcuts for developing movement efficiency. It takes time. The more time you spend on complex terrain the greater your gains will be. This is a much overlooked but critical component to consider when developing your training plan.
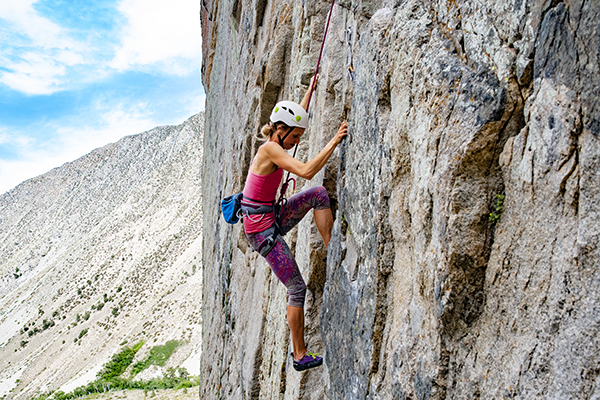
Rock Climbing Training
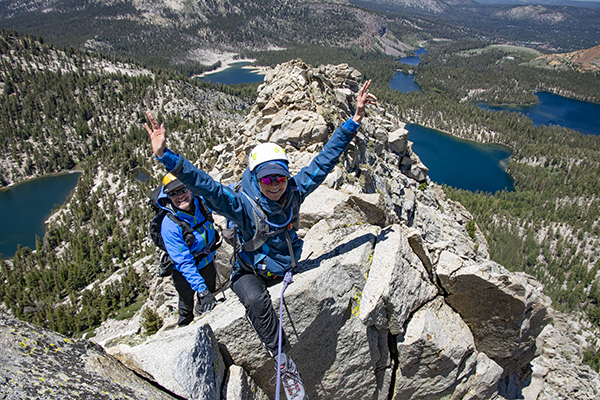
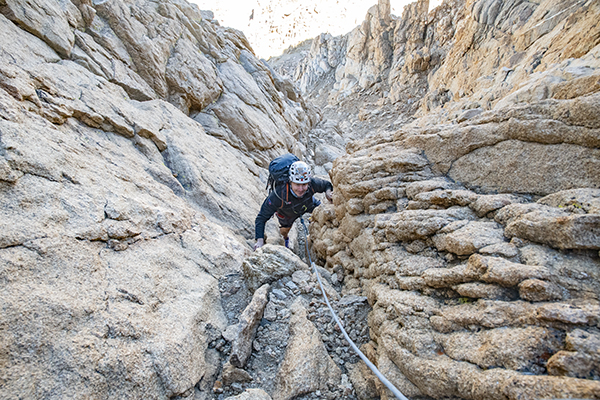
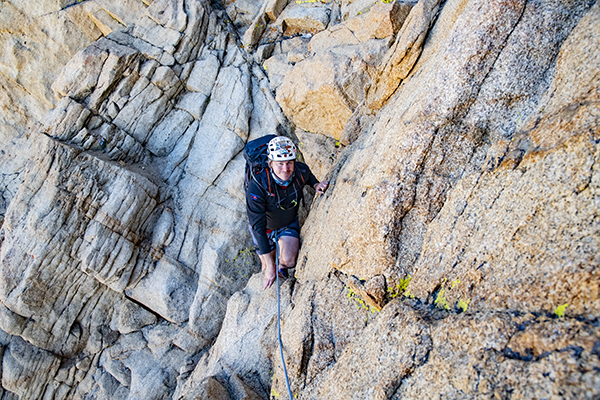
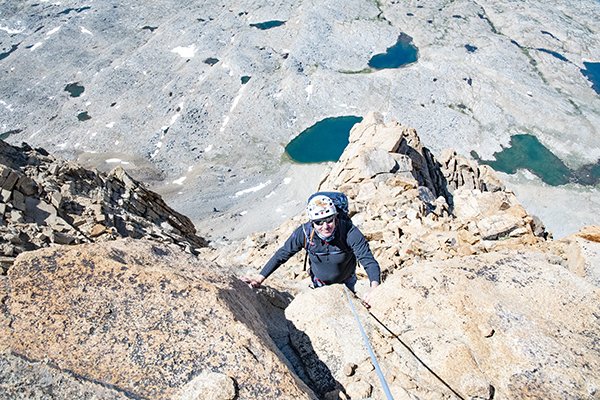
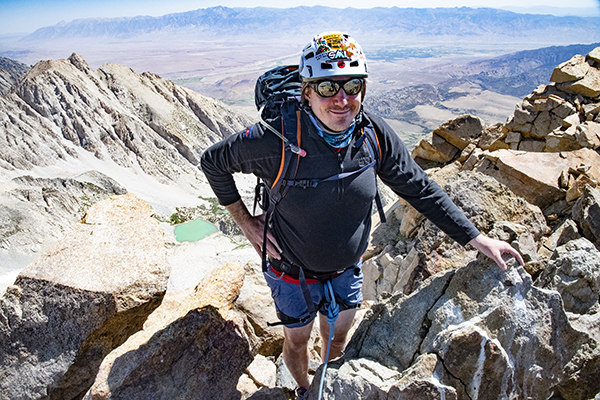
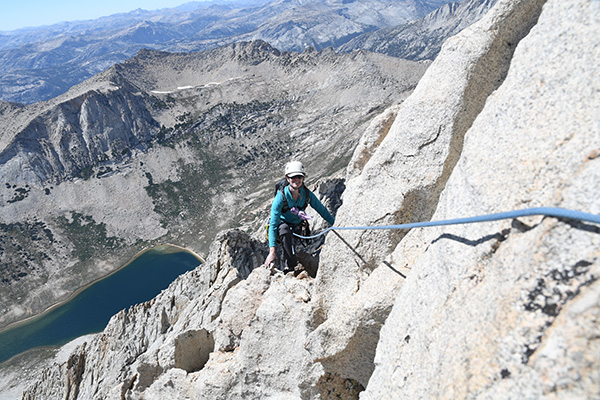
Top-roping laps at a local crag is an excellent way to train for long alpine rock climbs such as the North Ridge of Mt. Conness pictured below.
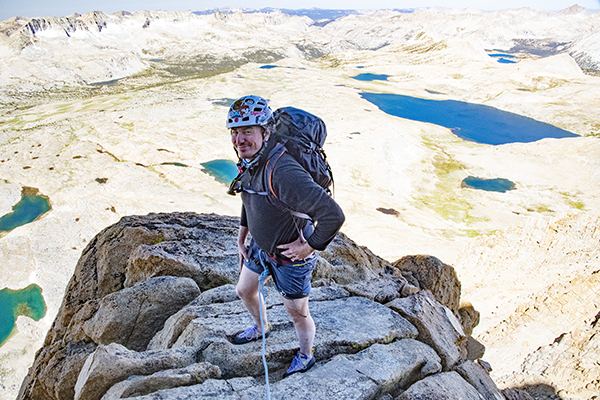
Stunning views high on the North Ridge of Mt. Conness!
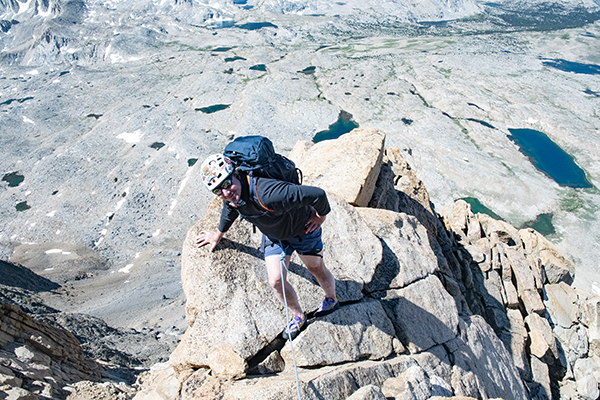
Stunning views high on the North Ridge of Mt. Conness, grade III 5.6 alpine rock climb! Enjoying epic climbs like this is the reward for the time invested in proper training.

Training For Mountaineering – Strength

Strength supports all other athletic activity because it allows you to do MORE objective specific training by developing tissue capacity. Strength training:

  • Makes bones, muscles, tendons and cartilage stronger, thicker and stiffer.
  • Develops effective and efficient transfer of force.
  • Creates a ceiling of capacity thus reducing the likelihood of injury.
  • Increases endurance by developing a higher ceiling of potential

Strength and endurance are strongly linked

Reaching the summit of a mountain requires taking thousands of steps uphill. Each uphill stride while wearing a 30lb pack places significant stress on the legs, knees, hips, and spine. This movement is essentially a single leg squat done at varying depths, which is dictated by the steepness of the terrain. Therefore, successfully summiting a peak entails linking together thousands of these weighted squats. Effective training in a gym will help make each step in the mountains use less energy because you’re developing a surplus of strength.

For example: “Marvelous Martha” and “Mountaineer Mike” are on a 12-hour summit day together. They will take thousands of steps, each of which pushes them towards their strength ceiling.

Marvelous Martha can back squat 160-pounds for 5 reps. Every step she takes uphill wearing a 30-pound pack uses approximately 25% of her strength reserve. She’s working at 1/4 of her strength ceiling for this climb.

Mountaineer Mike can back squat 60-pounds for 5 reps. Every uphill step he takes wearing a 30-pound pack uses 66.67% of his strength reserve. He’s spending the entire day working at 2/3 of his strength ceiling!

Which climber is more likely to perform better, all other things being equal?
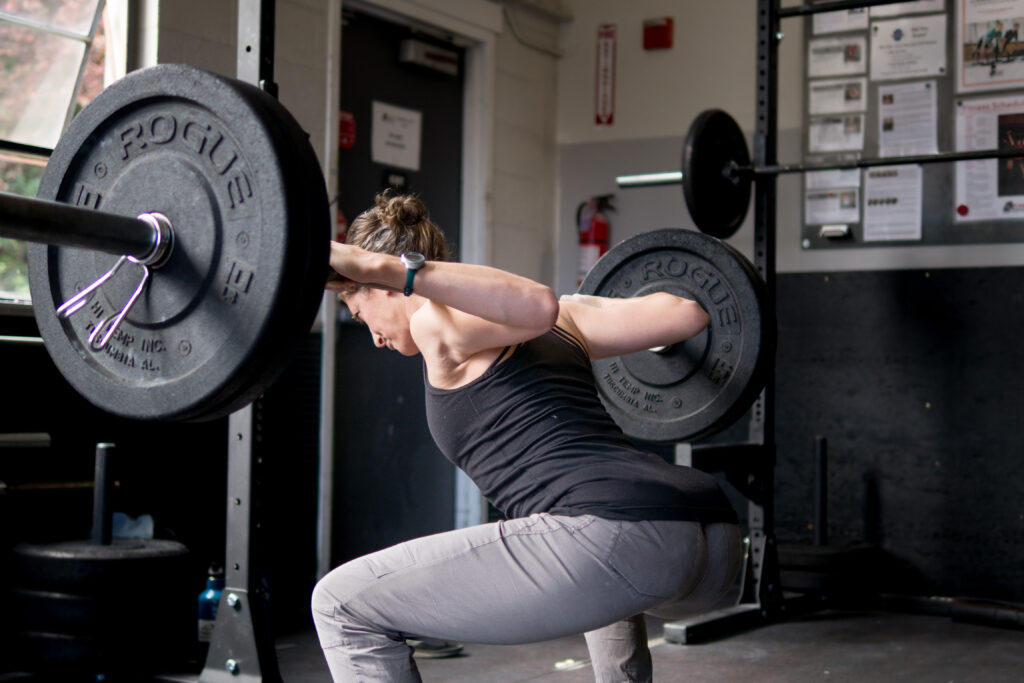
Squat
Strength supports all other athletic activity. Supportive strength training is simple and helps build athletic stiffness and strength that helps boost performance and decreases the risk of injury.

Training For Mountaineering – Endurance
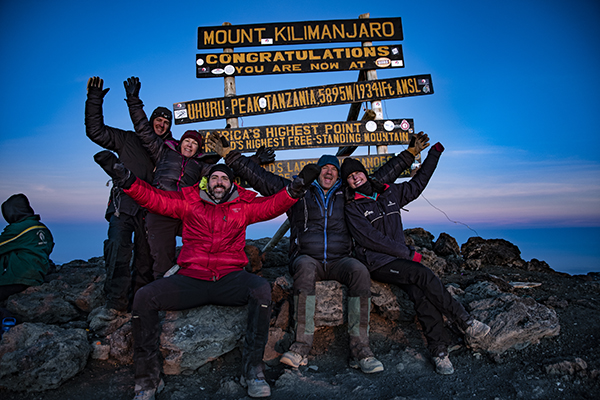
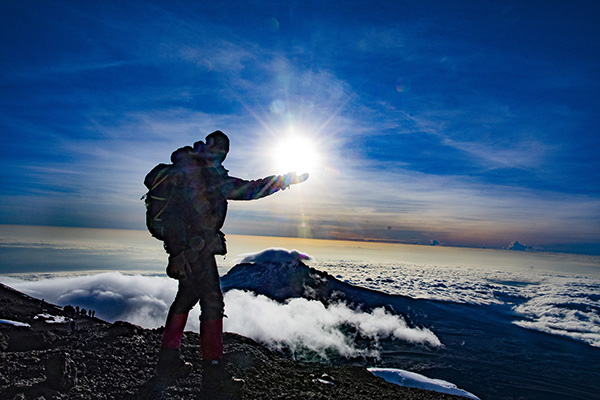
Kilimanjaro Summit Photo
Kilimanjaro is 19340’/5895m. Climbing Kilimanjaro requires fitness and endurance but no technical skills. During this magnificent 7-day climb the route passes through 5 climate zones starting off in a jungle and reaching an alpine environment. A proper training program focusing on endurance and loose terrain is one of the best ways to set yourself up for success to reach the summit of this spectacular peak.

The goal with endurance training for mountaineering is to develop a program that progresses towards the physical requirements of our specific objectives. Endurance training accomplishes two things:

  1. Develops the cardiovascular and circulatory systems to effectively supply oxygen to the working muscles.
  2. Builds structural resilience in the joints (especially the hips and knees) and spine to handle the stress of the objective. 

As with strength training we build endurance through the stress/recovery/adaptation model. Each training session places stress on the body. With appropriate recovery, the body adapts and can support slightly more work. With a well thought out schedule, the body will continue to adapt to the new training load and your endurance will improve.

For example, your goal is to climb Mt. Whitney in 2-days via the Mountaineers Route. This climb requires ascending and descending from 8350′ to 14505′ over 14-miles. This is 6155′ of elevation gain over 7-miles to the summit, then the equivalent distance and elevation loss to return. Attempting this climb “off the couch” with no training will put the body into a state of deep fatigue with a high chance of sustaining an injury. However, starting with a manageable hike then gently increasing the distance and elevation, then allowing for adequate recovery between sessions, the body develops the capacity and resilience to climb Mt. Whitney safely, and have much more fun doing it!

Know your aerobic threshold

The most efficient way to develop endurance is to use a slow, steady approach maintaining a heart rate under your aerobic threshold. There are many methods for determining your aerobic threshold, but a great place to start uses the ‘Maff Method’ by subtracting your age from 180. In this method a 40-year old’s aerobic threshold is a heartrate of 140 (180 – 40).  A 40-year-old athlete would stay at a heart rate of 140 or below when training.

Training at or just under the aerobic threshold:

  • Develops the strength, size and pumping capabilities of the heart.
  • Enhances the structure of the capillary network throughout the body.
  • Develops metabolic adaptions to the mitochondria; the powerhouse of the muscle cells.
  • Increases the body’s effective use of fuel/food for energy at the objective pace at which you intend to climb.

To cross-reference this intensity you should be able to have a full conversation when training. If you cannot speak with complete sentences, then it’s likely you’ve moved above your aerobic threshold sweet-spot. Keep in mind, this is a great place to start and a good trainer can refine this and personalize a training plan based on your history and trajectory.
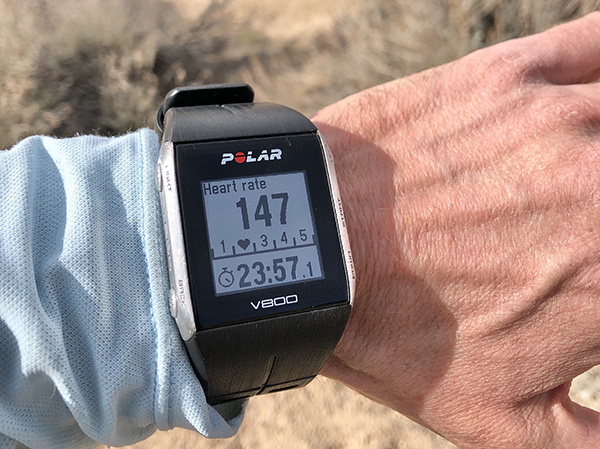
Aerobic Zone Training
Training in the aerobic zone.

Progression Is Paramount!

Progression is one of the KEY elements in any training plan. An appropriate progression allows the body to absorb the training, recover, then adapt to a new level of performance. For the body to gain strength and endurance we need to continually add stress to our training.

For endurance training, unlike strength training, we generally add volume rather than intensity to build our progression. Each week we add distance and/or elevation to our hikes/runs. On the first week of our training cycle we might complete 3 endurance sessions at or near our aerobic threshold heart rate:

  • 1st Session: A comfortable 5-mile hike carrying a packed loaded with 20-pounds and 1000′ of elevation gain on terrain as close as possible to our season objective. This hike took 2.5 hours.
  • 2nd Session: 4-mile trail run with 1000′ of elevation gain. This run took 1.5 hours
  • 3rd Session: 6-mile jog around the city. This run took 1.5 hours.

Week 1 totals: 5 hours in the aerobic zone with 2000′ feet of elevation gain.

2nd Week: Add 5-10% to this total.

3rd Week: Continue this progression moving towards your objective time/distance/elevation. You can use distance or time to build your progression. Both are effective.

Week 3 or 4: Rest week with a reduction in volume of 40%.

Final weeks: Leading up to your objective taper and cut the volume down by 20-30% per week.

What about high-intensity training?

High Intensity Interval Training (HIIT) is more specialized and complicated and therefore needs to be delicately programmed into your plan. Although useful in small amounts for specific circumstances, following the above recommendations will develop a high level of performance for mountaineering. HIIT does not replace slow steady training in an endurance program. Because of this HIIT is viewed at the icing on the cake but not something to be emphasized.

What about core training?

Isolated core exercises have very limited cross-over to sport specific performance in spite of what many in the fitness industry assert. The strength program suggested above with the squat/pull/press will strengthen muscles in the body to work effectively because they will work together. Beyond this, effective development of the core is achieved by practicing the sport you’re training for. A rock climber develops effective core tension by rock climbing. There are certain circumstances when a specific core strength exercise might be useful and a trainer can help work through a specific problem. If there’s not a good reason for doing it, then it’s not worth spending the resources on it.

In Conclusion

We encourage you to enjoy the process of developing an understanding of how your body responds to training. The results will become apparent within weeks of starting out and motivation is rarely a problem moving forwards.

About the Authors
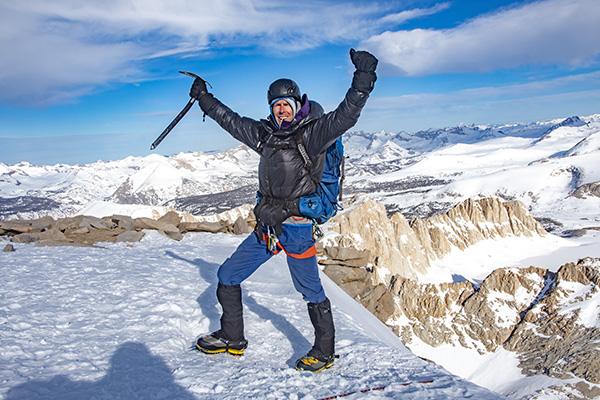
Simon Moore
Simon Moore is a mountain guide and founder of Vertical Ascents offering coaching and training for rock climbers, alpinists, skiers, and endurance athletes.
Training For Mountaineering, Kurt Wedberg
Kurt Wedberg is a 34-year veteran mountain guide and the founder of Sierra Mountaineering International, Inc. Based in Bishop, CA along the slopes of the beautiful Eastern Sierra, they offer guiding and instruction from beginning through advanced levels in:

Why Climb Mountains

Why Climb Mountains

SMI Founder Kurt Wedberg shares some thoughts on why he’s so passionate about climbing mountains

Why climb mountains? Amid all the hardships COVID brought to our lives, the pandemic of 2020 offered the opportunity for many folks to discover mountaineering.  For the first time people are learning benefits that generations of outdoor lovers have known for decades.  A few of those priceless lessons include invaluable benefits for physical, mental, and spiritual health.  It’s also a great way to make meaningful friendships, and see first hand the importance of protecting our environment. Furthermore, it teaches lessons that can be applied to everyday life.

Mountaineering for physical health

Mountaineering requires a general level of endurance and strength.  The cardiovascular and muscular systems are strengthened over time.  Getting into a regular routine increases energy and stamina.  This in turn adds to the enjoyment and expands opportunities for new and bigger adventures; all while gaining improved health!

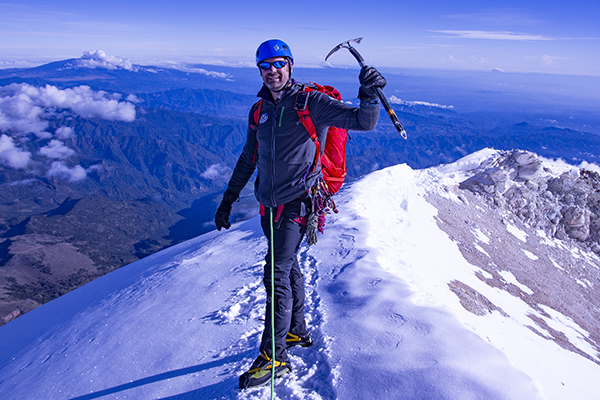
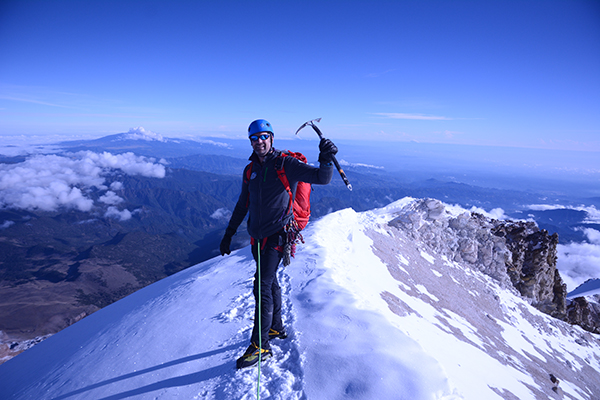
Kurt Wedberg on the crater rim of El Pico de Orizaba (18410’/5611m), Mexico. The reward for training is experiencing remote and stunning views such as this one high above the Mexican countryside on top of the highest volcano in North America.

Why Climb Mountains: Healthy Diet

There’s nothing like partaking in endurance activities to motivate a good diet.  The human body needs food full of nutrients to function well.  Meal planning is critical.  Unhealthy food will not provide the fuel necessary for long summit days.  Mountaineering creates a great opportunity to explore new foods and develop habits that can be used in everyday life.

Fresh food for fuel. The author’s fuel for a typical Sierra summit day.
Bottom row: dried mango, spicy seeds, cheese, and oranges.
Middle row: assorted nuts, smoked oysters, and avocado.
Top row: jerky, hard boiled eggs, organic energy blocks, and vials of salt & vinaigrette.

Mountaineering for Mental Health

Mental health goes hand in hand with physical health.  As you increase endurance and strength you’re also gaining many benefits for mental health.  Studies show exercising leads to increased energy during the day, better sleep, and sharper memories.  It can have a positive impact on depression, anxiety, can help to relive stress, and boost your overall mood.  It releases endorphins in the brain that energize spirits and promote feelings of calm and well-being.  All of this is happening while you’re enjoying majestic and stunning views in the great outdoors!

Mt. Whitney Summit!
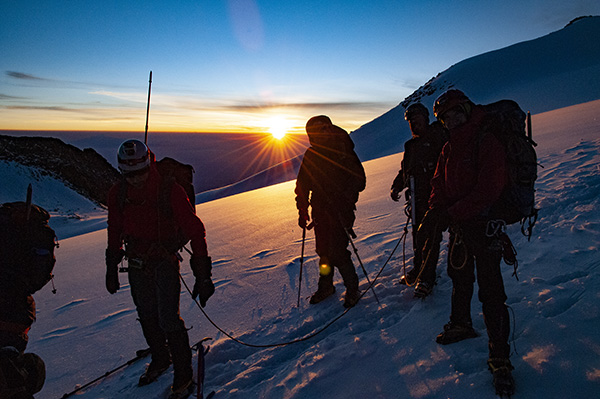
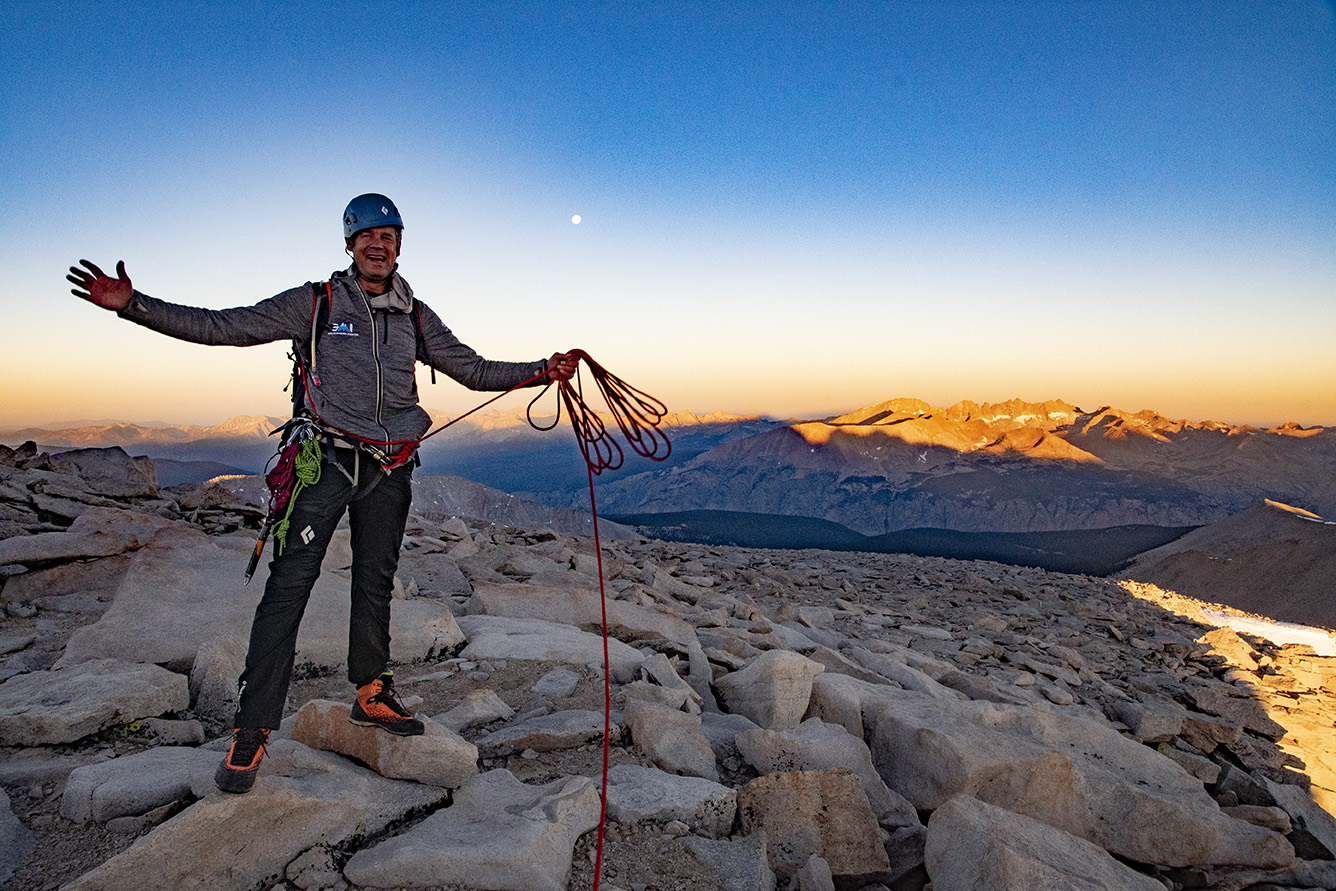
SMI founder Kurt Wedberg experiencing the euphoria of topping out with another satisfied guest on Mt. Whitney’s famous Mountaineers Route at sunrise!

Mountaineering for Spiritual Health

As a professional mountain guide for 34 years I’m asked why climb mountains all the time.  There are many reasons such as those mentioned in this article.  But, there are others that are difficult to express in words, but are also some of the most powerful.  There is something deeply spiritual about removing yourself from the daily routine of life and immersing in the beauty of nature.  You provide yourself the opportunity to view life from a different perspective.  Situations that may have appeared as big problems transform into smaller issues amid the majesty of the mountains.  When returning to your normal routine this spiritual cleansing helps make everything else more manageable.

Mountaineering for Spiritual Health
Kurt Wedberg on the summit of Kilimanjaro seeing the sunrise high over the African plains.

Along with the positive health gains, mountaineering provides several other benefits that enhance your life in remarkably purposeful and worthwhile ways.

Meaningful Lifelong Friendships

For climbers the mountains are an endless supply of pleasure and satisfaction.  Mountaineers retain vitality and an enthusiastic elation for life.  They’re keenly aware their experiences can never be replicated in a man-made setting.  When climbers tie into a rope together something symbolic occurs that runs far deeper than the practicality of immediate safety.  They are trusting each other with their lives and well-being. This creates a bond of friendship that cannot be duplicated in any other way.  Sharing these rich adventures leads to unique lasting friendships.

Tristan & Kurt summit Devils Crag
Tristan Sieleman & Kurt Wedberg on the summit of Devils Crag deep in the Sierra Nevada.

Why climb mountains? It gives new appreciation for our environment

There is nothing like seeing firsthand a pristine vista to bring a new appreciation for our wild remote lands.  John Muir founded the Sierra Club for this very reason.  He knew if he could offer outings that create opportunities for people to see our wilderness they’ll actively help to preserve it.  Today professional guide services offer expanded resources to experience high and remote places and to learn new skills that help broaden the possibilities available.

High on Crystal Crag
Climbing high in remote places offers a profound and unique perspective on the importance of protecting our environment.

Mountaineering teaches patience and persistence while building self esteem

Summit days are long stretching anywhere from 8 – 16 hours.  Mountaineering builds patience and persistence because it requires mental and physical stamina.  When looking at a big mountain it can appear overwhelming thinking about how to climb it.  However, it’s important to divide a mountain into small manageable chunks that can be ticked off one at a time in succession.  As an analogy, when you’re served a large plate of food you don’t eat it in one bite. It is consumed in manageable bite sized mouthfuls.  In the same way, when climbing a mountain, maintaining patience and persistence are essential. Climbs are successful by taking one step at a time and one section at a time.  Accomplishing this task is a huge boost to confidence and self-esteem.

Mountaineering teaches patience and persistence while building self esteem
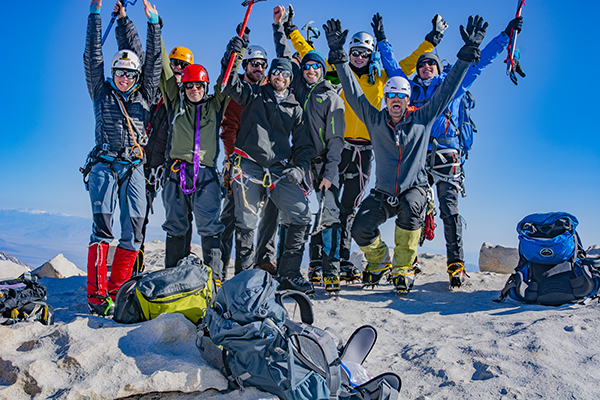
The experiences shared on climbs, such as this well earned summit photo from a winter ascent of Mt. Whitney (14505’/4421m), with like minded people can lead to many life long friendships.

Kurt Wedberg has been a professional mountain guide for 34 years and is the founder of Sierra Mountaineering International, Inc. Based in Bishop, CA they offer mountaineering guiding and instruction in the Sierra and on high peaks worldwide.

Rock Climbing Mt. Whitney

Rock climbing Mt. Whitney via the classic East Face and East Buttress routes!

Rock climbing Mt. Whitney is an opportunity to ascend the highest peak in the contiguous United States via a route seen by relatively few people who visit this region. Mt. Whitney is the most popular of all the mountains SMI conducts trips to, and for good reason. Magnificent scenery and it’s setting along the crest of the Sierra along with its lofty elevation make this climb an unforgettable experience. The East Face and East Buttress routes are tremendous alpine rock climbs and the fact that they lead to the summit of Mt. Whitney make them all the more attractive.

The Approach: Hiking to Iceberg Lake

The journey begins at Whitney Portal (8350’/2545m). After final gear checks and loading rucksacks the team sets off for the North Fork of Lone Pine Creek. This “climbers trail” passes pine trees, willows, abundant wildflowers, and the Ebersbacher Ledges as it ascends a canyon that tops out at Lower Boy Scout Lake (10350’/3155m). The route continues past Upper Boy Scout Lake (11000’/3353m) to a mid afternoon arrival at Iceberg Lake (12610’/3844m) after approximately 6 hours of hiking. After making camp and an early dinner it’s time to bed down in the waning light so the team is ready for an early start to climb the East Face of Mt. Whitney.

The East Face of Mt. Whitney

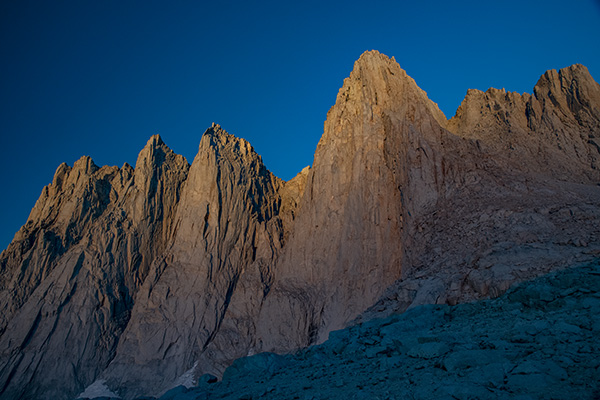
Rising ahead of sunrise affords getting a jump on the day to maximize daylight. It also offers a stunning view of the Mt. Whitney massif bathed in glowing morning light reminding onlookers why the Sierra is nicknamed the Range of Light. A 45 minute hike over easy 3rd class terrain leads to the start of the route. Clothing layers are adjusted, sunscreen applied, harnesses are donned and climbers tie into the rope. This route is normally 11 pitches long with the hardest moves rated at 5.7, but it is not sustained climbing at this grade.

The Mt. Whitney massif bathed in the glow of morning light!
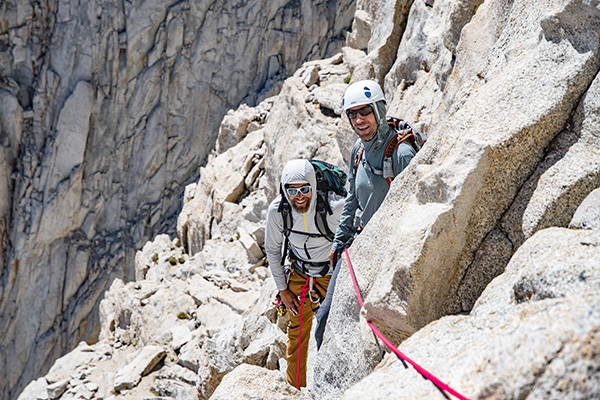
SMI guests Chris and Doug are tied in and ready to climb!

Rock climbing Mt. Whitney: The Tower Traverse

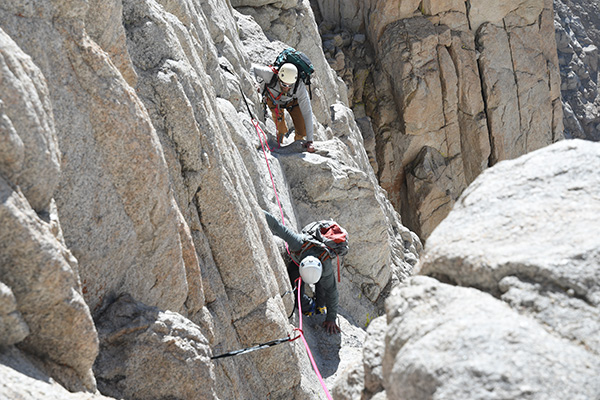
The first pitch rock climbing Mt. Whitney via the East Face is the Tower Traverse. This exhilarating start to the route entails traversing a ledge that leads to a small corner/chimney system, which is ascended for about 25 feet to the first belay station.

Chris and Doug crossing the ledge system on the Tower Traverse.

Rock climbing Mt. Whitney: The Fresh Air Traverse

Above the Tower Traverse the route ascends a prominent ramp known as the Washboards, which is mostly 3rd and 4th class. A short blocky pitch then leads to a tower that is down climbed to a large ledge at the base of the Fresh Air Traverse.

The Fresh Air Traverse is considered by many to be the highlight of the East Face route. A “step across” over a fantastic stretch of exposure on good holds marks the crux moves, which is followed by climbing a series of ledges. Solid hold on high quality granite combined with over 1000′ view below make negotiating the Fresh Air Traverse a truly exhilarating and rewarding experience!

SMI climbers at the tower atop the Washboards before the Fresh Air Traverse.
Crossing the magnificent Fresh Air Traverse!
Doug & Chris psyched on the exhilaration of climbing the Fresh Air Traverse!

Rock climbing Mt. Whitney: The Final Pitches To The Summit

Above the Fresh Air Traverse another 5th class pitch ends at the Grand Staircase. This is followed by a couple more short 5th class pitches before the terrain backs off to some 3rd class scrambling that leads to the summit.

Chris & Doug fire up as they finish the final 5th class pitch on the East Face of Mt. Whitney!
Stunning High Sierra views are the backdrop for the final scrambling to the summit!
A well earned summit photo after a extraordinary climb of the East Face of Mt. Whitney!

The East Buttress of Mt. Whitney

For those looking for more alpine climbing bliss we will stick around for another day and tackle the East Buttress of Mt. Whitney. This route strings together ten 5th class pitches on a direct column with sections of sustained 5.7 moves. It meets up with the East Face at the final 3rd class scrambling leading to the summit.

Ascending the East Buttress of mt. Whitney high above Iceberg Lake.

Rock climbing Mt. Whitney: The “Pee Wee” Pitch

One highlight on the East Buttress is climbing past the “Pee Wee”; a large protruding overhung block of granite.

The Pee Wee on the East Buttress of Mt. Whitney.
Climbing above the Pee Wee on the East Buttress of Mt. Whitney.
Second summit photo in as many days after a fantastic climb of the East Buttress!
No summit of Mt. Whitney is complete without adding our signatures to the register!

More photos from the East Face & East Buttress

View a photo gallery from this trip here.

Climb Mt. Whitney with SMI!

SMI leads climbs to Mt. Whitney throughout the year. Each route has its own unique experience from an ascent of the Mountaineers Route in winter/spring or summer/fall to a rock climb. Read more about our Mt. Whitney programs here.

Climbing Devils Crag

Devils Crag #1

A trip deep into the Sierra to climb Devils Crag #1 and Wheel Mountain

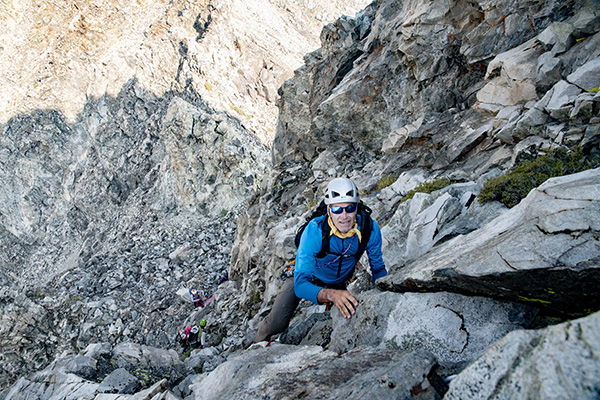
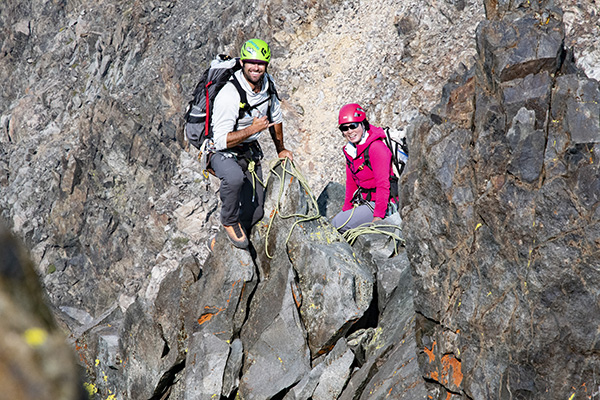
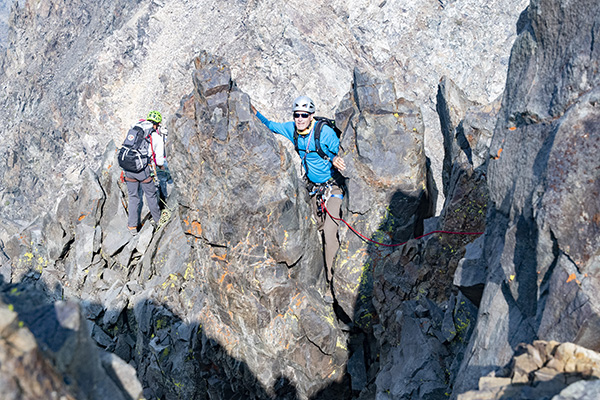
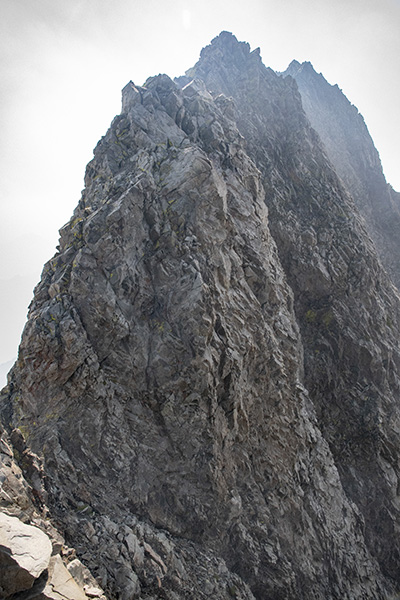
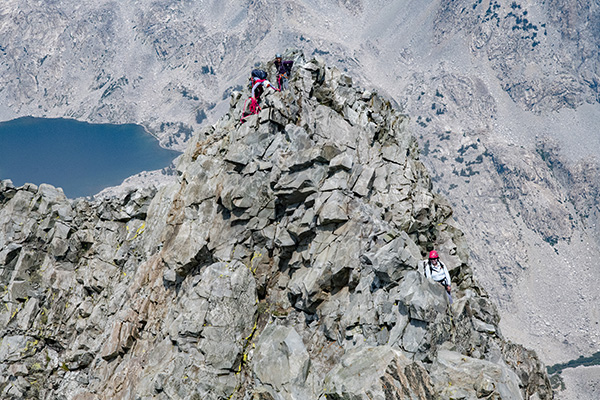
Climbing Devils Crag #1 involves ascending a knife edged 4th class ridge. The rock is loose and the route is wildly exposed in places. Devils Crags are a grouping of 12 summits along a fractured ridgeline tucked deep in Sequoia/Kings Canyon National Park. Devils Crag #1 is the most sought after because it is not only the highest at 12405’/3782m but it is also included on the Sierra Club’s Sierra Peaks Section Peak List. This list consists of 247 peaks in the Sierra divided into 24 geographical zones. Devils Crag is considered by many to be the most difficult peak on this list. In spite of this however, “sought after” is still a relative term. Devils Crag #1 sees very few ascents. Between September 2016 and this climb the mountain had only seen 6 ascents and nobody climbed it in 2017 or 2019.

Day 1: The Approach Day

Getting to Devils Crag is a long but beautiful hike. Starting at the South Lake Trailhead the approach beings with a 6 mile stretch over Bishop Pass (11973’/3649m), then 6.5 miles down to LeConte Canyon where it intersects with the John Muir Trail (8860’/2700m). Hiking south for another 2.6 miles leads to Grouse Meadow. It is here that the approach leaves the well traveled trail and immediately crosses the Middle Fork of the Kings River (8250’/2515m). After crossing the river and Grouse Meadow the unmarked route ascends a steep and unpleasant slope that is loose in places to 10000’/3048m. It then traverses across a long talus field that eventually intersects with Rambaud Creek. At 10400’/3170m a couple unnamed lakes are reached that offer decent camping options. All told it measured out to be 16.71 miles covered in just over 13 hours.

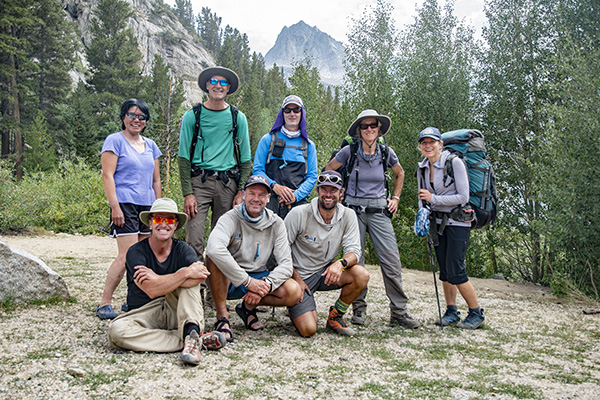
The Devils Crag team
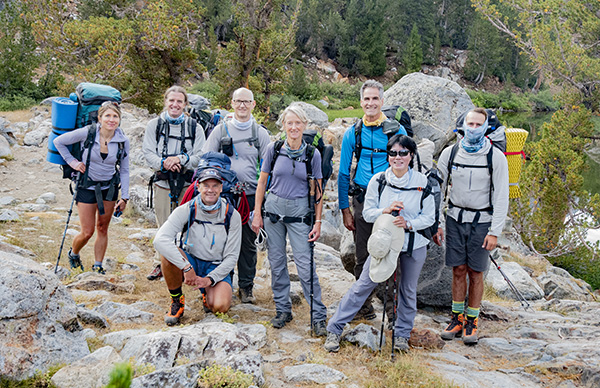
The team from left to right: Hjordis Rickert, Trevor Anthes, Kurt Wedberg, Paul Garry, Kathy Rich, Bill Carpenter, Linda Sun, and Tristan Sieleman
Crossing the Middle Fork of the Kings River
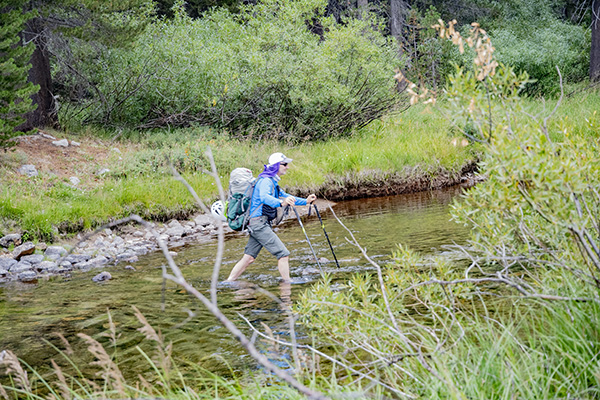
Paul crossing the Middle Fork of the Kings River. The water was low this year. On some years it can be waist deep or deeper, especially earlier in the season.
Talus on the approach to camp
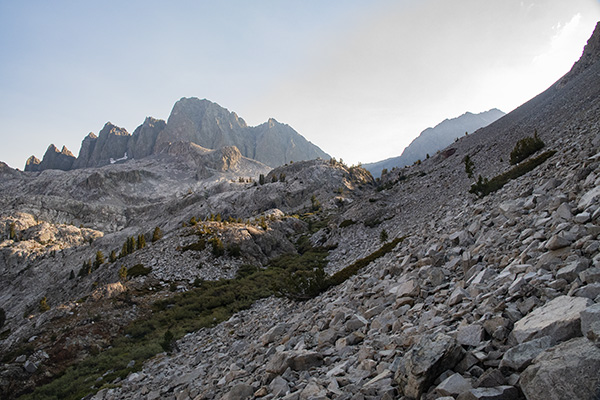
The talus traverse at approximately 10100′ on the approach to camp. Devils Crags are on the left skyline with seven of its summits in view.

Day 2: Getting to Devils Crag #1

Climbing Devils Crag #1 is usually done via the Northwest Arête. This 4th class ridge consists of complex terrain that requires careful thought and efficient rope work to maintain safety while making decent time. A headlamp start was indicated to maximize daylight because we anticipated a full day. A long talus slope led to Raumbaud Pass (11575’/3528m) in between Devils Crag and Wheel Mountain. After close to 3 hours of walking the team arrived at the start of the Northwest Arête.

Everybody geared up so we were prepared for the exposed terrain ahead. In addition to exposure another challenge on Devils Crag is loose rock. This poses difficulties assuring that hand and foot placements are solid, in making solid anchors for protection, and dislodging rocks that can be a hazard to parties below.
The Northwest Arête

Traversing a ridge and dropping elevation the route leads to a class 4 chute for 20m. Above here the exposure increases traversing past two large black rocks called the “Rabbit Ears”. Another short traverse drops slightly down to a 20m pitch of improbable 4th class. Moving above here the ridge widens slightly then reaches a wildly exposed 4th class 10m downclimb. Many consider this to be the crux because of the exposure and difficulty to protect it. Past this downclimb the ridge stays narrow over exposed 4th class terrain leading to the summit.

The start of the Northwest Arête
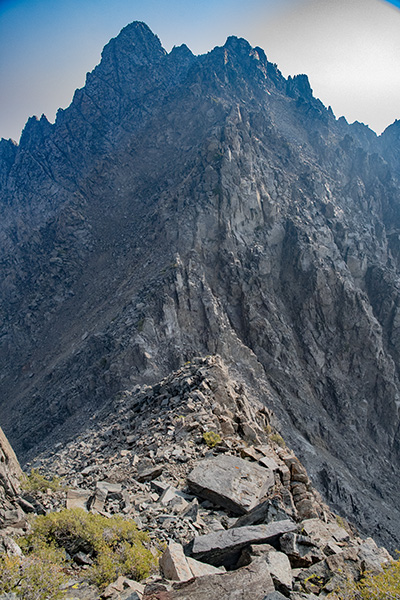
Looking at the start of the Northwest Arête on Devils Crag.
The 4th class chute
Bill climbing the 4th class chute on the Northwest Arête.
Approaching the Rabbit Ears
Linda and Tristan on the traverse to the Rabbit Ears.
Climbing through the Rabbit Ears
Bill climbing in between the “Rabbit Ears” on the Northwest Arête.
The upper half of the Northwest Bill climbing in between the "Rabbit Ears" on the Northwest Arête
Looking at the upper half of the Northwest Arête.
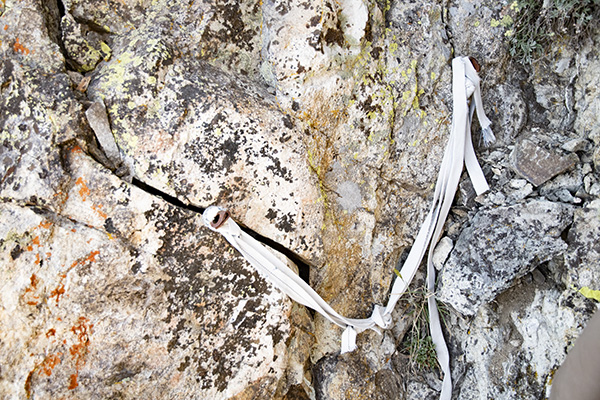
Sketchy anchor on Devils Crag
The Northwest Arête of Devils Crag has a few sketchy anchors along its route.
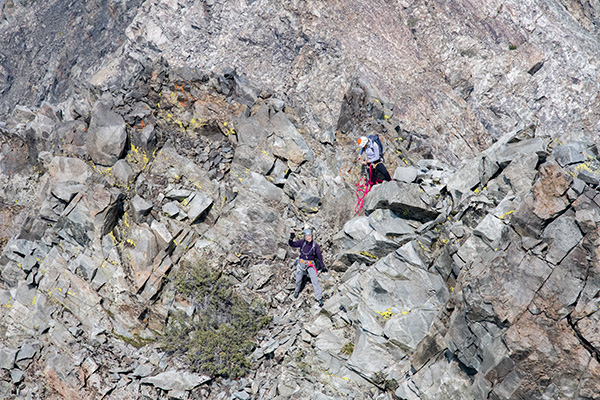
Kathy and Hjordis on the Northwest Arête
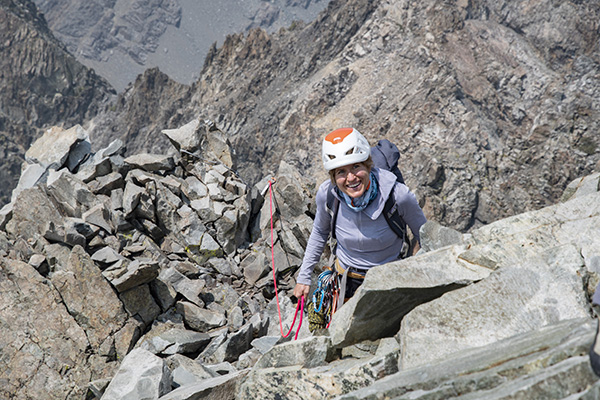
Kathy and Hjordis high on the Northwest Arête.
Bill on the Northwest Arête
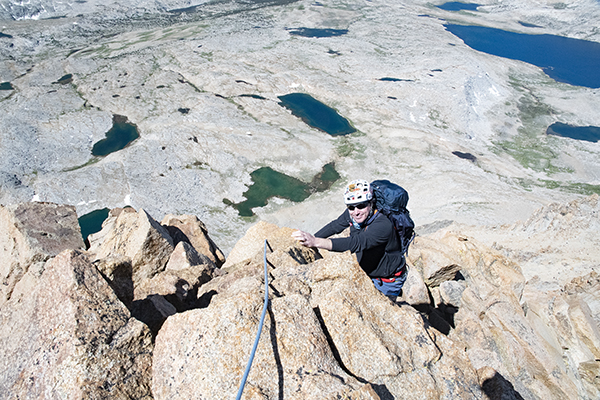
Bill approaching the upper section of the Northwest Arête.
The final ridgeline to the summit.
Looking at the final ridgeline to the summit of Devils Crag #1.
Climbing on the upper reaches of the Northwest Arête.

The summit!

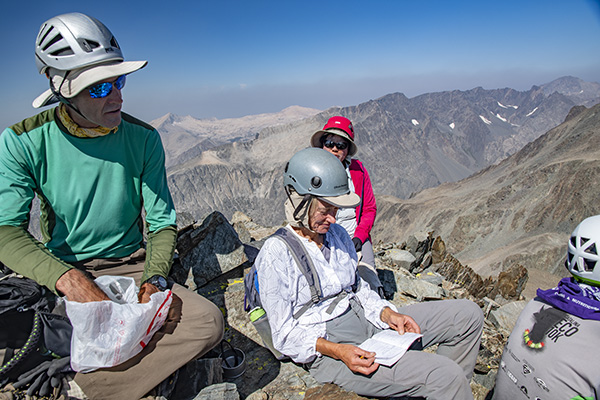
The summit of Devils Crag #1 offers spectacular views of the Sierra. There was time to soak in the magnificent scenery because the team climbed efficiently. It’s a special vantage point because so few people have ever been here. Smoke from a forest fire partially obscured the views but they were spectacular nonetheless.
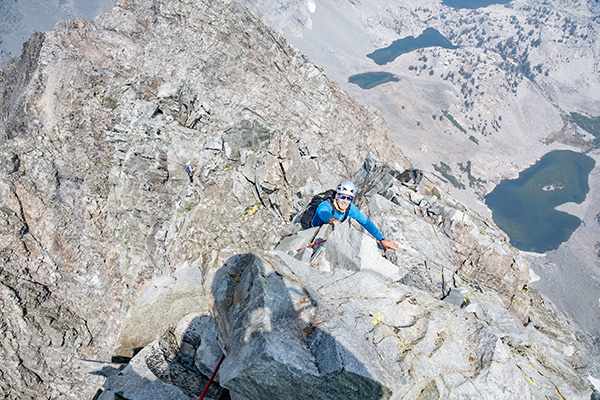
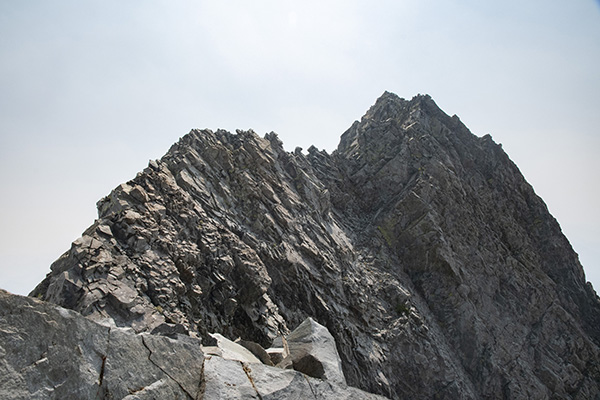
The abundance of loose exposed 4th class topography on Devils Crag is some of the most complex terrain to guide. The alpine guide needs to have many skills in their quiver to employ on any given move. The techniques used will vary depending on several factors including (but not limited to) the weight ratio of the guide and guest, comfort, ability level, and weather elements such as wind. One rope team may use a certain technique on a particular feature then another team will come and do something different. What was agreed upon afterwards is everybody dug deep into their bag of tricks, and this route required constant vigilance with no breaks. It also proved to be a fun, challenging, and rewarding experience for all!

Kathy Rich summit photo
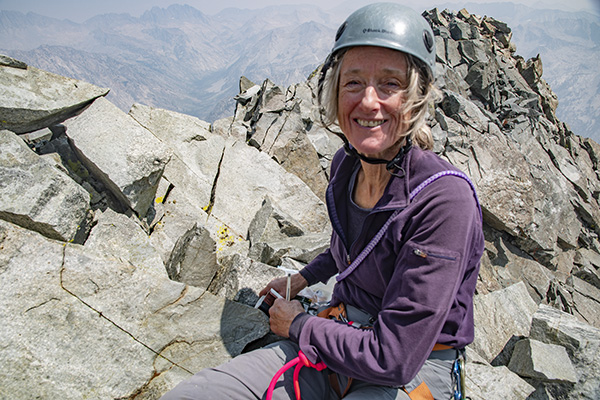
Kathy Rich summit photo on Devils Crag #1
Linda Sun summit photo
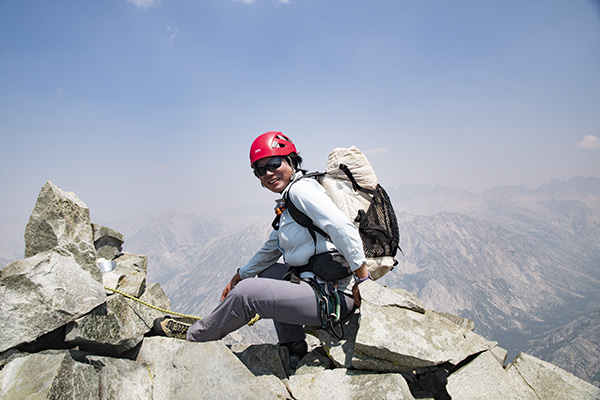
Linda Sun summit photo on Devils Crag.
Paul Garry summiting Devils Crag
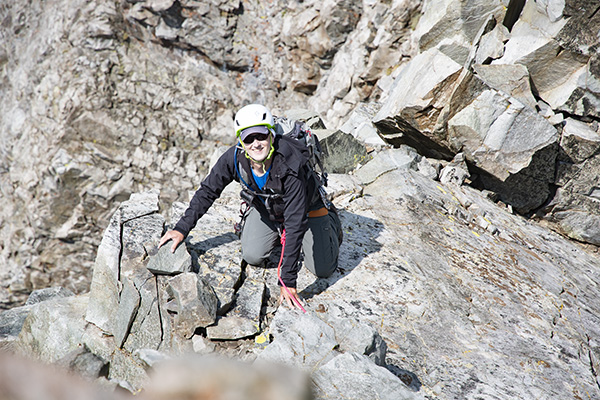
Paul Garry climbing the final moves to the summit of Devils Crag.
Bill Carpenter summit of Devils Crag
Bill Carpenter adding his name to the summit register on Devils Crag.
Hjordis Rickert summiting Devils Crag
Hjordis Rickert coming onto the summit of Devils Crag.
Trevor Anthes arrives at the summit of Devils Crag
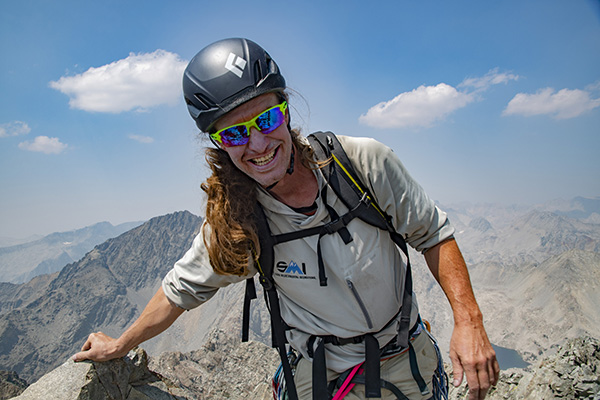
Trevor Anthes arrives at the summit of Devils Crag.
Tristan & Kurt summit Devils Crag
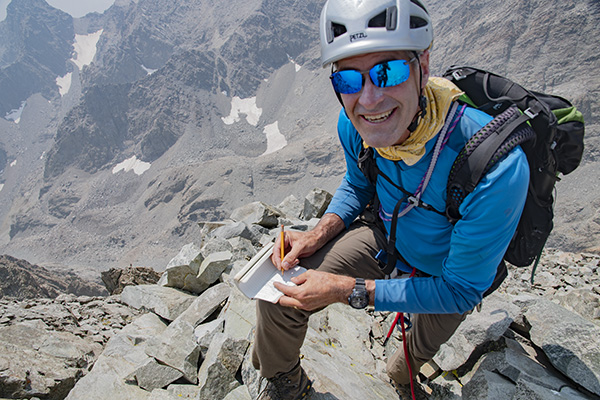
Tristan Sieleman & Kurt Wedberg on the summit of Devils Crag.
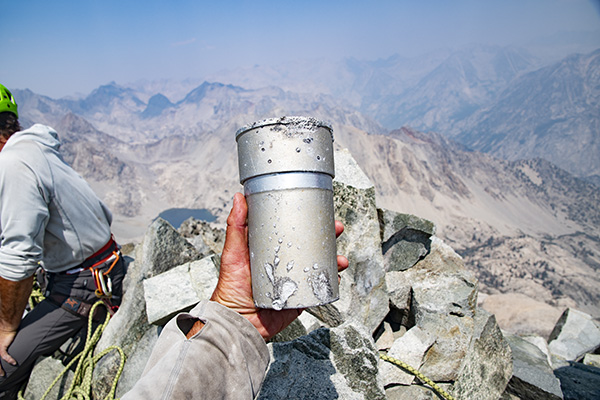
Devils Crag summit register can
The summit register can on Devils Crag showing evidence of lightning damage.

Descending off Devils Crag the team decided to return to camp instead of climbing Wheel Mountain on the same day. Arriving at camp that evening everybody cherished a safe and enjoyable climb on Devils Crag.

Day 3: Wheel Mountain

Wheel Mountain (12774’/3894m) is reached by going in the opposite direction at Rambaud Pass from Devils Crag. While rated class 3 the terrain is benign. There’s an occasional move that requires using hands but nothing that requires a rope.

The plan was to climb Wheel Mountain and after returning to camp to pack up and descend to the JMT. This would make for an easier hike out on Day 4.

Leaving after it got light Wheel Mountain proved to be an enjoyable climb. From its upper reaches the views of Devils Crag are fantastic. The route was easy enough to find and the views from the summit were even better than Devils Crag. From Rambaud Pass it was less than 2 hours to the summit. A little time spent in reflection and taking in the scenery was welcomed before returning to camp and navigating down to the JMT.

Morning start for Wheel Mountain
Morning start for Wheel Mountain.
Rambaud Pass
Kathy at Rambaud Pass en route to Wheel Mountain.
Wheel Mountain from Rambaud Pass
Wheel Mountain from Rambaud Pass.
Summit pinnacles on Wheel Mountain
Summit pinnacles on Wheel Mountain.
Summit Wheel Mountain
A little time of reflection on the summit of Wheel Mountain.
Ending shot at South Lake
The team arrives safely back to South Lake!
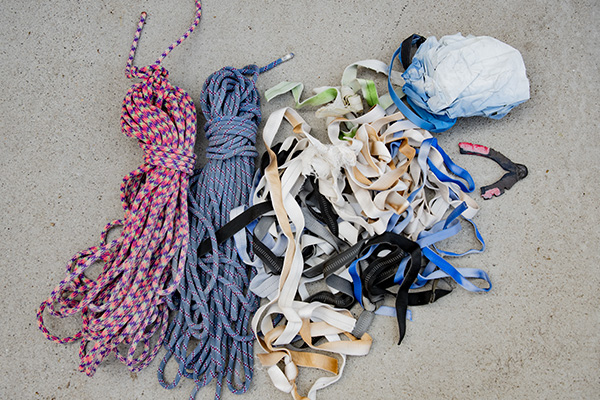
Old tat on Devils Crag
The team hauled out two old ropes and a large mound of UV worn webbing from Devils Crag.

Galleries with more photos are here and here.

SMI arranges ascents of Devils Crag and all 247 peaks on the SPS Peak List. Contact our office for details.

Mt. Humphreys Northwest Ridge

High on Mt. Humphreys NW Ridge

Mt. Humphreys Northwest Ridge is a fun and exhilarating way to climb this classic Sierra peak. Once considered a CA 14er, its current accepted elevation is 13986’/4263m. Nevertheless it is a lofty summit with outstanding views. The route features high quality granite with enough challenging and exposed moves to offer a thrilling sense of accomplishment.

Mt. Humphreys Northwest Ridge – The Approach

Mt. Humphreys Northwest Ridge is accessed from the North Lake trailhead at 9400’/2865m. The journey begins with a scenic 4.2 mile hike to Paiute Pass. This lovely hike ascends glacier carved granite benches past Loch Leven, Paiute, and several smaller alpine lakes to 11423’/3482m. Offering magnificent views it also gives access to Humphreys Basin. Leaving the trail the route ascends north over cross-country terrain to the base of Mt. Humphreys.

Mt. Humphreys Northwest Ridge

Longtime friend of SMI Ben Novak was Kurt Wedberg’s guest for this 1-day car to car ascent. Ben is a long distance ultra runner who has been climbing Sierra peaks with SMI for 10+ years. He’s also a veteran of our international destinations to Mexico’s Volcanoes and Aconcagua.

Doing the entire approach by headlamp the two opted to climb the massive south face of Mt. Humphreys to a notch that meets up with the North Couloir. From here the upper section of Mt. Humphreys Northwest Ridge is reached. On this day it offered spectacular climbing as the sun rose over the Sierra.

Upper NW Ridge of Mt. Humphreys
Looking at the upper Northwest Ridge of Mt. Humphreys from the top of the North Couloir.
3rd class gully on Mt. Humphreys NW Ridge
Ben climbing the 3rd class gully on Mt. Humphreys NW Ridge.

Roping up at the notch, the team ascended a 3rd class gully requiring the use of hands and feet that ended at a vertical wall. Careful route finding up the right side of the wall is the first of a handful of short class 4 pitches. The route climbs onto a spectacular ridgeline offering solid holds and spots of exciting exposure. This leads to the backbone of Mt. Humphreys Northwest Ridge. With the terrain dropping abruptly on either side the route looks improbable at first, but nevertheless a path opens up as one progresses higher.

Beginning the 4th class on the NW Ridge
Ben starting up the 4th class to gain the backbone of the NW Ridge of Mt. Humphreys.
Gaining the backbone of the NW Ridge of Mt. Humphreys
Ben gaining the backbone of the NW Ridge of Mt. Humphreys.
High on Mt. Humphreys NW Ridge
Ben enjoying the high quality granite climbing high on Mt. Humphreys NW Ridge. This route offers outstanding views of Humphreys Basin and the western landscape of the Sierra Nevada.
Thrilling climbing Mt. Humphreys NW Ridge
Ben enjoying the thrilling climbing on Mt. Humphreys NW Ridge.

The Summit and Descent

The summit of Mt. Humphreys is small enough to offer a dramatic 360 degree view because of its perch on a small point barely large enough for one climbing party. With clear calm weather there was enough time to refuel while soaking in the magnificent Sierra landscape before descending the NW Face to the SW slope. From here the descent through Humphreys Basin to Paiute Pass offered a leisurely and scenic way to wind down from this classic climb.

Topping out Mt. Humphreys NW Ridge
Ben climbing the final moves below the summit of Mt. Humphreys (13986’/4263m).
Ben Novak Mt. Humphreys summit
Ben Novak arriving at the summit of Mt. Humphreys (13986’/4263m) after a successful climb of the Northwest Ridge.
Kurt Wedberg on the summit of Mt. Humphreys
Kurt Wedberg on the summit of Mt. Humphreys (13986’/4263m) after guiding a successful climb of the Northwest Ridge.
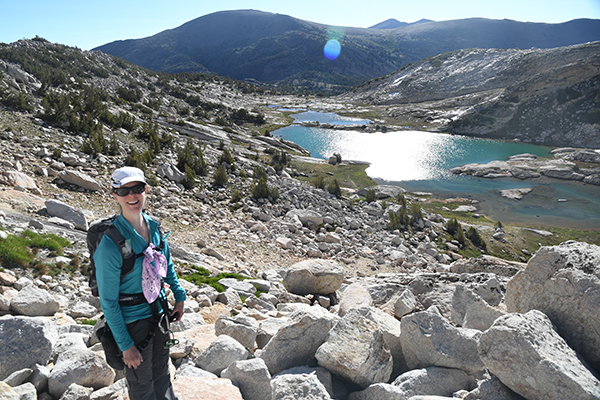
Paiute & Loch Leven Lakes
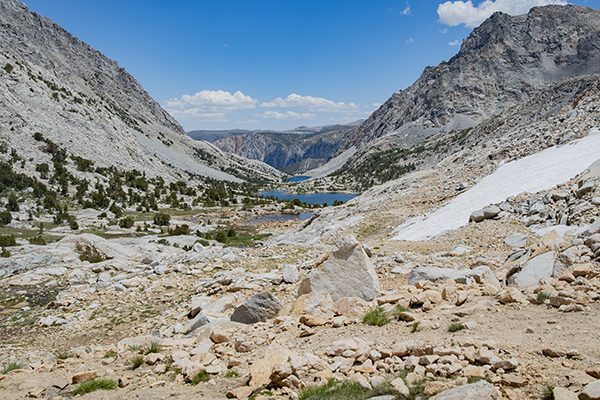
Paiute and Loch Leven Lakes from the Pauite Pass trail just below the pass.
Lupine
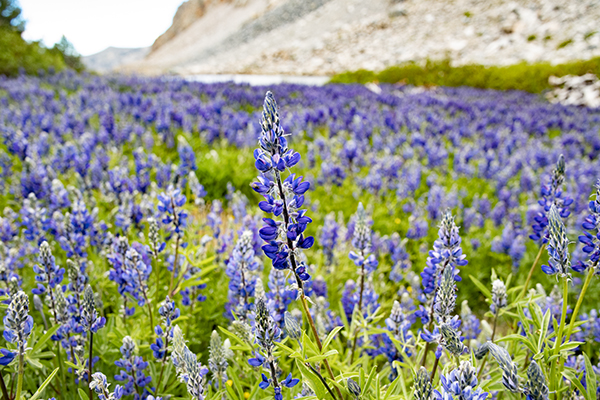
Lupine’s in full bloom above Loch Leven Lake on the Paiute Pass trail.
Sierra Lily
Sierra Lily
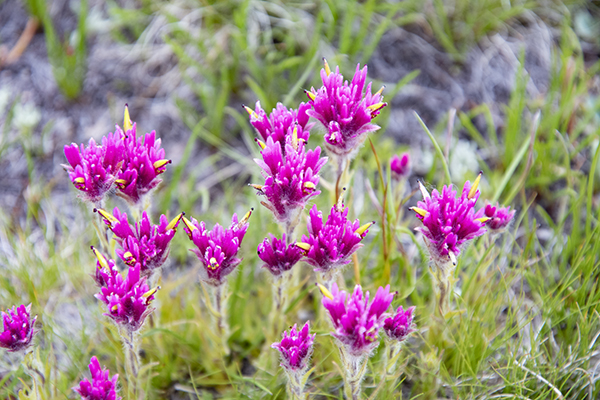
Meadow Paintbrush
Meadow Paintbrush in bloom near Loch Leven Lake on the Paiute Pass trail.

View a photo gallery with more pictures from this climb here.

Contact SMI for climb Mt. Humphreys

Contact SMI to learn about guided climbs up Mt. Humphreys and the multitude of classic alpine climbs offered in the beautiful Sierra Nevada.

North Ridge of Mt. Conness

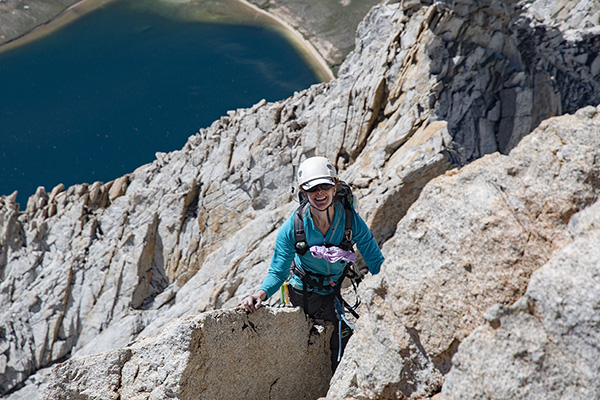
Stunning views high on the North Ridge of Mt. Conness!

Alpine rock climbing at its finest!

We experienced a picture perfect day on the North Ridge of Mt. Conness to kick off the alpine rock climbing season in the High Sierra! With summertime now upon us the high alpine climbs of the Sierra Nevada are at their finest. Longtime friend of SMI Michelle Kemmer joined us for a climb of the ultra classic North Ridge of Mt. Conness on July 9. Consisting of 6 pitches of moderate 5th class climbing plus an exciting rappel in the middle of the route this peak is pure alpine bliss. From steller granite to magnificent views of the alpine lakes, meadows, and granite spires in Tuolumne Meadows the North Ridge of Mt. Conness never disappoints!

The breathtaking approach!

The approach begins at Saddlebag Lake, which is a short distance off the Tioga Pass Road. The hike takes us past alpine lakes on a trail decorated with native wildflowers as it ascends to the base of the North Ridge.

Stunning morning scenery ascending above alpine lakes en route to the start of the North Ridge of Mt. Conness!

The beginning pitches and rappel of the North Ridge of Mt. Conness

We then roped up where the terrain narrows and becomes more exposed. A few short pitches in the difficulty range of 3rd to low 5th class led us to the first tower where two rappels lead to the upper end of the route.

Stellar granite and exhilarating views at the start of the North Ridge of Mt. Conness!
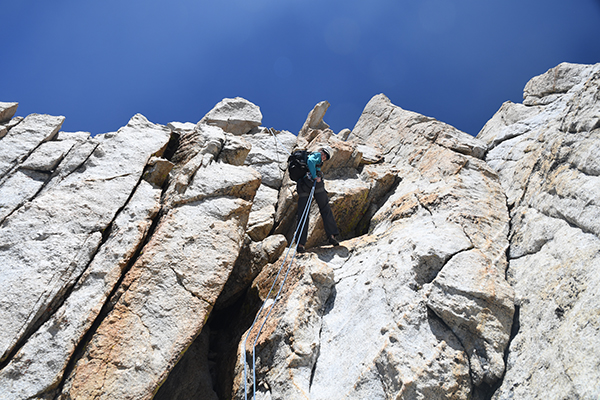
Rappelling off the tower on the North Ridge of Mt. Conness.

The top half of the North Ridge of Mt. Conness!

After short rappels the route presents four pitches of fun 5th class climbing on high quality granite with excellent hand and foot holds. Each belay station on the ascent reveals more exhilarating views en route to the 12590’/3829m summit!

Breathtaking backdrop approaching a belay station on the upper section of the North Ridge of Mt. Conness!
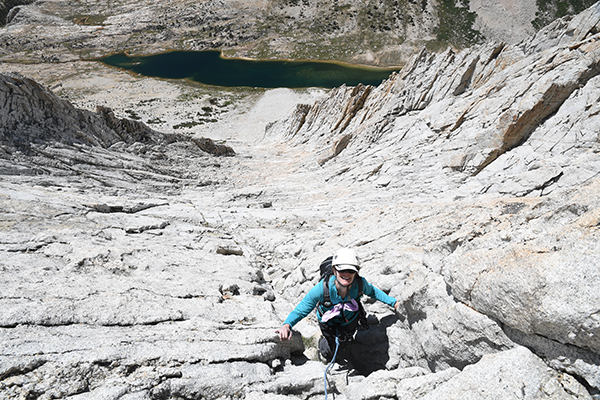
Stunning views below are the reward nearing the top of the North Ridge of Mt. Conness!
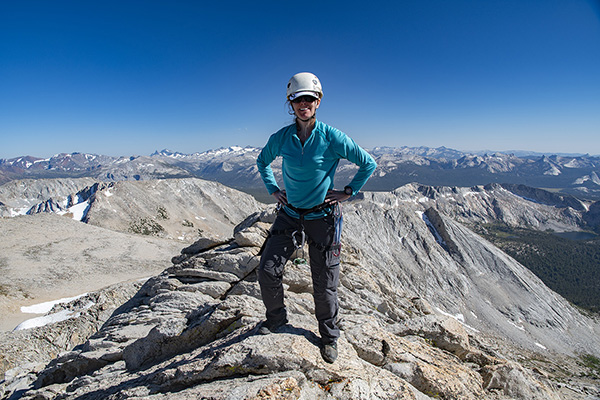
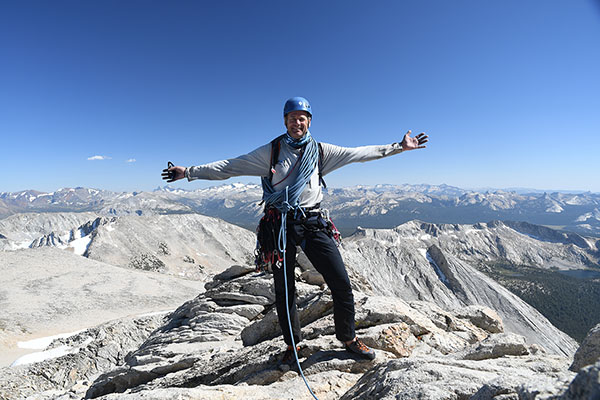
Hundreds of snowy peaks in the High Sierra provide the dramatic backdrop for a summit photo after a successful climb of Mt. Conness!
Kurt Wedberg, Mt. Conness North Ridge Summit
SMI founder Kurt Wedberg enjoys a picture perfect day from the summit after guiding a Mt. Conness North Ridge climb.

A complete photo gallery from this day can be viewed here. SMI arranges climbs of the North Ridge of Mt. Conness on any day between June 1 and October 15. Visit our website to learn about Mt. Conness and other classic Sierra Nevada alpine rock climbs. Reserve your spot today for a memorable adventure with our expert staff.

SMI Guides are back in action!

Mt. Whitney Summit!

SMI guides are ecstatic to be back guiding trips in the Sierra! We have spent this spring during the pandemic staying in shape, keeping sharp with our skills, and honing our craft. With things starting to open up again we are ecstatic to be once again outside sharing adventures in the Sierra Nevada with our guests.

The Sierra Nevada is our home, our back yard, and our favorite mountain range in the world. The possibilities for adventure and solitude are endless. Try ticking off some of our California 14ers on our Palisades trips, or the exhilaration from one of our classic alpine rock climbs. Learn to transfer your indoor climbing skills to the outdoor realm on one of our rock climbing programs, or discover pristine destinations in the Sierra Nevada through one of our customized backpacking trips! Whatever your desire the Sierra Nevada has it all!

During the month of July join any SMI trip in 2020 and receive a free custom SMI UPF 50+ Buff!